Einleitung
Follow this guide to replace the screen of your Asus ZenFone 5 Lite. This repair may be necessary if the front screen is damaged.
Using this guide, you can substitute a screen with cracks or cosmetic issues with a new one.
No unique skills are required to complete this repair, all you need is the specified tools and to follow the instructions carefully. While performing this repair it is important to pay attention to where your fingers should be, how much force to use, and using the right tools, so as not to risk damage or injury. If removing the lithium-ion battery of the device, either recycle it correctly or dispose of it in a hazardous waste area.
Werkzeuge
-
-
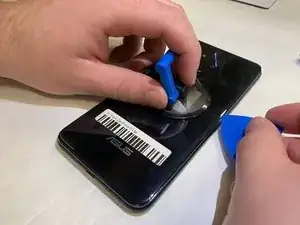
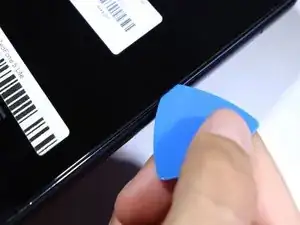
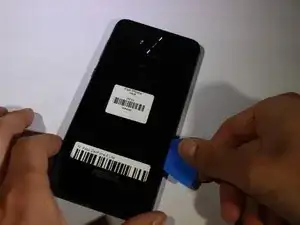
Use a thin plastic tool to peel the back cover of the phone off. Once the plastic tool has begun to pry the back off, slide the plastic tool around the edges of the phone to separate the adhesive holding the back on. Once all edges of the phone are disconnected, lift the back cover off.
-
-
-
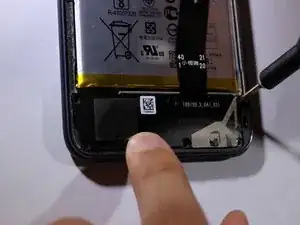
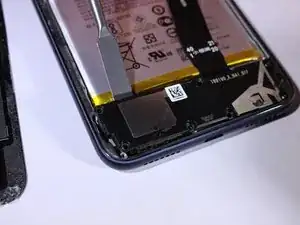
Use the nylon spudger to pry off the lower cover. Use the opening tool to help lift it off.
-
-
-
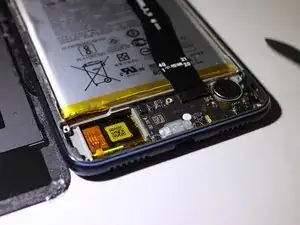
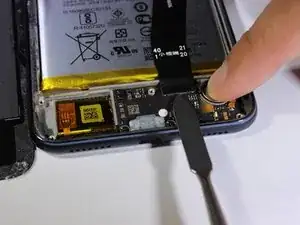
Use a prying tool to gently pry off the connection that was previously hidden by the black cover.
-
-
-
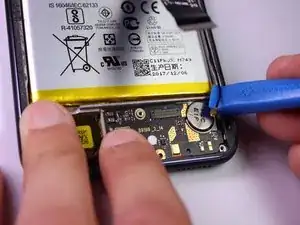
Locate the gold-tipped black wire attached to the charging port circuit board.
-
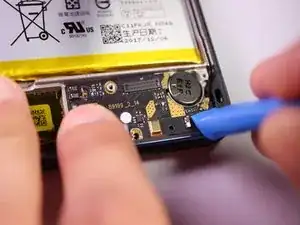
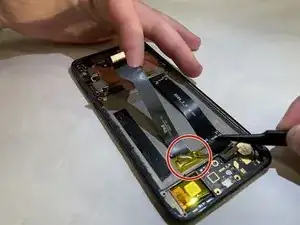
Insert the plastic prying tool underneath the silver clasp and pry it off.
-
-
-
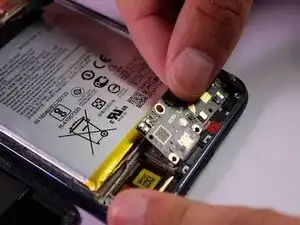
Insert a plastic prying tool on the left side of the charging port. Gently lift up the charging port and then remove using your hand.
-
-
-
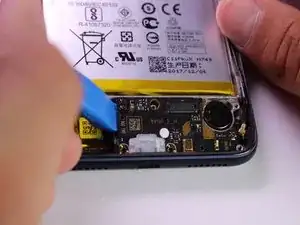
Using the plastic spudger, pry up the vibration motor starting at the top right. The motor is held down with adhesive, so some force may be required.
-
-
-
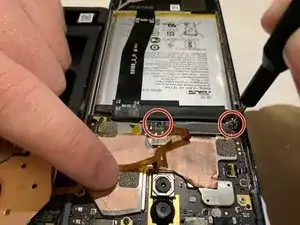
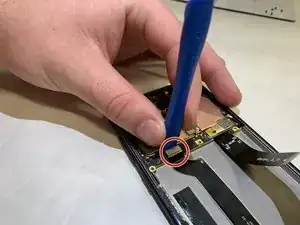
Use the iFixit blue plastic opening tool to remove the top connector that goes from the process board to the back of the phone.
-
-
-
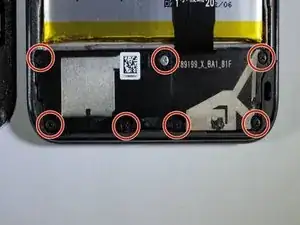
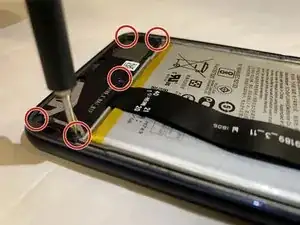
Remove five small black screws from bottom black section of phone with a small screwdriver.
-
-
-
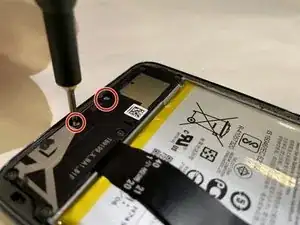
Remove the two small silver colored screws from the same black portion of the phone using a Phillips #00 screwdriver.
-
-
-
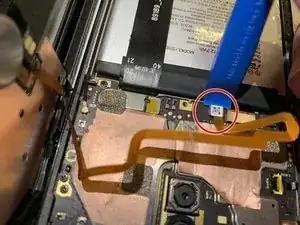
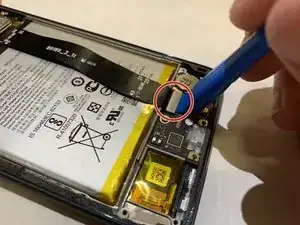
Pop out the connector that goes over the front of the battery and use the iFixit opening tool to remove it from the circuit board.
-
-
-
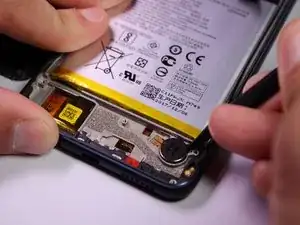
Pop out the small black clip on top of the battery connecting it to the motherboard and then fully remove the battery with the prying tool.
-
-
-
Using the suction cup and picks if necessary, fully remove the front screen.
-
Replace the screen and reassemble your device.
-
To reassemble your device, follow these instructions in reverse order.
Ein Kommentar
-Needs a good rework - removal of a vibration motor has nothing to do with screen replacement. Removal of the charge port has nothing to do with screen replacement. It does get back on track with step 9. Step 8 is duplicating what step 1 says.
-Ignoring steps 2 through 7 and jumping straight from 1 to 9, you can get the screen replacement job done.
-Most annoying thing in the wild: Everyone sort of skip how to safely remove the battery pack. Two videos use a metal prying tool. Here on step 14 we avoid the topic altogether and let the reader figure it out. that could definitely use lot more friendly advice to the reader on how to do it right.
-Beyond all of that, it pretty much gets the core ideas in place. Reassembly is also left to the reader to figure out for themselves.
Not trying to be negative - just suggesting areas a reader needs to consider

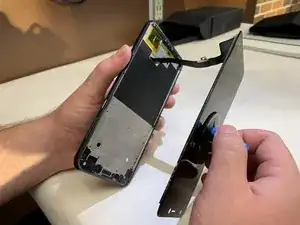
How long is the cable connected to the touch sensor? Exactly how close do the two pieces need to stay to avoid damaging the cable or the connection points?
Ryan Preher -