Einleitung
Use this guide to replace a faulty motherboard for Asus Zenbook UX31E.
A motherboard is the most important component in the computer and is necessary for the computer to work well. A faulty motherboard can cause the computer to freeze or glitch, or a blue screen of death occurs where a blue background with a sad face “:(“ appear on the screen.
Before starting the repair, make sure to power off your device completely and disconnect from any external power source.
Werkzeuge
-
-
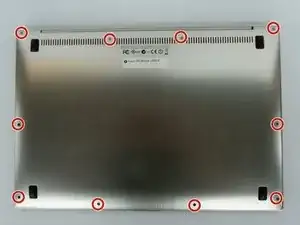
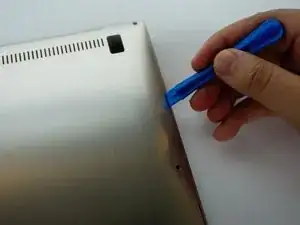
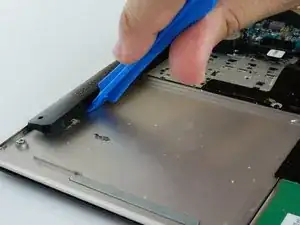
Carefully slide your iFixit Opening Tool between the back panel.
-
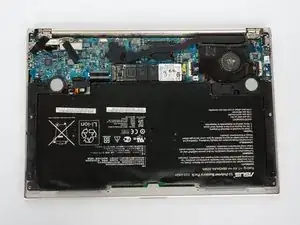
Lift the back plate of your ASUS ZenBook UX31E, and place it to the side.
-
-
-
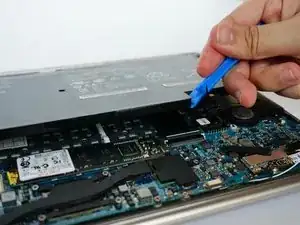
Use the plastic opening tool to pry open the back cover of the laptop.
-
Remove the bottom panel of the laptop.
-
-
-
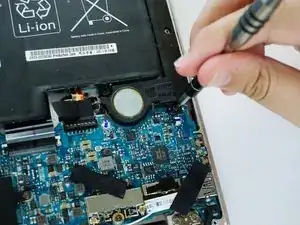
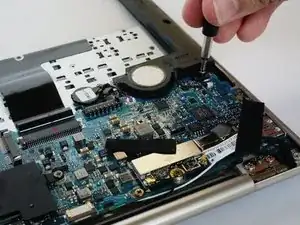
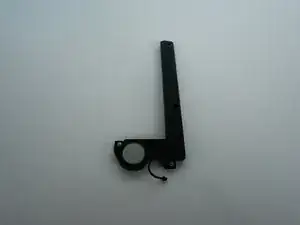
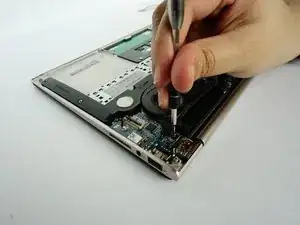
Remove the screw connecting the speaker component to the motherboard using the screwdriver.
-
-
-
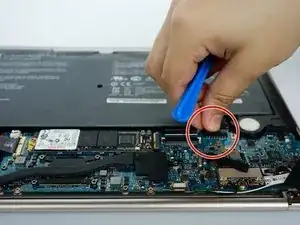
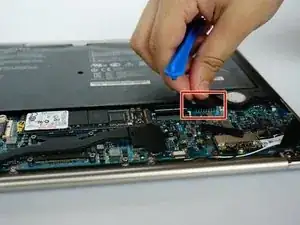
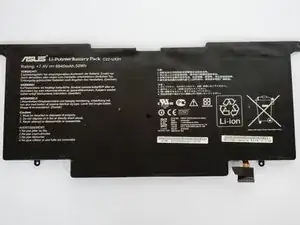
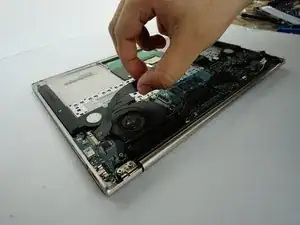
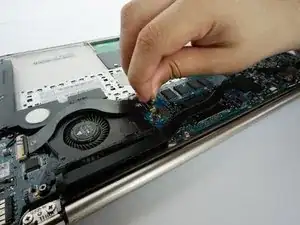
Disconnect the battery from the motherboard by gently pulling up and down on the connector.
-
-
-
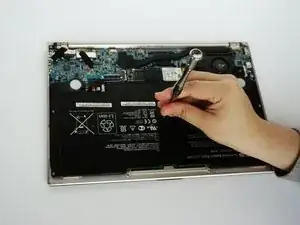
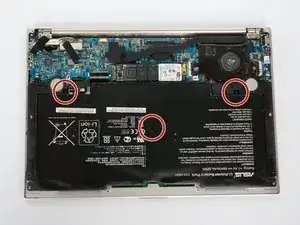
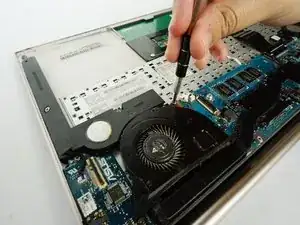
Using the Phillips #00 screwdriver, remove the screws from the middle and the two corners of the battery.
-
-
-
Peel back the warranty sticker to reveal the screw under it.
-
Using your Phillips #00 Precision Screwdriver, unscrew the screw that you just revealed.
-
-
-
Disconnect the fan connector from the motherboard.
-
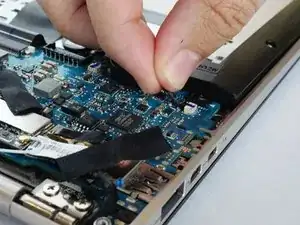
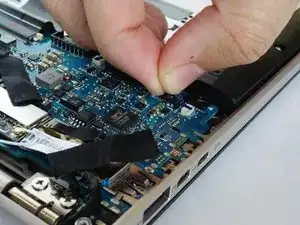
Pull up the clips on the ribbon connectors.
-
-
-
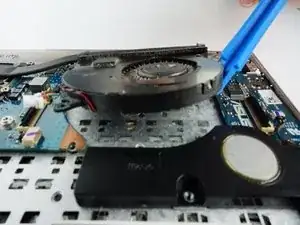
Using a plastic opening tool, lift the fan off of the laptop.
-
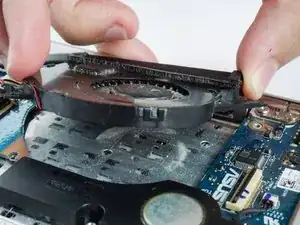
You can now use your hands and carefully pull the fan off the laptop.
-
-
-
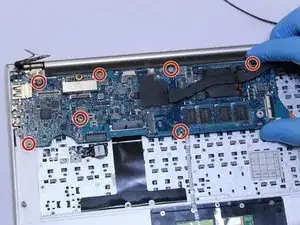
Remove the 7 screws holding the motherboard in the case with a Phillips #00 screwdriver.
-
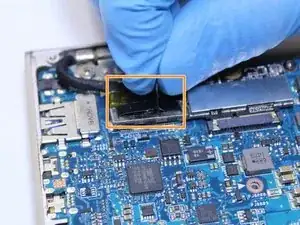
Remove the press fit connector attaching the motherboard to the screen.
-
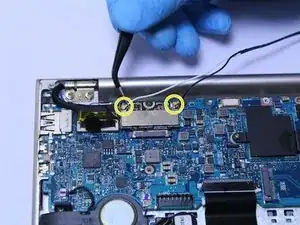
Remove the two cables that are still attached to the motherboard. You will need to use needle nose tweezers to remove these.
-
-
-
Lift gently and flip the motherboard over in the direction of the track pad.
-
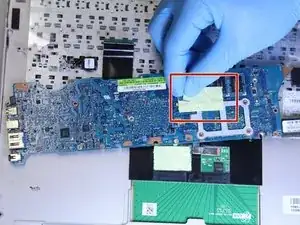
Peel off the the yellow tape.
-
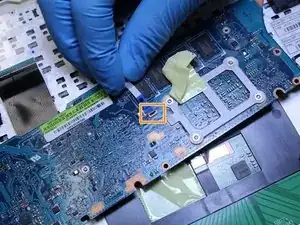
Detach the ZIF connector on the underside of the motherboard connecting it to the keyboard.
-
Remove the motherboard.
-
To reassemble your device, follow these instructions in reverse order.
Ein Kommentar
Boa Tarde
Tenho um equipamento igual não está apresentando imagen no LCD fica o power e caps look ligado e apenas arranca o cooller nada mais
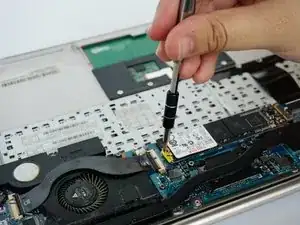
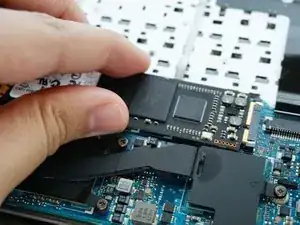
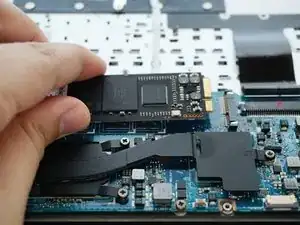
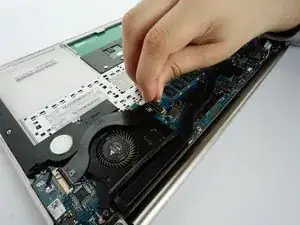

Can you tell me what size these screws are? I need to replace two.
Elliot Lozano -
I don’t know, but you can search with product code: VISTORXUX31E
See also: https://en.accessoires-asus.com/torx-scr...|l
Davide Bortot -