Einleitung
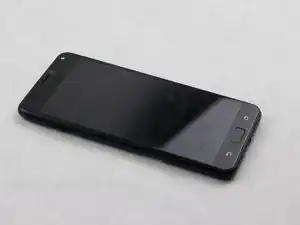
Replace your screen to restore your Asus Zenfone 4 Max phone screen's capabilities or appearance
-
-
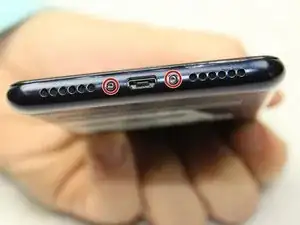
Using a removable head screwdriver and a T3 bit, begin by removing the two screws located on either side of the charging port.
-
-
-
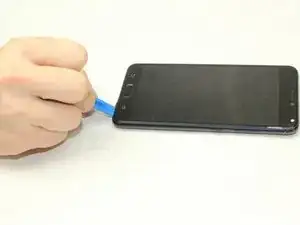
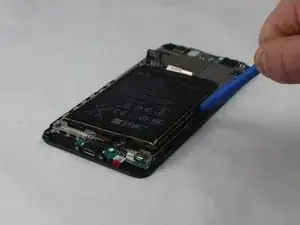
Gently wedge the opening tool between the phone and the back casing.
-
Move the opening tool up and down to pry the back off of the device.
-
-
-
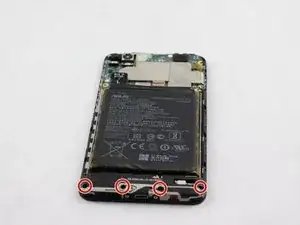
Once the back has been removed, you will need to unscrew the four screws on the bottom panel with an AT3 bit.
-
-
-
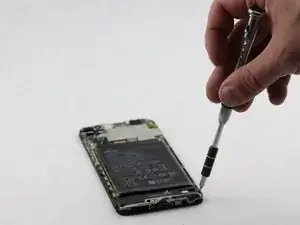
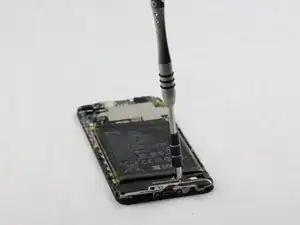
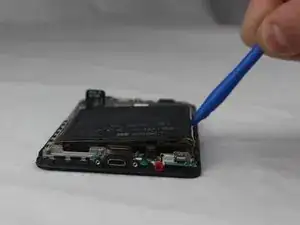
Wedge an opening tool between the battery and phone.
-
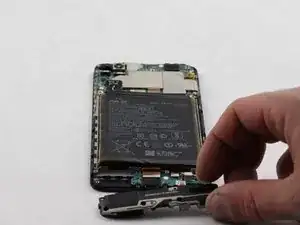
Gently pry the battery out of the device.
-
-
-
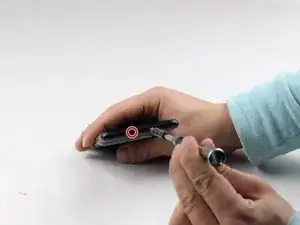
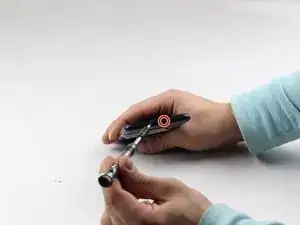
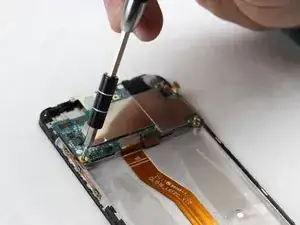
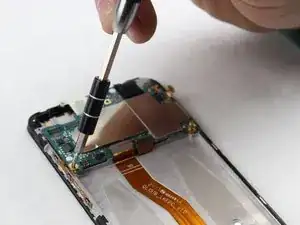
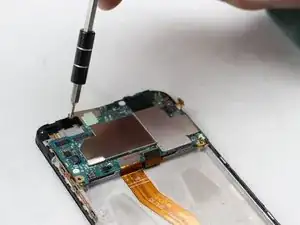
Using a removable head screwdriver and a T4 bit, remove the screws on the base of the phone on either side of the charging port.
-
-
-
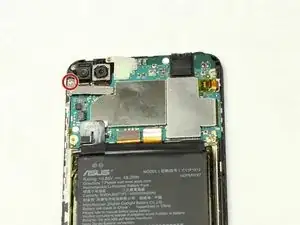
Starting near either of the 4 corners of the device notice the seam of the case around the front of the device.
-
Begin using the opening tool with a moderate amount of force to wedge between the back case and the phone.
-
Gently move the tool around the edges towards each corner until the back is removed.
-
-
-
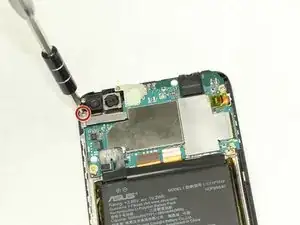
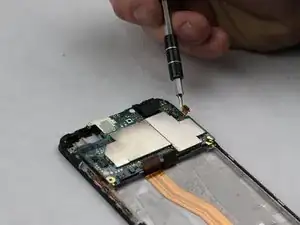
Using a removable head screwdriver and a PH0 bit, begin removing the panel beneath the two cameras by unscrewing the screw.
-
-
-
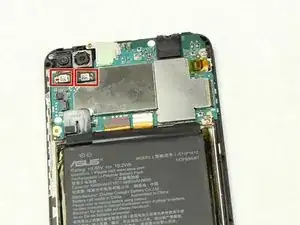
Use the tweezers to gently pull up on the flaps beneath the two cameras.
-
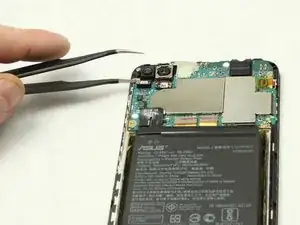
Completely remove the cameras and replace with the new cameras.
-
-
-
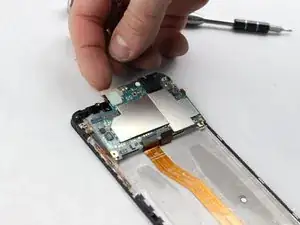
Disconnect the power cable on the right side of the device and leave it hanging in place.
-
-
-
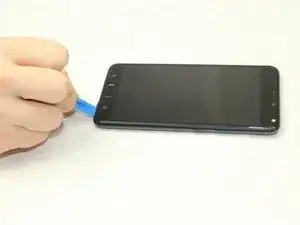
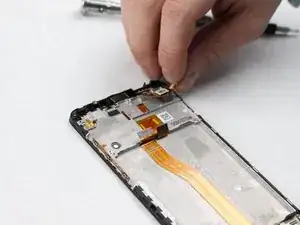
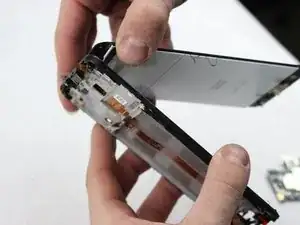
Using a metal spudger, separate the screen from the entire device by gently moving the tool around all edges.
-
-
-
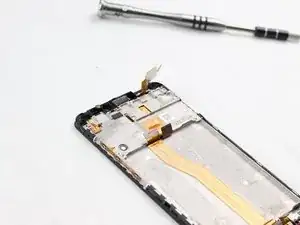
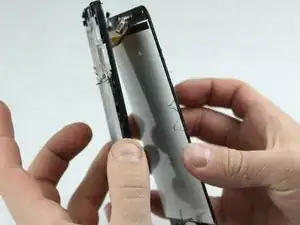
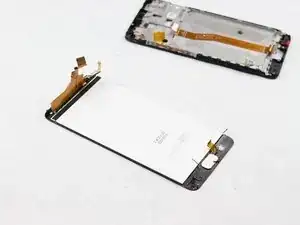
Gently separate the screen from the phone by pulling the two apart.
-
The power cables will be fed through the slots of the phone. Make sure the top power cable is disconnected and is removed along with the screen.
-


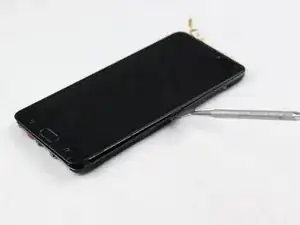
To reassemble your device, follow these instructions in reverse order.
2 Kommentare
in one step it says use a T3 for to the left and right of the charging port, later it says T4. also, the guide has what i believe to be a typo, as it mentions an “AT3” bit for removal of the internal bottom panel. just wanted to alert you to these inconsistencies. overall seems to be a good guide, i shall be replacing my screen soon as i have cracked the corner and find it unsightly. thank you, have a nice evening.
This was a fun fix, usually I fix iPad or iPhone, so this was my first time fixing an Asus and was easier than I thought it was gonna be. Just take your time as I didn't now I'm fixing something else .
A T3 FEELS too small and a T4 IS too big,the T3 sits in the screw but when I turn it,it strips.
Sir Frank Macias -
préciser de retirer le tiroir de la carte sim
SKRAF Durand -