Einleitung

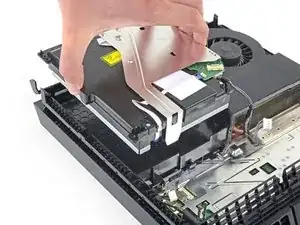
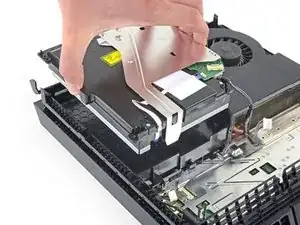
Grundständige Anleitung: Ausbau des optischen Laufwerks.

  1. 21LJYnUT534diPkY
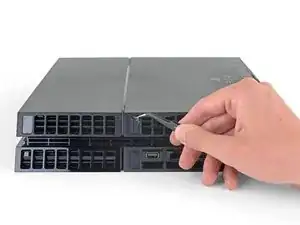
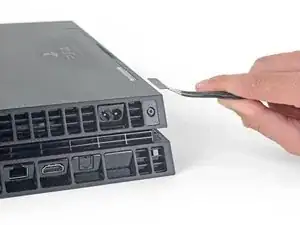
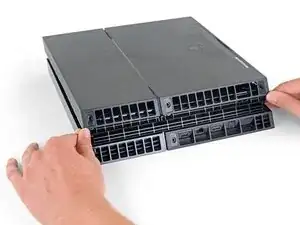
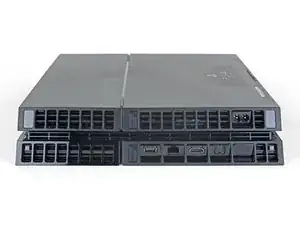
    • Drehe die PS4 um, so dass der Boden oben liegt und die Rückseite zu dir zeigt.

  2. kywHHmkOcswPFDjm
    kywHHmkOcswPFDjm
    g3p1nmGqDLvNYlwD
    HVJTWJOoL6cUcoBS
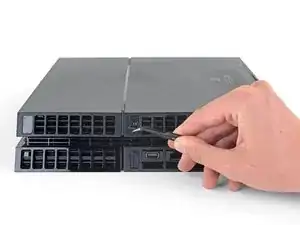
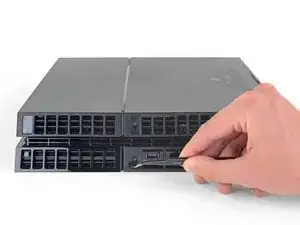
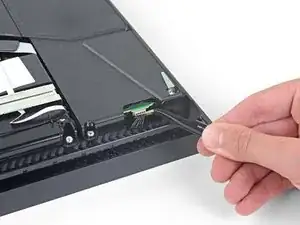
    • Ziehe die beiden Aufkleber in der Mitte der Rückseite mit einer Pinzette ab, so dass die beiden Gehäuseschrauben sichtbar werden.

  3. QGDNpTn4LrZHSr2F
    QGDNpTn4LrZHSr2F
    MLVk3bQRWjJpjhKh
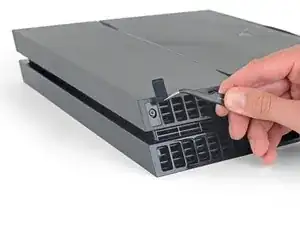
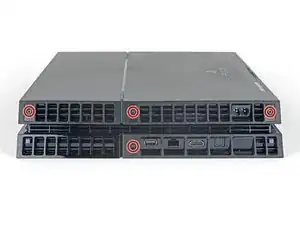
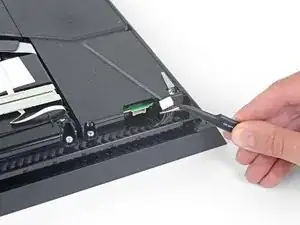
    • Entferne behutsam mit einer Pinzette die Schraubenabdeckungen aus Kunststoff in jeder Ecke, so dass zwei weitere Schrauben sichtbar werden.

    What If my PS4 doesn't have the two screws on the side

    Michael Jimenez -

    I should imagine that plastic cover will come off?

    How did you go?

    Cary B -

  4. EoWfJjtMRGNijIDA
    EoWfJjtMRGNijIDA
    kPwQlcOBVwv2PxuA
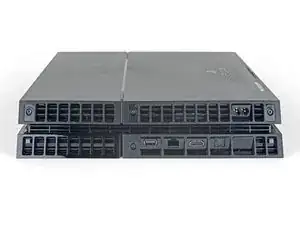
    • Entferne die vier 7,2 mm Torx Sicherheitsschrauben von der Rückseite der PS4.

    I only have two screws, those in the middle of the console.

    Oscar Martinez -

    Have you removed the plastic covers mentioned in the previous step? That will expose the other two screws.

    Sam Omiotek -

    same, here. there are only the middle screws, no covers or screws on the sides. and it sits pretty tight

    Johannes Müller -

    turns out 12XX models are different. Look at this for reference: https://www.youtube.com/watch?v=Hpr0z0ve...

    Johannes Müller -

    Yes there is slight variations between the first models, and the second gen and on models. I have an original and only has the two screws in the middle, removal of the cover remains the same.

    Mary Westphal -

  5. kbpHqgpXdtdVifwo
    kbpHqgpXdtdVifwo
    gtKNupdgQ44yDPVf
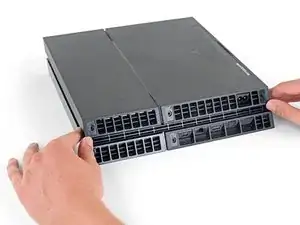
    • Hebe das Gehäuseunterteil mit den Daumen hoch und entferne es von der PS4.

    • Das Gehäuseunterteil ist mit Rasten befestigt. Zum Ablösen musst du möglicherweise recht viel Kraft aufbringen.

    sur la version 2 de l ps4 fat il n'y a que les 2 vis du milieu. Comment défaire le boîtier ?

    nlvolle -

  6. coGRVtdMr6vYQIWw
    coGRVtdMr6vYQIWw
    BGP5HaSrJNavVLaN
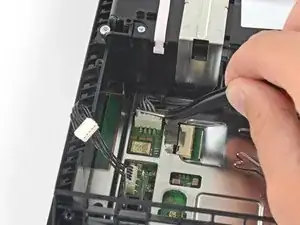
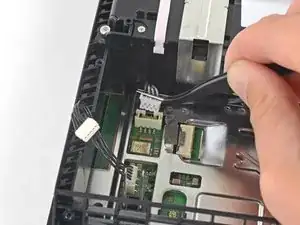
    • Ziehe das Versorgungskabel mit einer Pinzette gerade heraus und trenne das Netzteil von der Hauptplatine ab.

    • Wenn der Stecker festhängt, dann heble ihn behutsam mit einem Spudger heraus.

    This part looks dangerous. There should be a flag/warning not to destroy that cable yes?

    Shawn -

    I second Shawn's comment. That cable seems to be very fragile, and one of the wires snapped on mine while removing the cable. It wouldn't have bothered me so much, if it wasn't a pain to find a replacement for it.

    Matt Gaia -

    The tweezers used here, do not cut it. Not enough grip.

    I had to use a set of needle nose pliers to remove this.

    Cary B -

    Power supply connection stuck. I don't want to damage it

    Nick Alex -

    What you need to do here is be patient. Do not pull the wires. Get some fine nosed pliers, wiggle the white connector from left to right in small movements and edge it out slowly. You can also use your nails one finger at each edge of the white connector to do this.

    David Harkness -

    Its really hard but i managed it with both of the tweezers/pincers at the same time


    1. Keep in mind to pull not too hard on the wires and make step 2 and 3 simultaneously!

    2. the straigt and wider tweezer to pull the white connector itself
    (top and bottom grip)
    3. the small and angled tweezer to pull the wires carefully
    (as shown on the picture above)

    dinkelberg01 -

    Another option, is to remove the screws holding it down, leave the cable in place and lift it out carefully, revealing the other end of the connection. The hidden side of the connection wire is easier to get a handle on.

    Mary Westphal -

    I concur with David, some patience and a lot of wiggling did it for me despite the stubbornness of the connection. Does seem like this one varies a lot in how difficult it is to remove.

    hazelrat -

  7. EcgmyieGDdcMElOU
    EcgmyieGDdcMElOU
    oES1wXquYuIymPTQ
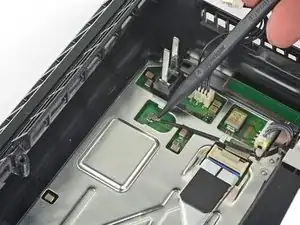
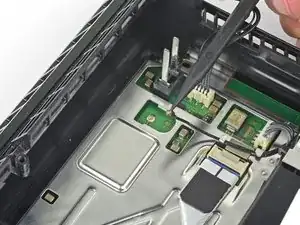
    • Trenne das Kabel zur WLAN-Antenne mit der Spudgerspitze von der Hauptplatine ab.

    dumb question but I’m very new to this. when reconnecting the wifi antenna, does it just click back on? I'm hesitant to try this procedure if I need to solder anything since I have zero experience.

    cliodhna -

    Yup! Hold it in place and press straight down on top of it with your finger or a spudger. If you have any other cable/connector questions see this guide.

    Sam Omiotek -

  8. MCxbfUY6UaKrmKCQ
    MCxbfUY6UaKrmKCQ
    TVMGZOKQUI53asHY
    62BX2LGhKLgvIJmY
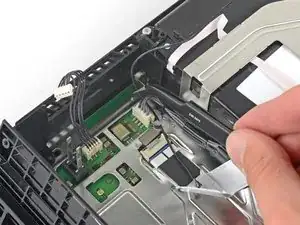
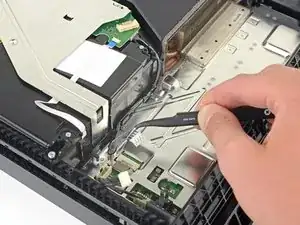
    • Fasse das Antennenkabel mit dem Finger oder einer Pinzette und hole es aus den Kabelführungen heraus.

  9. UPXA4VifbGFrvlIj
    UPXA4VifbGFrvlIj
    nXPq5UZ6AQwMh4aU
    M33e21yyIJ6ZAGlc
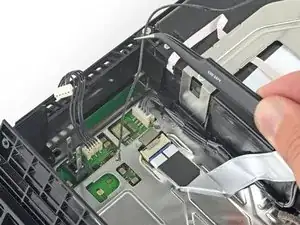
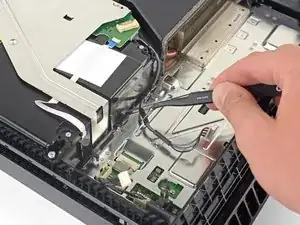
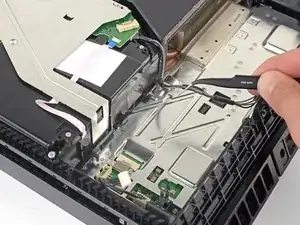
    • Hole das Antennenkabel mit dem Finger oder einer Pinzette unter dem Kabel zum optischen Laufwerk hervor.

  10. MIQAcQeKr1eTTVwf
    MIQAcQeKr1eTTVwf
    NxEPgJZruCIGLEhI
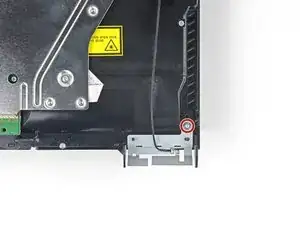
    • Entferne die 9,7 mm Torx Sicherheitsschraube, die die Antenne befestigt.

    This does not work on the newer 12 series

    raseemhassan123 -

    Thank you! I thought I was insane. I've been trying to figure out where the hell this thing goes and the seat for it is like an inch from the corner. It's driving me mental trying to figure out how to put this back on

    Leo Halliwell -

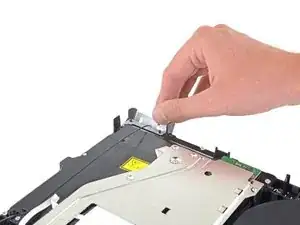
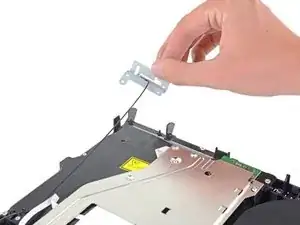
  11. GUboTTDfFRGvEiF1
    GUboTTDfFRGvEiF1
    LiMR2mf1HehdEOsR
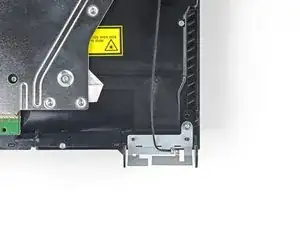
    • Entferne die WLAN-Antenne.

    When I’m connected to wifi it does good for awhile then it disconnects from the wifi and I can’t use the controller. I have to turn the game off and disconnect power source. Do you think the wifi antenna could be the problem or doin have another situation.

    Jay Pax -

    I would check the antenna connection to the motherboard, if it's properly seated I don't think it's the problem.

    hazelrat -

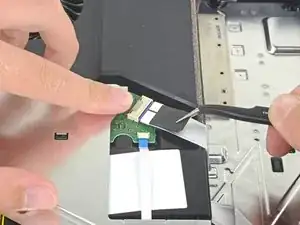
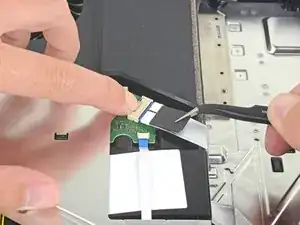
  12. UtJl22epDDxnDmXK
    UtJl22epDDxnDmXK
    EApjrGivEtJ2BSL2
    BdKvel4uAd3DTKJf
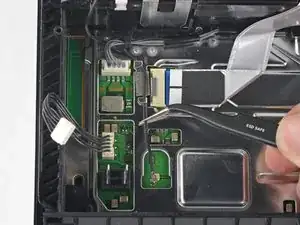
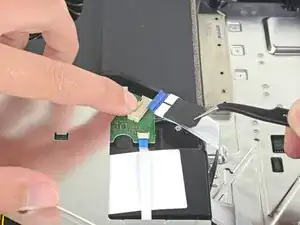
    • Drücke den Metallhebel zum Ablösen des Flachbandkabels oben am optischen Laufwerks mit dem Fingernagel nach unten.

    • Ziehe mit den Fingern oder einer Pinzette an der schwarzen Lasche und löse das Flachbandkabel behutsam ab.

    • Beim Einschieben des Flachbandkabels muss der Metallhebel nicht gedrückt werden. Wenn es richtig drin ist, kannst du ein leichtes Klicken hören.

    Please note that the younger generations of PS4 have a different setup of connectors to the driver, its sometimes 3 of these as presented but with different sizes and no pad to press down. However, dont be alarmed, just use the pair of tweezers and gently pull them off the connectors of the motherboard. Grab on tight on the blue area of the ribbon cable and pull gently! They tend to sit tight so take some time and patience on this.

    Mathias Kopp -

  13. 1LvBVqmqpBYstDEE
    1LvBVqmqpBYstDEE
    iTpPFQ2FtODogYS2
    GpRFwcaYGWPInGpL
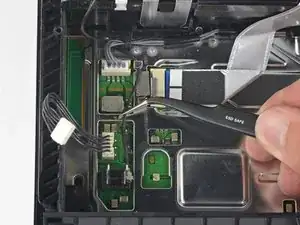
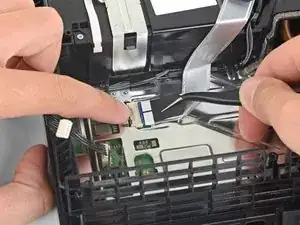
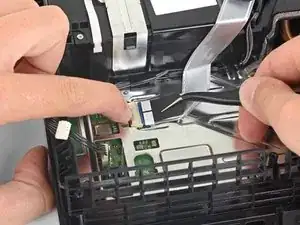
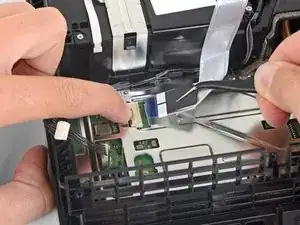
    • Drücke den Metallhebel zum Ablösen des Flachbandkabels an der Hauptplatine mit dem Fingernagel nach unten.

    • Ziehe mit den Fingern oder einer Pinzette an der schwarzen Lasche und löse das Flachbandkabel behutsam ab.

    • Lege das Flachbandkabel für den späteren Zusammenbau zur Seite.

    • Beim Einschieben des Flachbandkabels muss der Metallhebel nicht gedrückt werden. Wenn es richtig drin ist, kannst du ein leichtes Klicken hören.

    bei mir ist das leider defekt Plastikteil abgebrochen wie kann ich das ersetzen

    kevin pospiech -

    Is it possible to buy the white port for ps4? My one seems to be damaged so won't hold the ribbon cable.

    dorszes -

    This may be a difficult fix, as the white port seems to be integrated into the motherboard. You could try simply holding the ribbon cable down with electrical tape, if it's just a fitting issue?

    hazelrat -

  14. TeTMAoimw4tWu3an
    TeTMAoimw4tWu3an
    Z4EVnPGtququsxGP
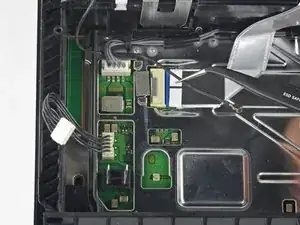
    • Trenne das Kabel zum optischen Laufwerk mit den Fingern oder einer Pinzette von der Hauptplatine ab.

  15. VHP4L4gyrtPc5nC1
    VHP4L4gyrtPc5nC1
    1B43RCFxNHTSVdLf
    bLYmLS4WOufOyEwM
    • Hole das Kabel zum optischen Laufwerk mit dem Finger oder einer Pinzette aus den Kabelführungen heraus.

  16. roUPxyMotoTmVYpU
    roUPxyMotoTmVYpU
    JbWvkobm2uRPxtZQ
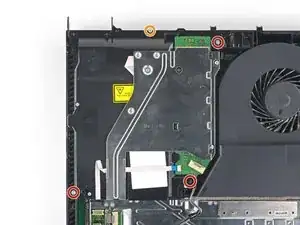
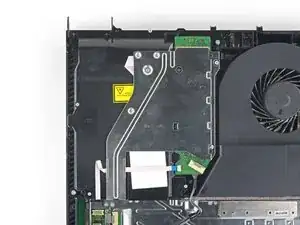
    • Entferne die vier Schrauben, mit denen das optische Laufwerk befestigt ist:

    • Drei 9,7 mm Torx Schrauben

    • Eine 6,2 mm Kreuzschlitzschraube

  17. 6O3MEDhAAGCqpqRa
    6O3MEDhAAGCqpqRa
    GxXAvyXwtYHZISCU
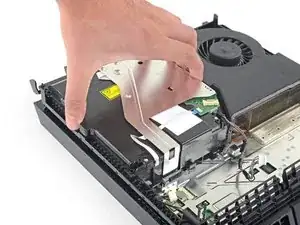
    • Hebe das optische Laufwerk gerade aus der PS4 nach oben heraus.

Abschluss

Um dein Gerät wieder zusammenzubauen, folge diesen Schritten in umgekehrter Reihenfolge.

Entsorge deinen Elektromüll fachgerecht.

Hat die Reparatur nicht ganz geklappt? In unserem Forum findest du Hilfe bei der Fehlersuche.

Vergleiche dein Ersatzteil mit dem Originalteil. Möglicherweise musst du fehlende Bauteile übertragen oder Schutzfolien vom Neuteil abziehen, bevor du es wieder einbauen kannst.
Sam Omiotek

Mitglied seit: 25/02/19

59342 Reputation

0 Kommentare