Einleitung
-
-
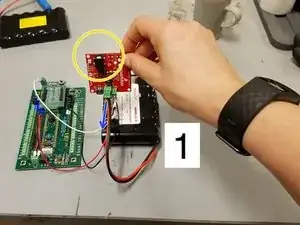
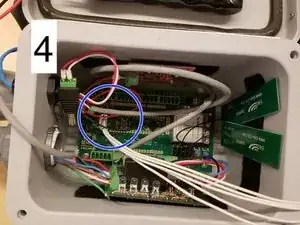
1. Disconnect the plug to the solar panel.
-
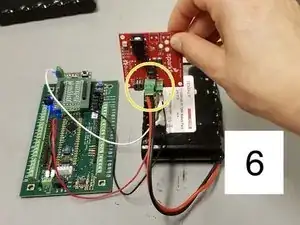
Then, grabbing the green connector, pull the battery connector from the solar charge controller.
-
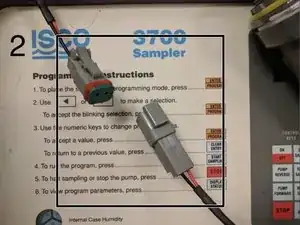
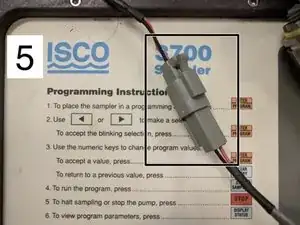
2. Disconnect the plugs for the autosampler battery.
-
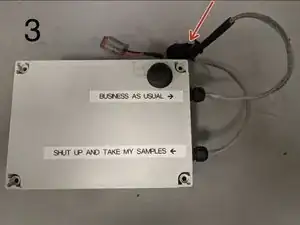
3. Disconnect the connector that plugs into the battery port of the sampler.
-
-
-
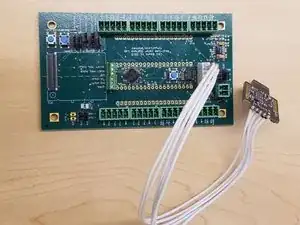
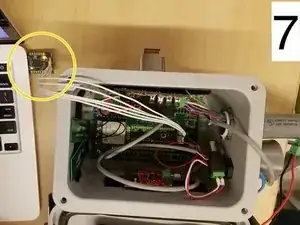
4. Plug in the USB programmer into the Open-Storm board.
-
5. Reconnect the node battery.
-
6. Reconnect the autosampler battery.
-
-
-
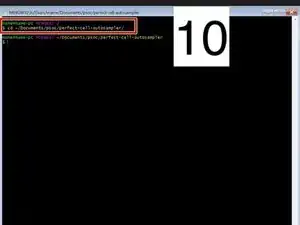
10. Open the Git Bash application and type "cd" followed by the address of the folder you created to save the code in. In this case "~/Documents/psoc/perfect-cell-autosampler".
-
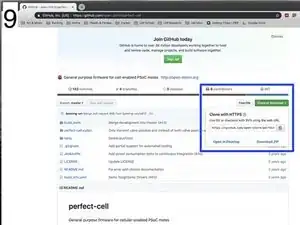
11. Type "git clone" followed by the address copied from git hub here.
-
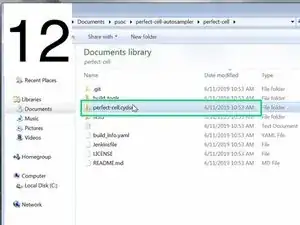
12. Inside your folder, open the "perfect-cell" folder then open the "perfect-cell.cydsn" folder.
-
-
-
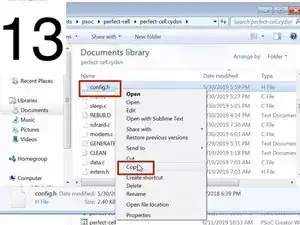
13. Obtain the "config.h" file from an administrator at the Real-Time Water Systems Lab. Then copy the file and paste it in the "perfect-cell.cydsn" file.
-
You will need the free program PSoC to program the cell. You can download it here.
-
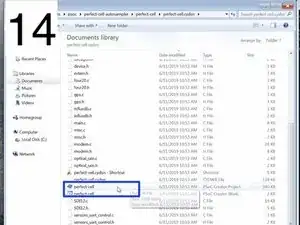
14. Then in the perfect-cell.cydsn" file, open the "perfect-cell" PSoC file. Once the PSoC Creator program launches, begin by building the cell. Go to: Build>Build perfect-cell. After it's done building you should not see any errors. Warnings are okay.
-
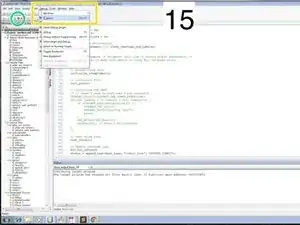
15. Now it is time to program the cell! There are two ways to do this:
-
(1) Press the "Program" button" or;
-
(2) Click "Debug" then select "Program"
-
-
-
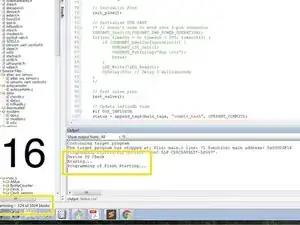
16. PSOC will begin flashing the code. You can track the progress by watching the "programming - XX of 1024 blocks".
-
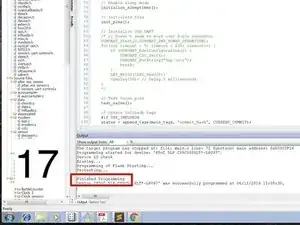
17. When the board is completely programmed, it will say "Finished Programming".
-
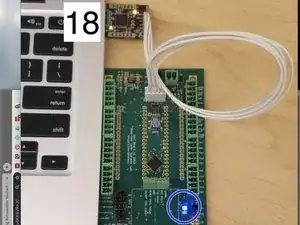
18. You will also note the board is completely programmed when the board flashes blue.
-
