Einleitung
Werkzeuge
-
-
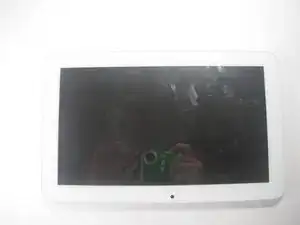
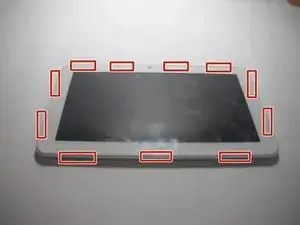
Lay the tablet down on a flat surface with the screen facing up, and the external camera facing upwards and closest to you.
-
-
-
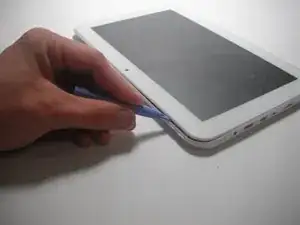
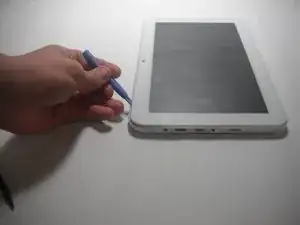
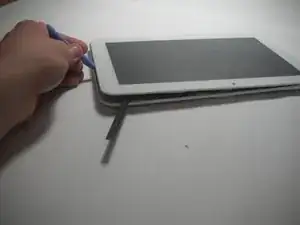
Insert the plastic opening tool in the space between the screen and the back cover above the volume buttons.
-
Slide the plastic opening tool gently along the sides.
-
-
-
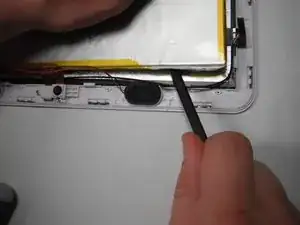
Place the spudger in an open space to keep the back case from shutting while you continue to slide the opening tool.
-
-
-
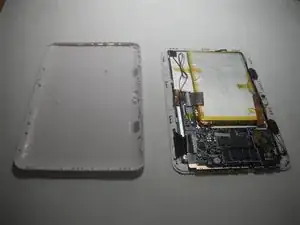
Remove the back cover with your hands once all points have been unlatched. It should separate completely from the screen that contains the battery and chip components.
-
-
-
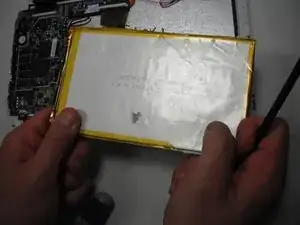
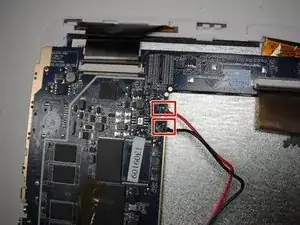
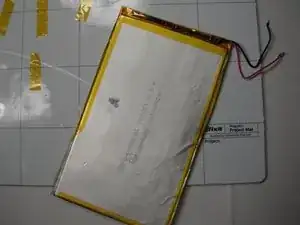
Identify the red wire attached to the node labeled "B+" and the black wire attached to the node labeled "B-"
-
-
-
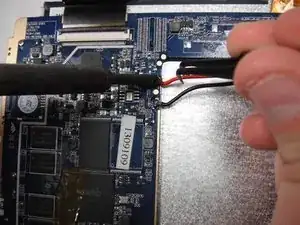
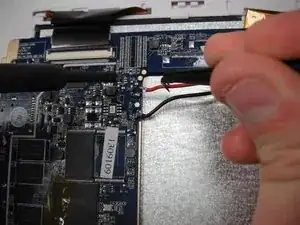
Press the heated soldering iron down on the "B+" node while simultaneously tugging on the red wire.
-
-
-
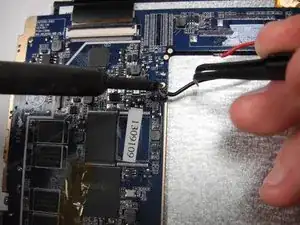
Using the same process as the red wire, detach the black wire from the node labeled "B-".
-
To reassemble your device, follow these instructions in reverse order.
