Einleitung

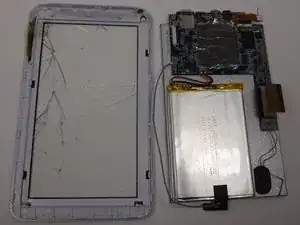
The touchscreen is embedded in the outer front casing of your Azpen A720 tablet. If the front touch screen is cracked or is not responding properly to touch, you should replace it. This replacement is moderately difficult, and it may take some time and patience, but this guide will help you through the process of replacing the tablet's front casing and touch screen.

  1. 1rRsh2BHTGuWOEVH
    1rRsh2BHTGuWOEVH
    4FByyAgMP6CO5Qy2
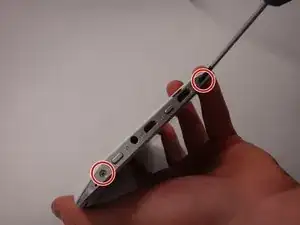
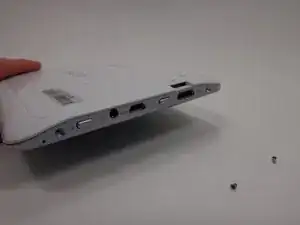
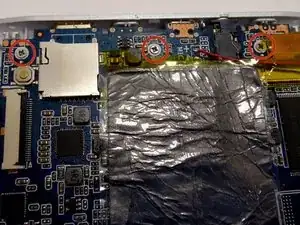
    • Use a Phillips #00 screwdriver to remove the two 4mm screws found on the top edge of the tablet near the power button.

  2. 5jSsR2bngPgRuGfG
    5jSsR2bngPgRuGfG
    2OjGvNrENgCL3RFI
    BRDLljsLvo4TVOg1
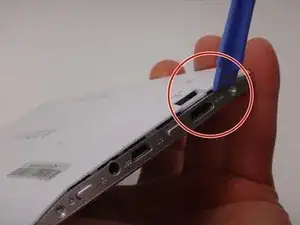
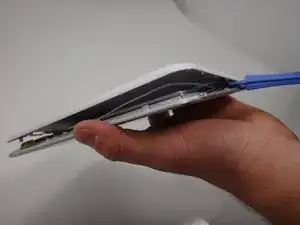
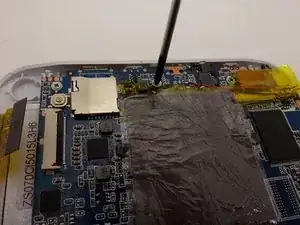
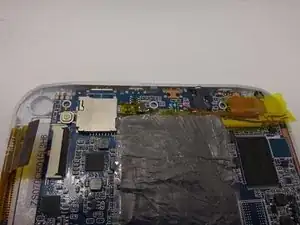
    • Use the plastic opening tool to pry the white back from the silver frame. Start near the micro SD slot.

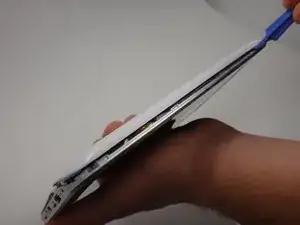
    • Slide the plastic opening tool around the perimeter of the casing until the back is disconnected.

    Hey how you can open back of azpen tablet

    jrmoreland -

    Hey I got a question to ask how can open the back of the Samsung

    jrmoreland -

  3. OsnvXLRSFZdEnbNf
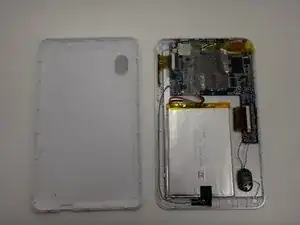
    • Remove the rear casing.

  4. pVImnP2F5RteAa51
    pVImnP2F5RteAa51
    gcAwKI3kKTiJbZF1
    dFFUKCLa2FRNKE3c
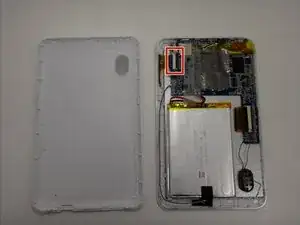
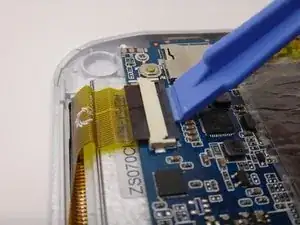
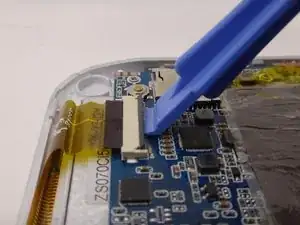
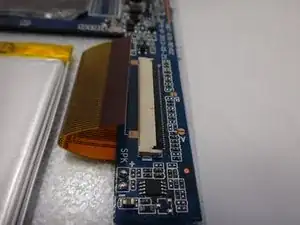
    • Use the plastic opening tool to gently lift the release lever for the ZIF cable.

    • The ZIF connector is delicate. Be careful not to damage the tab!

  5. DEm1eMcGXlQrpfVk
    DEm1eMcGXlQrpfVk
    WRjddDW1eRxIfNQP
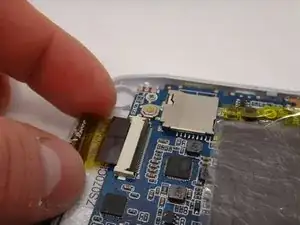
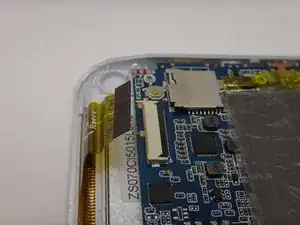
    • Gently remove the ZIF cable from the connector.

  6. QCmRvZTl1flcSueU
    QCmRvZTl1flcSueU
    xFAtSdJRfRkmJGB4
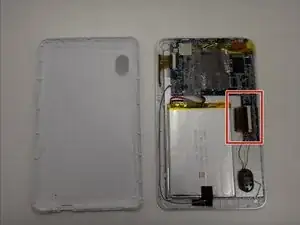
    • Disconnect the second ZIF connector using the same method detailed earlier.

  7. 3YBGL1LNBjowS6vx
    3YBGL1LNBjowS6vx
    fxd25dRxol4bot2J
    pACIJTJROrsRIino
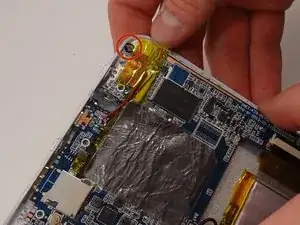
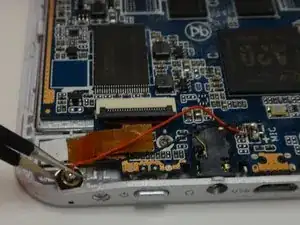
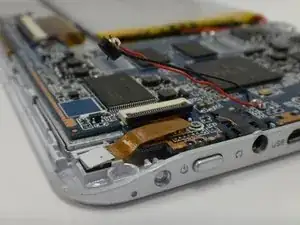
    • Locate the microphone. It is at the top of the device and next to the audio jack.

    • Using tweezers, gently remove the microphone.

    • Remember to reinsert the microphone when reassembling!

  8. 22ygPKsqsx1adNLs
    22ygPKsqsx1adNLs
    WGFKnZIZ4UgaZdPw
    CPqdfNc1aFaLipLX
    • Remove the three 4mm Phillips #00 screws securing the motherboard in place.

  9. 5QThUw4eG2M5hVZ3
    5QThUw4eG2M5hVZ3
    PTOCpeDFinRmQ6UW
    x6QlOb3PRrHFKLwA
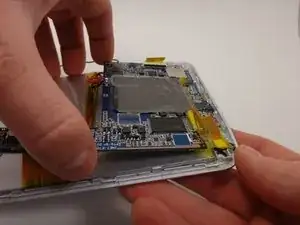
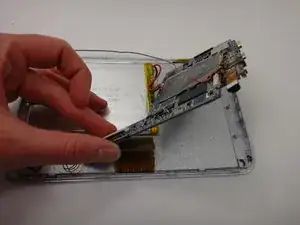
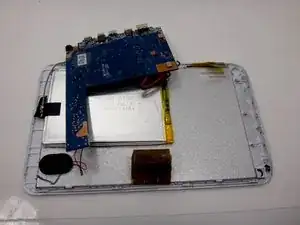
    • Remove the motherboard from the casing, being careful not to damage the remaining wires.

    • It's okay if the buttons fall out of the case.

    • Flip the motherboard so it rests upside down and out of the way of the metal backing.

  10. KN3hgZfelUtSFQTH
    KN3hgZfelUtSFQTH
    PBXanX3cvrB1ZQtM
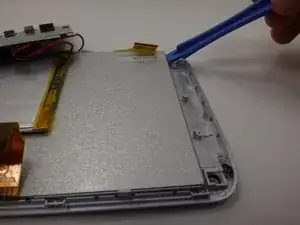
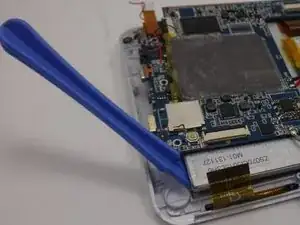
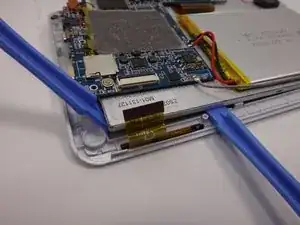
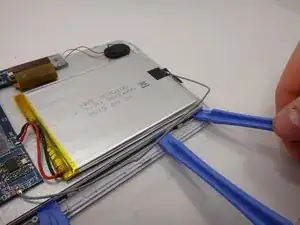
    • Starting at the edge, use a plastic opening tool to carefully pry the front casing off of the metal backing.

    • Leave the plastic opening tool in place underneath the metal backing to prop it up.

    • Move the motherboard out of the way as needed.

  11. MjbOS6S2GYr1fJji
    MjbOS6S2GYr1fJji
    WDQcVOFByUeGZik2
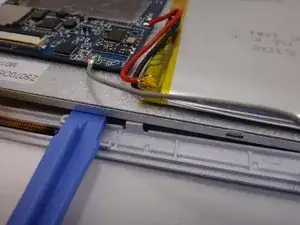
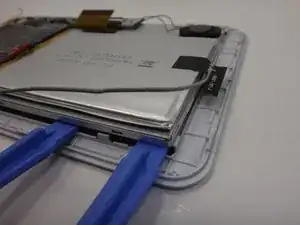
    • Using a second plastic opening tool, pry the adjacent side of the metal backing from the front casing/touch screen.

    • Pry close to the plastic tabs so you do not break them.

    • Leave the plastic opening tool in place underneath the metal backing to prop it up.

  12. FlJVSn4PPJjikLLp
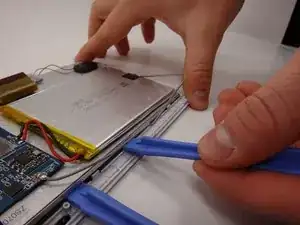
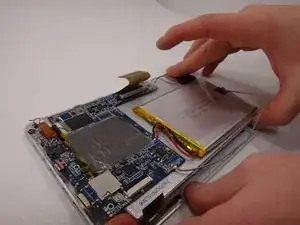
    • Remove the first plastic opening tool and use it to pry along the second edge.

    • Slide the tool along the edge until it is close the next tab, and gently pry the metal up.

  13. YTcCbtHkav1ICbst
    YTcCbtHkav1ICbst
    diNvMVMY1asuha4v
    QClQFGIyUIEfsbFk
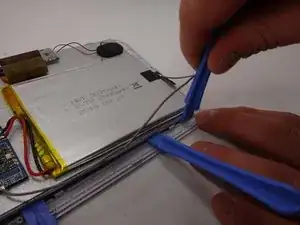
    • Use a third plastic opening tool to pry at the corner of the tablet and pop off the metal backing.

  14. yruI112YxaYGObNQ
    yruI112YxaYGObNQ
    x53qokjQX1U2r5sH
    mlTxHscILmjrMZ6x
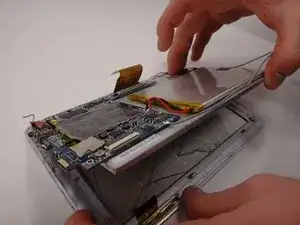
    • Lift the metal backing from the propped edge to remove it from the front casing.

    • Replace the broken front touch screen and casing with a new one.

Abschluss

To reassemble your device, follow these instructions in reverse order.
Anna

Mitglied seit: 17/03/15

353 Reputation

0 Kommentare