Einleitung
When replacing the speaker motherboard is important to use this as a last resort if your speaker is not turning on. The buttons could be not functioning and that would be a problem with the charging base motherboard or simply cleaning the buttons. The reason to replace the speaker motherboard would be if the ON/OFF switch is broken and not working at all. This guide will show you how to replace the speaker motherboard.
Werkzeuge
-
-
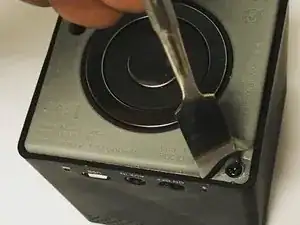
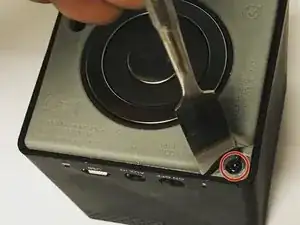
Pull back the rubber corners to uncover the bottom screws.
-
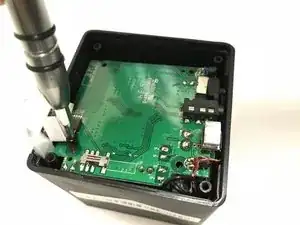
Continue this process for all four 10 mm screws.
-
-
-
Remove the bottom cover of the speaker.
-
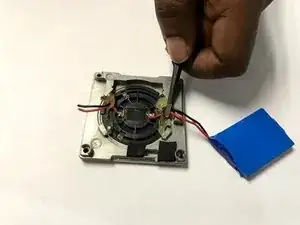
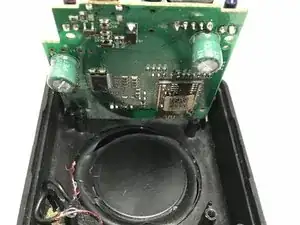
Remove all of the wires from the speakers internal chip, utilizing the tweezers.
-
-
-
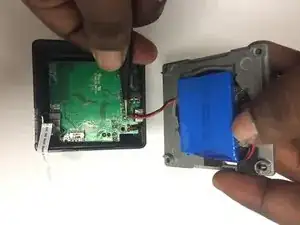
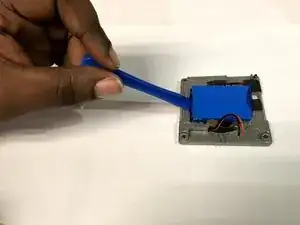
Remove the wires from the speakers battery using the tweezers or by gently removing them by lightly pinching.
-
-
-
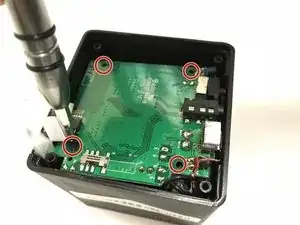
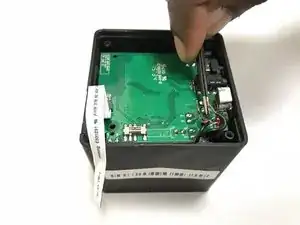
Remove bus wire from the speaker's motherboard and lift the motherboard out of the speaker.
-
To reassemble your device, follow these instructions in reverse order.
