Einleitung

This guide provides steps on how to replace the battery of the Blu Studio 7.0 II.

  1. JBTJEYrVUQlDnOMK
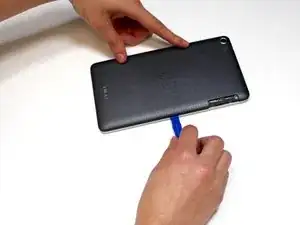
    • Locate the seam between the black and silver pieces of the phone.

    • Insert a plastic opening tool into the seam and firmly pry the black back piece away from the silver front piece.

    • To create the initial separation for the plastic opening tool, you may need to use either a spudger or metal spudger. If you use a metal spudger, be aware this can damage your phone if you aren't careful.

  2. SeFnFdsSPcEhKUiA
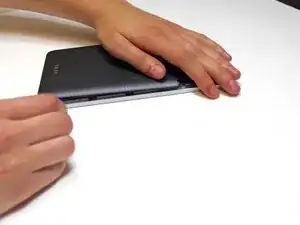
    • Work your way around the edge of phone, firmly prying the pieces apart.

  3. OtZJ1q5c2WCvTWNn
    OtZJ1q5c2WCvTWNn
    IuyV2RpOLiGIgWUV
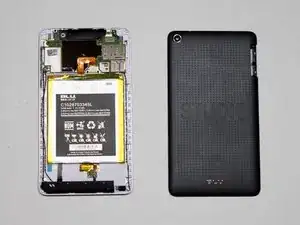
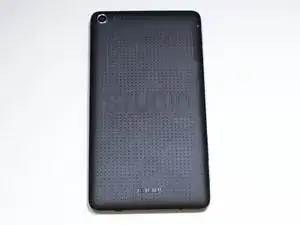
    • Once the back has been removed, you can snap the new one into place by pressing firmly around the edges with your fingers.

  4. JtJFK5ynSrUQZKEI
    JtJFK5ynSrUQZKEI
    blxBvprHFebuVL3C
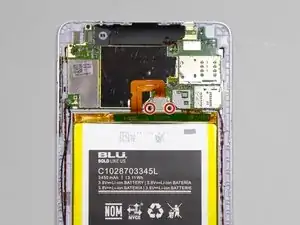
    • Using the PH00 screw driver, remove the two 3mm screws.

    • These screws may be covered by small, round black stickers. Remove the stickers to continue.

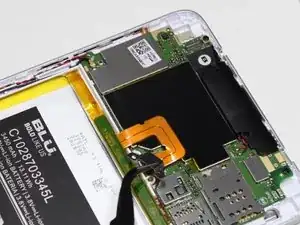
    • Remove the metal clip that connects the battery ribbon to the motherboard by lifting up. Precision tweezers work best for this part.

    • Be sure to only grab the metal clip with the tweezers, not the connector underneath.

  5. 63unmMvN4JSLs5GO
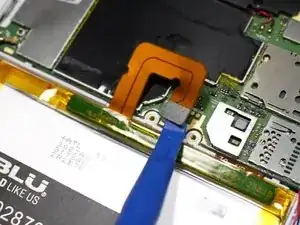
    • Disconnect the battery connector using a plastic opening tool or the flat end of a spudger.

  6. tMHJTLE5LILdYZtJ
    tMHJTLE5LILdYZtJ
    431e1yNagTyktiDT
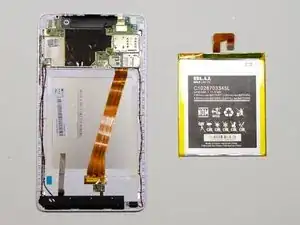
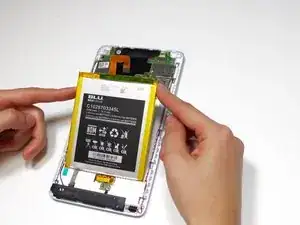
    • Using the black spudger, carefully but firmly pry the battery out of the housing.

    • There are two strips of adhesive on the left and right sides of the battery securing it to the housing. You may need some force to pull the battery out.

Abschluss

To reassemble your device, follow these instructions in reverse order.
Abby

Mitglied seit: 14/05/16

852 Reputation

0 Kommentare