Einleitung

This guide provides steps on how to replace the rear camera of the Blu Studio 7.0 II.

  1. JBTJEYrVUQlDnOMK
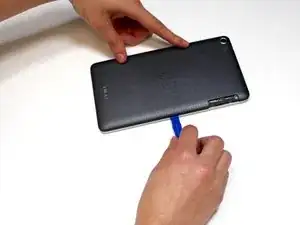
    • Locate the seam between the black and silver pieces of the phone.

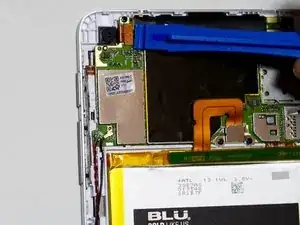
    • Insert a plastic opening tool into the seam and firmly pry the black back piece away from the silver front piece.

    • To create the initial separation for the plastic opening tool, you may need to use either a spudger or metal spudger. If you use a metal spudger, be aware this can damage your phone if you aren't careful.

  2. SeFnFdsSPcEhKUiA
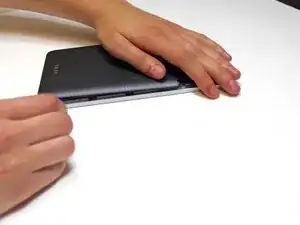
    • Work your way around the edge of phone, firmly prying the pieces apart.

  3. OtZJ1q5c2WCvTWNn
    OtZJ1q5c2WCvTWNn
    IuyV2RpOLiGIgWUV
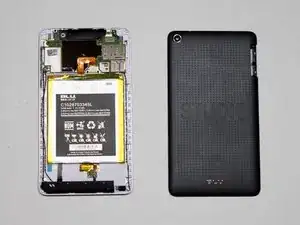
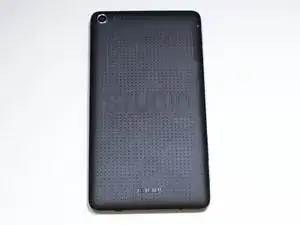
    • Once the back has been removed, you can snap the new one into place by pressing firmly around the edges with your fingers.

  4. udMNPXsDHGKJGOVH
    udMNPXsDHGKJGOVH
    4qwJRSYbrSnMZje6
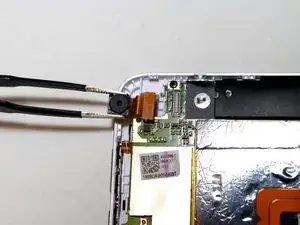
    • The camera is located in the top left of the frame (if the screen is on the table and the top of the phone is farthest from you).

    • To remove it, grip the lens itself (the black part) with a pair of precision tweezers and lift straight up.

    • The camera is connected to the motherboard with a simple clip connection. This will release as you pull.

Abschluss

To reassemble your device, follow these instructions in reverse order.
Abby

Mitglied seit: 14/05/16

852 Reputation

0 Kommentare