Einleitung
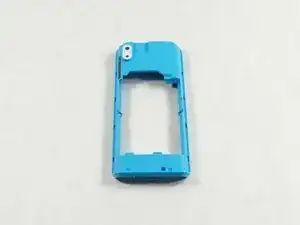
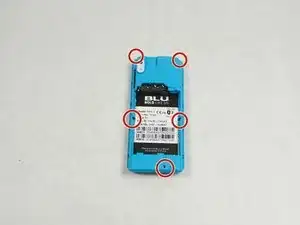
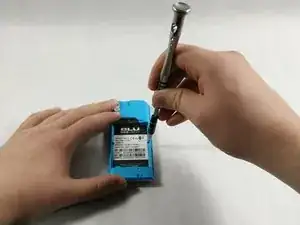
This guide will detail how to remove and replace the outer lens of the camera of the BLU Tank II cell phone. The guide will require knowledge from the previous guides in order to successfully replace the lens. This guide requires a screwdriver and an opening tool.
Werkzeuge
-
-
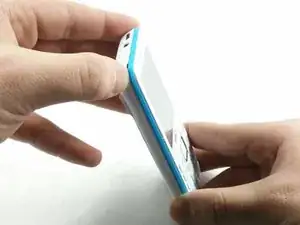
With the screen facing you, find the left corner of the phone. There should be a visible groove.
-
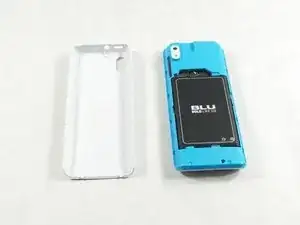
With your fingers, carefully press a fingernail into the slot and separate the back panel from the phone.
-
-
-
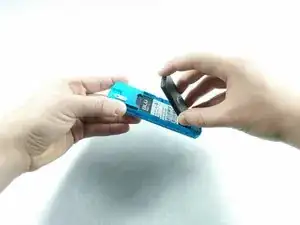
After the back panel has been removed, put your finger on and press down on the bottom part of the battery.
-
Lift the battery up and carefully remove the battery.
-
-
-
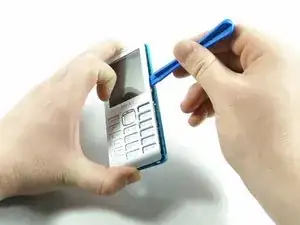
Wedge the blue plastic iFixit opening tool between the front plate and the outer lens plate.
-
Carefully separate the front plate from all sides of the phone.
-
-
-
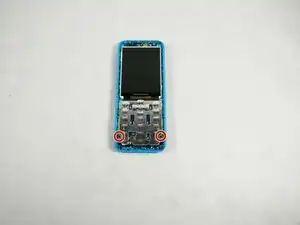
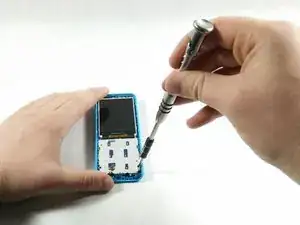
Locate the two 2.5mm screws (red circles in image) and remove them with the Philips 00 screwdriver used previously.
-
-
-
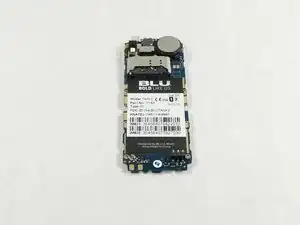
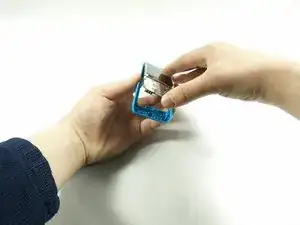
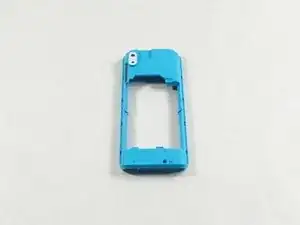
Once screws are removed, separate the motherboard and outer lens by carefully pushing the motherboard out with your hand as displayed in the image.
-
To reassemble your device, follow these instructions in reverse order.
