Einleitung

This guide will go over how to remove the two small speakers from the device.

  1. DUthEnueMWXiaSKb
    DUthEnueMWXiaSKb
    Z6CVPKvJWGWhYkT5
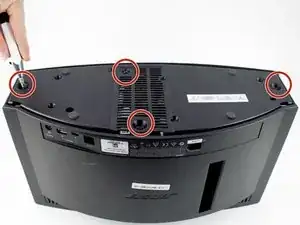
    • Remove the four 15.5 mm PH2 screws securing the base plate to the device.

  2. cHg1kR2TIau6cakU
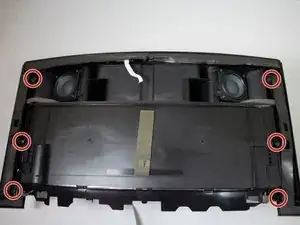
    • Remove the six 15.5mm PH2 screws securing the grille and rear panel to the device.

  3. WNoWIXJiwAA3ULb4
    WNoWIXJiwAA3ULb4
    v1P1jJxwqiQOwwsY
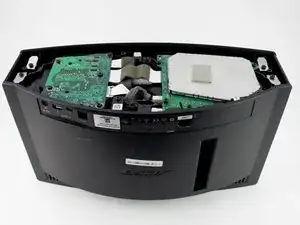
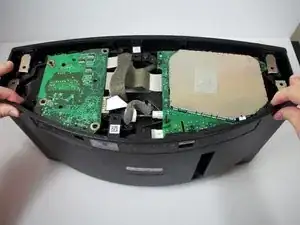
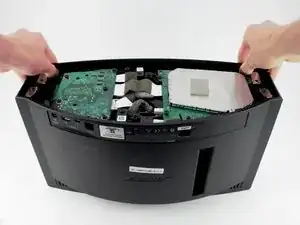
    • Remove the grille and rear panel by grabbing the corners and pulling upwards and outwards.

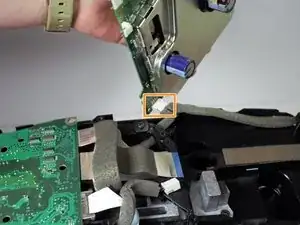
    • There is a small ribbon cable that connects the display assembly to the body of the device. Make sure to disconnect the cable before pulling the grille all the way off or else the cable could snap.

    Is there any way to replace or repair the display ribbon cable? I snapped it and now I have no display.

    Carol Rigdon -

  4. mvVVHndWWmCfiQjW
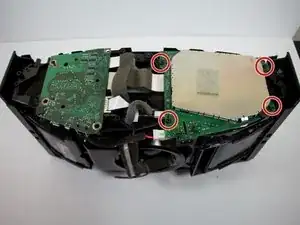
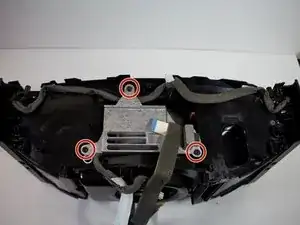
    • Remove all four 15.5 mm PH2 screws holding the power supply down.

    • The power supply is identified by a green board with a large metal covering.

    I can buy the parts with you guys.

    Jaime Ojeda -

  5. Lbv4cG6bHrgVdiAV
    Lbv4cG6bHrgVdiAV
    rScv1OFUYqNMopTA
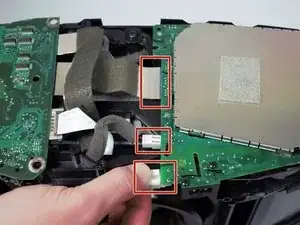
    • Disconnect the three cables from the power supply by squeezing the white tabs if present and gently pulling.

    • Pick up the power supply and remove the fourth cable from the underside of the power supply.

    • Remove the power supply.

  6. lFSUcrL3ZSGPdeto
    lFSUcrL3ZSGPdeto
    56W2fexDlXQRlNgY
    hSRSrVmyHuNDPkZB
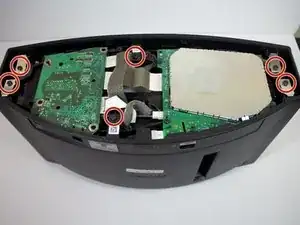
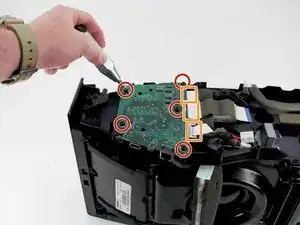
    • Remove the five 15.5 mm PH2 screws holding the motherboard down.

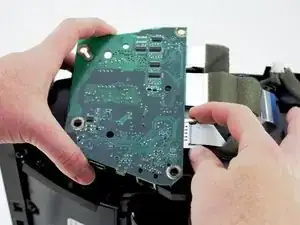
    • Remove the three cables from the side of the motherboard by squeezing the grey tabs if present and gently pulling.

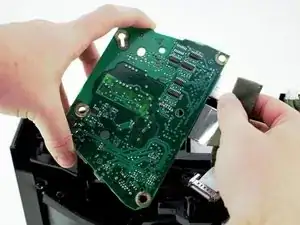
    • Remove the motherboard.

    • The motherboard is identified as the smaller green board with an ethernet, USB Type A, and an auxiliary port.

    hello there,

    I need a replacement of my motherboard, where can I buy this item?

    Thank you..

    edgar -

  7. LHyFNBUuUn6vJJwh
    • Remove the eight 15.5 mm PH2 screws holding the plastic insert down.

    • Remove the plastic insert and set it to the side.

  8. 6cAbvhCeQ4ibQDif
    • Remove the three 15.5 mm PH2 screws holding the metal insert down.

    • Remove the metal insert and set it to the side.

  9. RJQluvAYNdQEHhWv
    RJQluvAYNdQEHhWv
    VxUH3E1rH11VSH1V
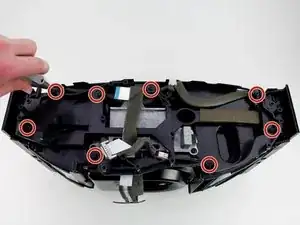
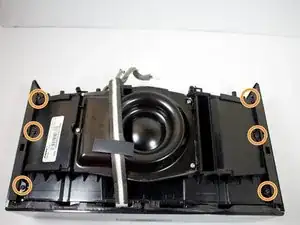
    • Remove the six 15.5 mm PH2 screws securing the side plates to the front of the device.

    • Remove the six 15.5 mm PH2 screws securing the side plates to the back of the device.

    • The foam lining can cover up a screw. If you can't see all three right away, lift up along the edge of the foam until all screws are found.

  10. GEEioXYbtMbJ1OG6
    GEEioXYbtMbJ1OG6
    LJSFXnWaALqH13y1
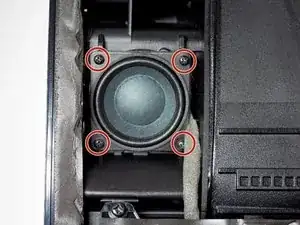
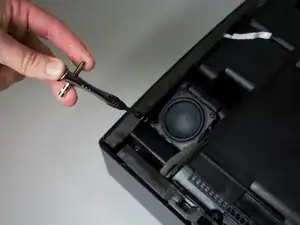
    • Lay the device on its back and remove the four 11 mm PH0 screws holding the speaker to the device.

    • Remove the four 11 mm PH0 from the other speaker as well.

    • The screws on the speakers can be extremely tight and might require the use of a screwdriver with a large handle.

    Onde posso comprar novos speakers ?

    faria34faray -

  11. HTgLfybPcR6cvAxh
    HTgLfybPcR6cvAxh
    DFreJqqtZ66gV65a
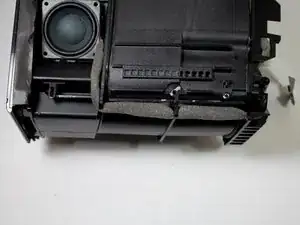
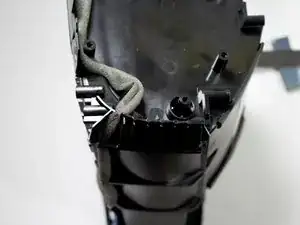
    • Remove the speakers from their housings, making sure to be careful with the wires.

    • Unhook the speaker wires from the cable stays along the sides and bottom of the device.

Abschluss

To reassemble your device, follow these instructions in reverse order.

Brennen Irey

Mitglied seit: 18/04/18

993 Reputation

Ein Kommentar

Hi can I buy the subwoofer that needs replacing I am in Australia.

Michael -