Einleitung

Prerequisite only! This guide shows how to remove the hydraulic fluid tank lid for internal access and servicing.

  1. s2YGUE2hAZBeY2af
    s2YGUE2hAZBeY2af
    ZZcXNQfl6oHSSvcK
    • Before you begin, ensure that the engine is powered down and cool to the touch.

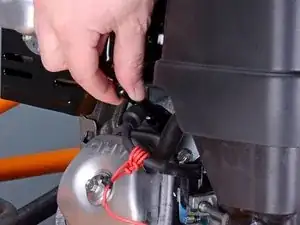
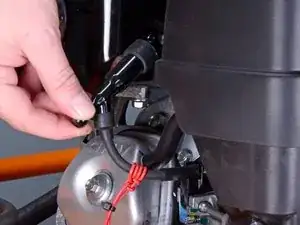
    • Grab the plastic housing at the end of the spark plug wire and pull firmly to disconnect it.

  2. 5XNxZUOMumNRQnZi
    5XNxZUOMumNRQnZi
    PRbKxuQaVOccHEaH
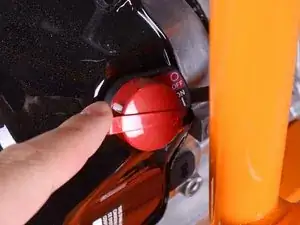
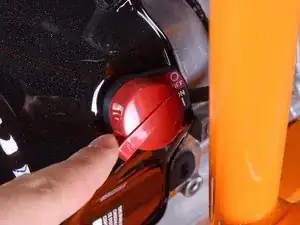
    • Flip the red engine ON/OFF switch to the OFF position.

  3. ELbXP1OZsK5dtsBV
    ELbXP1OZsK5dtsBV
    RrbPTfJWnGLicru3
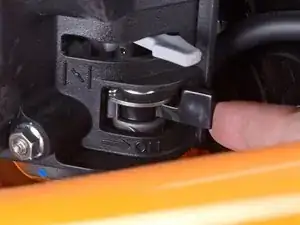
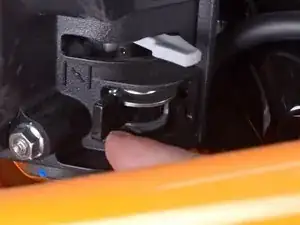
    • Flip the fuel valve lever to the OFF position.

  4. jOQUT6h4DWhEndhK
    jOQUT6h4DWhEndhK
    pwrPhQvk2RKy5MpD
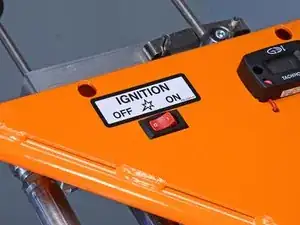
    • Flip the ignition switch to the OFF position.

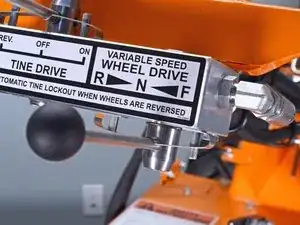
    • Ensure the wheel drive control lever is set to the neutral position.

  5. BCLCetXmDSNeQdgl
    BCLCetXmDSNeQdgl
    UJvQ5wEOPFLWwH1F
    TU2RsedTJJWJDUBA
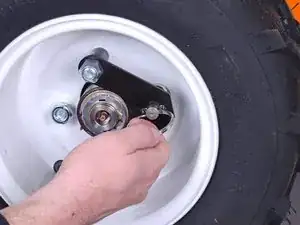
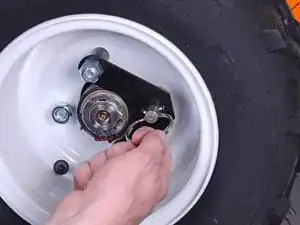
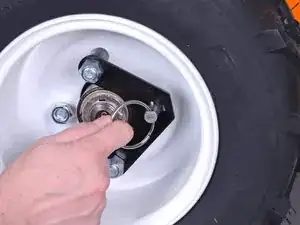
    • Pull the locking pin out and rotate it 90˚ to unlock the right wheel from the hub.

    • Repeat for the left wheel.

  6. iljfxDVpMMRf1PiE
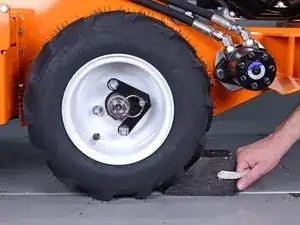
    • Insert wheel chocks underneath each wheel to keep the device stationary during disassembly.

  7. hJZAFeNEhXxG3uIA
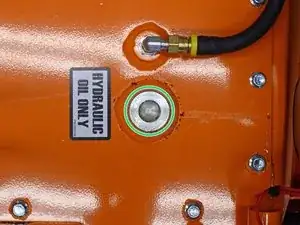
    • Use a 14 mm hex key to remove the tank fill plug.

  8. 1QcHCaYoK3rihouQ
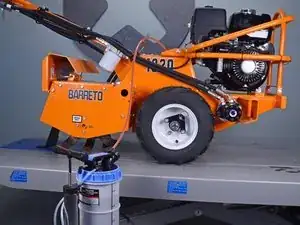
    • Use a siphon to pump out as much fluid as you're able to, totaling about 14 gallons.

  9. OrpeHJEXjRjuyUSF
    OrpeHJEXjRjuyUSF
    LosrCGKwbagGXT2D
    ThuYylZXhqBuvyYr
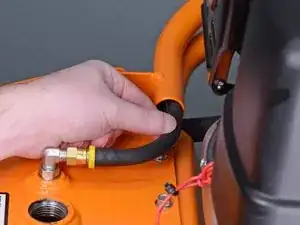
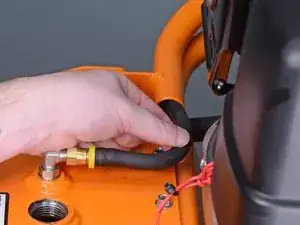
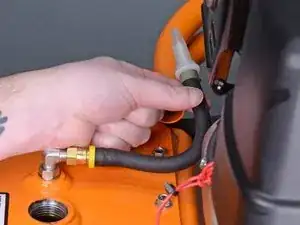
    • Remove the end of the tank breather tube from inside the engine guard structural pipe.

  10. XDhjXo3RaPtJHdaG
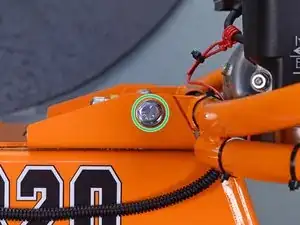
    • Use a 9/16 inch socket and wrench to remove the two bolts and accompanying nuts securing the engine guard to the tank lid, one on each side.

  11. Au5UOK6XXmFkiPVe
    Au5UOK6XXmFkiPVe
    oW2vbRLDD53Spb6Y
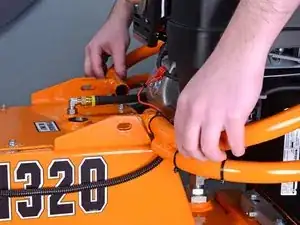
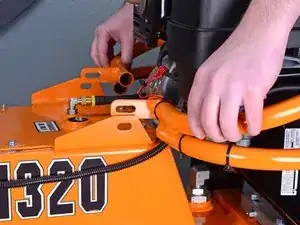
    • Lift the engine guard up above the tank lid flanges.

  12. OSClZ3ZKmPKkQPMw
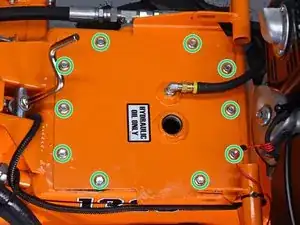
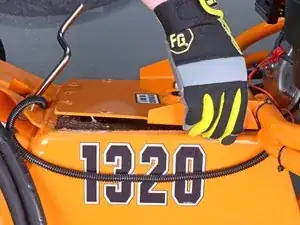
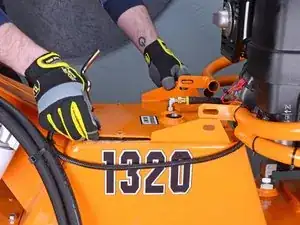
    • Use a 3/8 inch socket to remove the ten bolts securing the tank lid.

  13. FtXAImxTBRacqP4C
    FtXAImxTBRacqP4C
    BRGbkEZMTskGGYaj
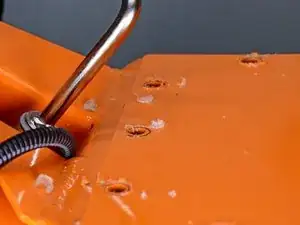
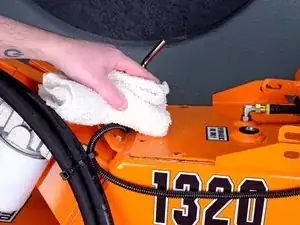
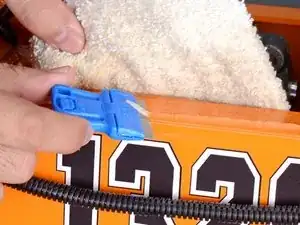
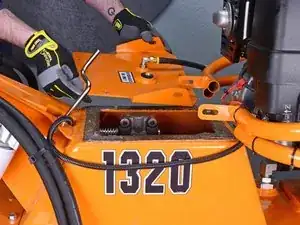
    • Use a shop towel to clean and remove any remnants of silicone gasket material from the top of the lid and surrounding areas.

    • Try to prevent any silicone remnants from falling into the hydraulic fluid tank.

  14. kPFYBR1KfMGmrjqH
    kPFYBR1KfMGmrjqH
    2Q4Yaw2vjOhVdeT5
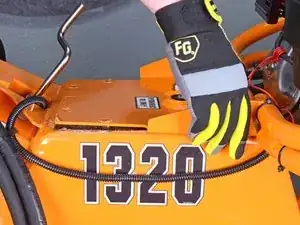
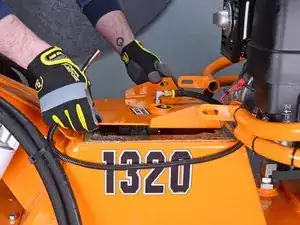
    • Lift up on the lid to break the seal around the perimeter of the gasket.

  15. cIR4gTtTU623aVPb
    cIR4gTtTU623aVPb
    WBm2oF3VD3VcKDWT
    TL26l3w1cYymKkN4
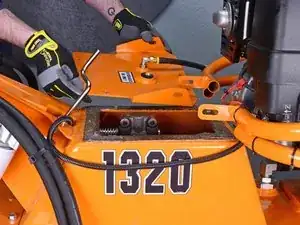
    • Lift the tank lid out and around the engine guard mounting tabs to remove it.

  16. 5N4wW3LHoTjxEgXX
    5N4wW3LHoTjxEgXX
    kAtOKbxAuGYsWhVn
    3a4YNJmqN2kZPcXD
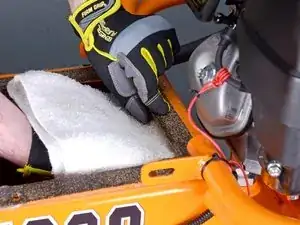
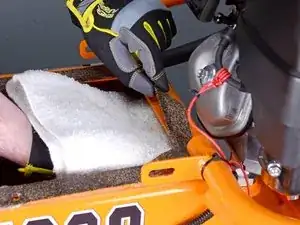
    • When peeling up the gasket, hold a shop towel underneath the lip of the tank to prevent any silicone remnants from falling in.

    • Peel the gasket up from around the perimeter of the tank.

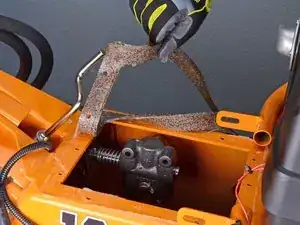
    • Remove the gasket.

  17. ubKwMSddGmPmR2Uo
    ubKwMSddGmPmR2Uo
    2DH4FKDlCErNwjlH
    • Before reinstallation, remove all remnants of old silicone gasket from both the rim of the fluid tank as well as the tank's lid.

Abschluss

To reassemble your device, follow these instructions in reverse order.
Carsten Frauenheim

Mitglied seit: 10/03/20

88317 Reputation

0 Kommentare