Einleitung
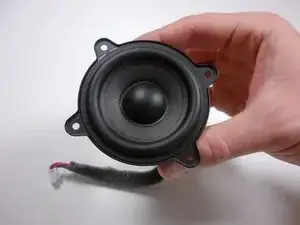
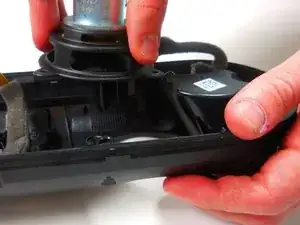
In this guide, the process of speaker replacement is shown.
Werkzeuge
-
-
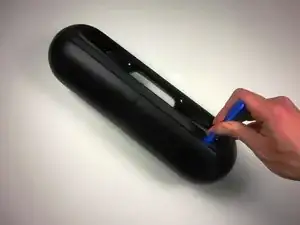
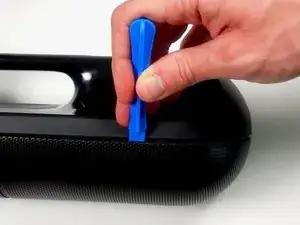
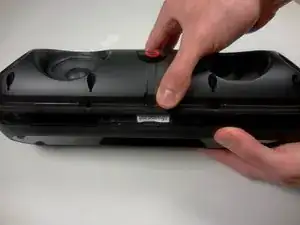
Using a plastic opening tool, pry the casing from the rest of the device.
-
Pry all the way around the edge and then pull apart.
-
-
-
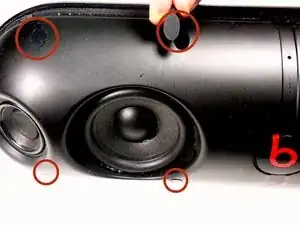
Using your thumb, remove the 8 rubber plugs in order to get to the screws.
-
Simply rub them towards the speakers and they will slide out enough to grip the edge and pull them out.
-
-
-
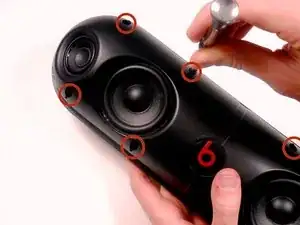
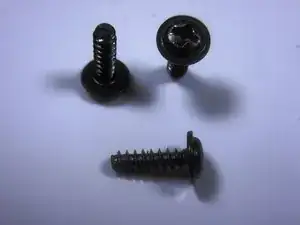
Using a Phillips #2 screwdriver, remove the 8 (10mm maxi-loc Phillips #2) screws that hold the casing together.
-
-
-
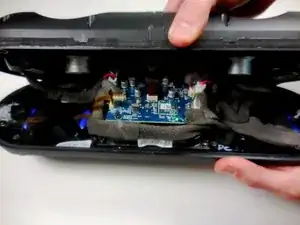
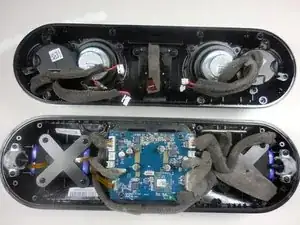
Pull apart the front casing from the back casing, slowly. Try to avoid any tension on any of the connected cables.
-
-
-
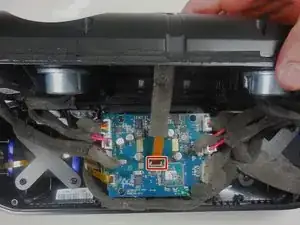
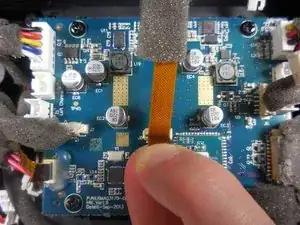
Gently pull on the plastic tab at the base of the ribbon cable to remove it from the motherboard.
-
-
-
Using your thumb and index finger, pull upwards on the base of the the power cable to remove it from the motherboard.
-
-
-
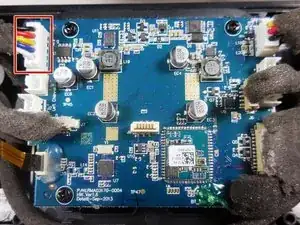
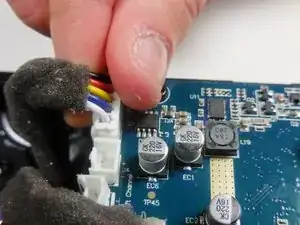
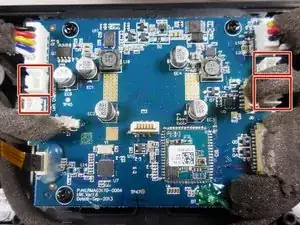
After completing the guide for removing the case, remove the cables connecting the speakers.
-
Simply pull up on them without pulling on the wires themselves.
-
-
-
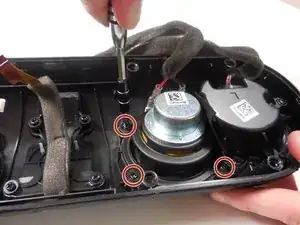
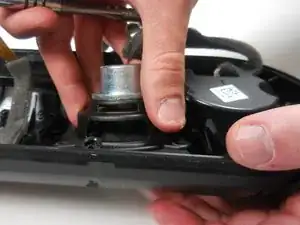
Using a Phillips #2 screwdriver, remove the 4 (8mm maxi-loc Phillips #2) screws holding the speaker to the case.
-
To reassemble your device, follow these instructions in reverse order.
