Einleitung

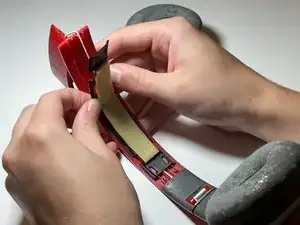
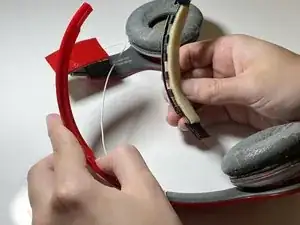
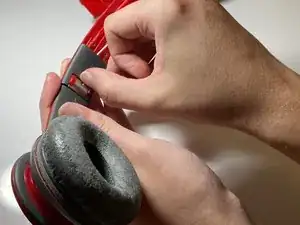
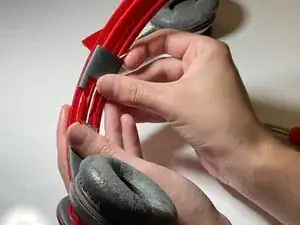
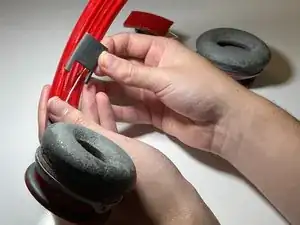
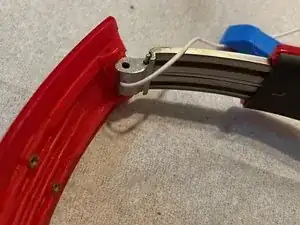
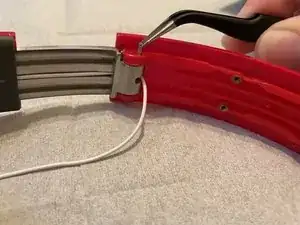
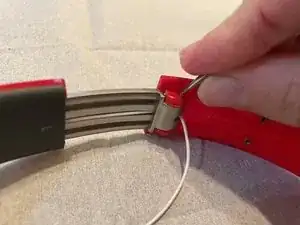
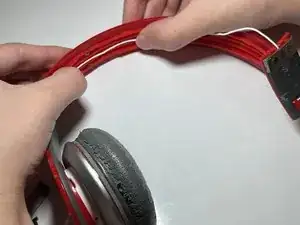
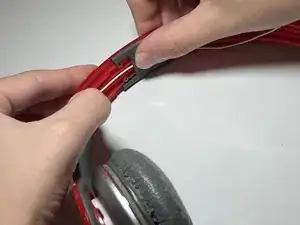
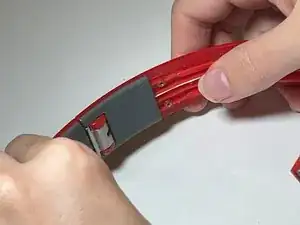
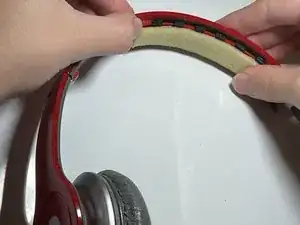
It can be frustrating when expensive, name brand headphones break. For Beats, especially older models, headband snapping or detaching is a common problem. Instead of buying entirely new headphones or resorting to duct tape, replacing the headband can be a good way to return them to a usable condition.

In this guide, we repair a pair of Beats Solo HD Red: Special Edition (129472-00) headphones, but the instructions can be used for Beats Solo HD headphones of any color.

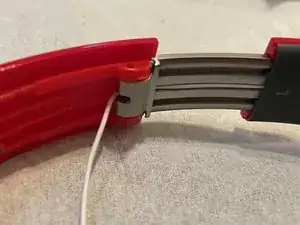
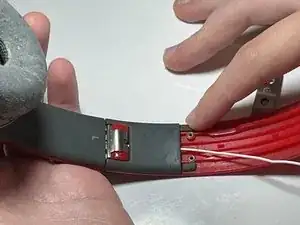
When repairing your Beats, be conscious of the single white wire connecting the ear pieces to the headband. Damaging this wire can lower sound quality or break the headphones entirely, so gentle handling is key.

  1. QoYNMOvjpIoVinBx
    QoYNMOvjpIoVinBx
    3ZZsxdlfKu6gAQjJ
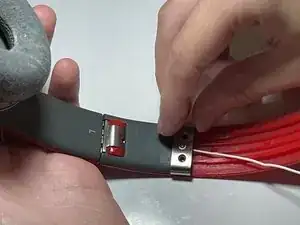
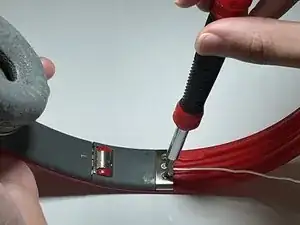
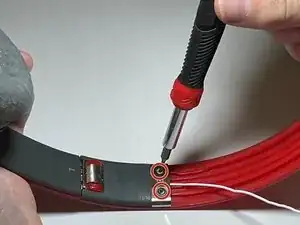
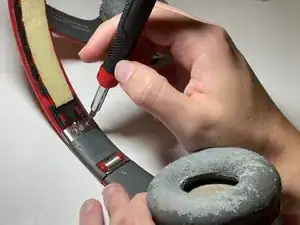
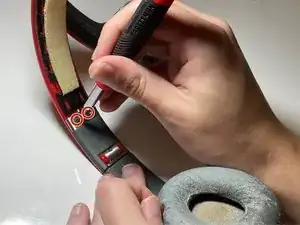
    • Unscrew both screws in the metal brace using a T4 Torx screwdriver.

    • Repeat all steps on both the right and left sides of the headphones.

  2. POyQPUyjvRVQkr1s
    POyQPUyjvRVQkr1s
    fUcIJH2hh4NkBs1M
    1jZrLpJSRdqxccRq
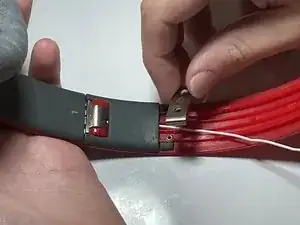
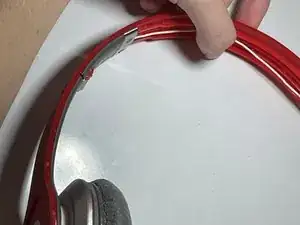
    • Lift away the metal brace and set it aside.

    • Be sure to keep the small plastic spacers located underneath the brace on either side. They may fall out when removing the brace.

  3. 4SPfNIKFG6FBYrnj
    4SPfNIKFG6FBYrnj
    Zxe5KiqheRkJmCTG
    saYloOmkJybgPePu
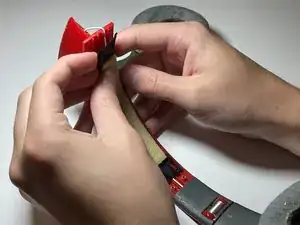
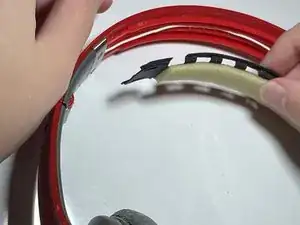
    • Pry off each clip on the headband cushion until it is loose enough to be removed.

    • Start by prying off the clips on either end, since they are easier to detach. Finish with the clips in the middle.

  4. WQxv5jJINfaJv4Zs
    WQxv5jJINfaJv4Zs
    OxhNE4N6lIKAuXVn
    hHODS3HN2snhEAZj
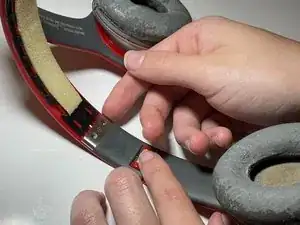
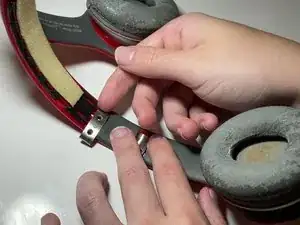
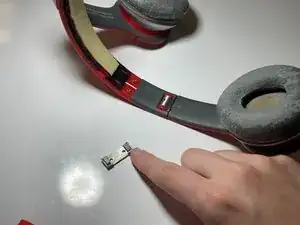
    • Slide the gray plastic covering away from the hinge to remove it.

  5. T2GbWeWLeB2BiUNu
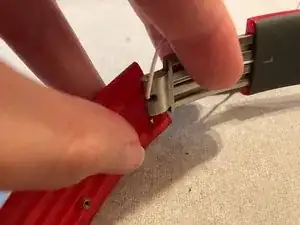
    • Grasp the earpiece with one hand and bend the headphones at the hinge.

    • Brace the headband by pressing it downward against the surface you are working on.

    • These steps will prepare you to pry off the hinges, so make sure your hold on the headphones is stable.

  6. Yoxwcd6OcRPQBKPL
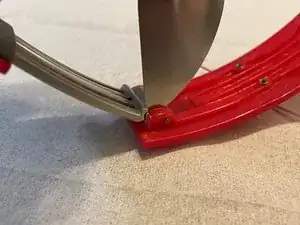
    • Slide the Jimmy between the metal earpiece and the plastic of the headband at the hinge.

  7. qXctmw2DDp4lLI6K
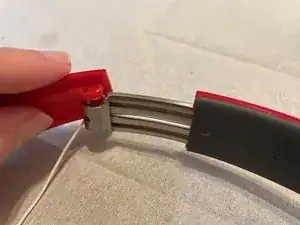
    • Pry the plastic away from the metal earpiece using an opening tool until one of the small cylindrical hinge pins can be removed.

    • This may be difficult, as prying takes some force. You may need to experiment and try whatever tools or prying techniques work best for you.

  8. seO33jDRPVjZmxoP
    seO33jDRPVjZmxoP
    IKixK4tJsSF53BsG
    iFjSKKM2otLYJ21Q
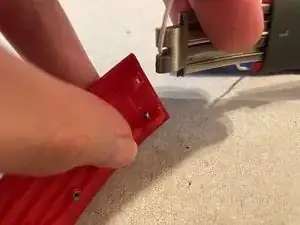
    • Pull the earpiece out of the headband.

  9. nsWGZsXZuC5SHcY3
    nsWGZsXZuC5SHcY3
    RafLn2EyJ42XOEoo
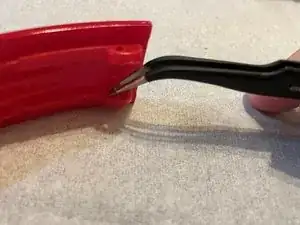
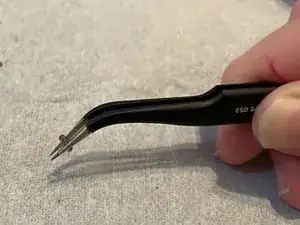
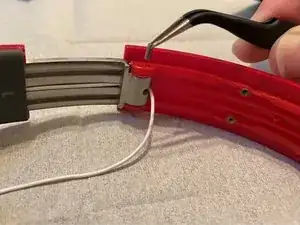
    • Remove the second hinge pin with precision tweezers and set it aside.

  10. 3oAXygaYBYYTagX6
    3oAXygaYBYYTagX6
    1SVOS6jckXT6o6XG
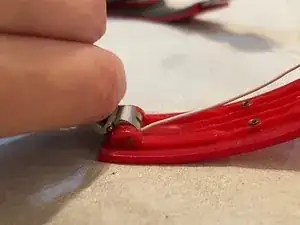
    • Insert one of the hinge pins into one of the sockets of the new headband.

    • Press the hinge of the earpieces into the new headband by aligning it with the pin.

  11. qMAeBYjmKAlCGFnj
    qMAeBYjmKAlCGFnj
    ilvsFEqRdAPYylWt
    MwfqRFtAvwELoRq5
    • Insert the second pin into the other socket of the headband using precision tweezers.

    • Squeeze the pin inwards if the hinge seems loose or if the pin is jutting out of the socket.

  12. 2MaO2BOEKTGuuSWu
    2MaO2BOEKTGuuSWu
    w4wHPO5eHHocEQYY
    UGQSUIUvGoQtGYaV
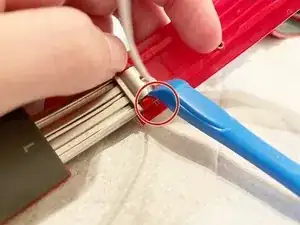
    • Slide the gray plastic covers back onto the headband.

    • Pressing the white wire against the back of the headband can help to avoid damage during reassembly.

  13. OGjMRDpWGOrRpPKE
    OGjMRDpWGOrRpPKE
    XxQpQIP5XZJdMu6a
    TyNEcZDhHB53cQTW
    • Lay the metal brace in place.

    • If the small plastic spacers are loose, it may be helpful to place them down before the brace.

  14. lIqnKcjZ6lFEmteF
    lIqnKcjZ6lFEmteF
    dFWsRWudMiKwQXfB
    • Screw both screws back into the metal brace.

  15. AGCRjeBJH3YuSu1y
    AGCRjeBJH3YuSu1y
    YJbpSowyGbX3EOIH
    ynaMTZJVVNqycDUU
    • Reattach the headband cushion by pressing each clip into place.

Abschluss

When your replacement is finished, all parts other than the old headband should be reattached to the headphones. If needed, bend your headphones at the hinges to ensure they are properly attached. If there is some difficulty bending, the hinge pins may need to be pushed further in until they are secure. If the hinges on both sides bend without problem and all of the parts are reassembled, your replacement is done.
Erica Mota

Mitglied seit: 28/09/21

241 Reputation

0 Kommentare