Einleitung
This guide will show you how to remove an inner tube from a bicycle tire. The process is the same for both front and rear wheels, even though this guide demonstrates the process on the rear wheel. While some components on your bicycle may be different than those shown here, the process will be the same.
Werkzeuge
-
-
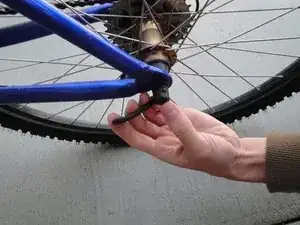
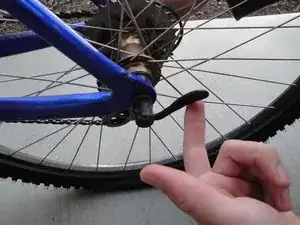
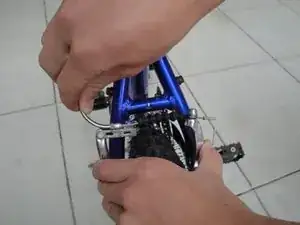
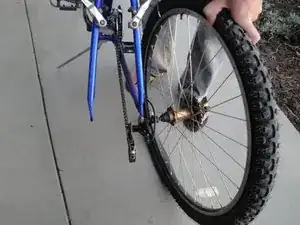
Hold the wheel to the ground, and pull the bike frame up and away to remove the wheel from the bike.
-
-
-
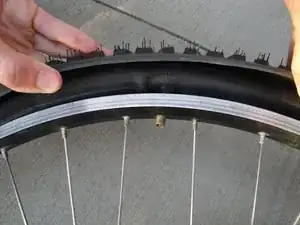
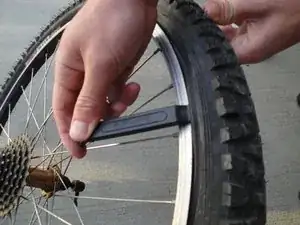
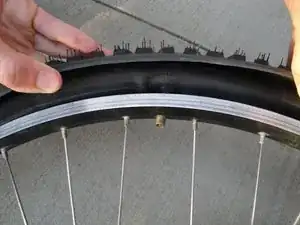
Insert the flat part of a tire lever under the tire coping. Apply pressure to the other end of the lever to lift the tire up and out of the wheel.
-
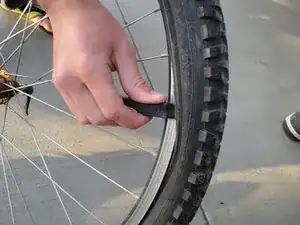
Slide the lever around the circumference of the wheel to completely remove the tire.
-
-
-
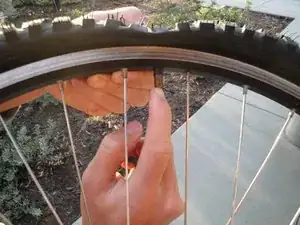
Remove the tube by pushing the valve through the hole in the rim and pulling the tube out from under the tire.
-
- Check the outside and inside of the tire, visually and with your fingers, to find and remove any objects or debris that may have caused the flat.
- Re-insert the tube into the tire, and align the stem with the hole in the rim. Re-seat one side of the tire bead into the rim, then, using the plastic tire levers, work to re-seat the other side onto the rim.
- When inflating the tire, proceed slowly, ensuring that the bead is seated properly on the rim.
5 Kommentare
A few more tips:
a) squeeze as much air out of the tube as possible before trying to remove the tire from the rim
b) pinch the tire together on the side of the wheel opposite the valve while pulling the tire away from the rim on the valve side of the wheel with your other hand. This helps create more slack between the rim and the tire where you’ll insert the tire lever, as the tire will drop into the deeper center part of the rim opposite the valve
c) insert the lever near the valve, not at the valve, and slide away from the valve. Don’t use a screwdriver
d) on most wheels you should be able to just use your fingers to pry the tire off the rim after using the lever a short distance. A bike shop owner where I grew up required his helpers to learn how to remove tires using only their hands—no tools! It is possible (see #b above) or at least was during a period where rims were more standardized
e) only pry off one side of the tire, leaving it on the rim. Work the tube out of the tire, valve side last
tips, continued:
f) try to discover the leak before removing the tube fully from the rim, or at least try to keep track of its orientation to the rim & tire if you pull it entirely out. The surest way to find the puncture is to pump up the tube and run it close to your face—you’ll be able to feel the air pushing out the puncture. Alternatively you can pump up the tube and work it into a sink, basin or? of water
g) if you locate the puncture, try to compare it to the general area on the tire where the puncture may have occurred. Use eyes on the outside; use fingers on the inside. Remove foreign material, if any
h) install the new tube, or patch and install the old tube. If patching, make sure to let the glue dry before applying the patch, and allow the applied patch to cure before reinstalling the tube and filing with air. If the puncture is at the base of the valve, toss it
i) editorial comment: use a pump. There’s enough trash on the roadside or trails already
tips, continued:
j) before installing the tube, pump it up slightly to reduce the chance of it getting pinched while you’re installing the tire
k) install the tire opposite of above (a), starting opposite the valve. If it requires much effort with the lever then squeeze the tire opposite where you’re working to drop the tire into the rim. It shouldn’t require much leverage.
