Einleitung
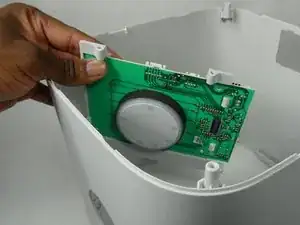
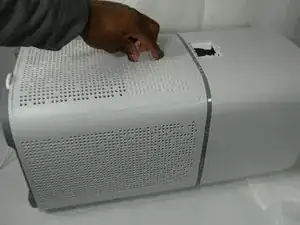
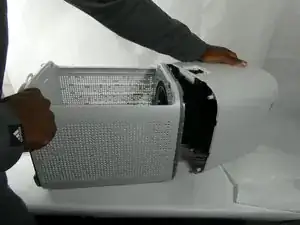
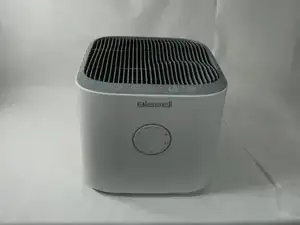
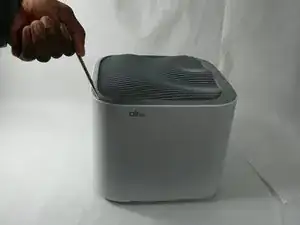
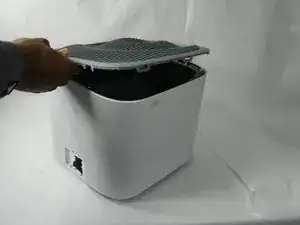
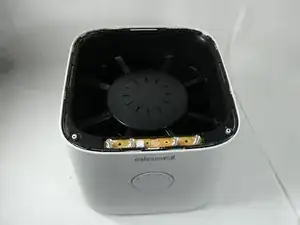
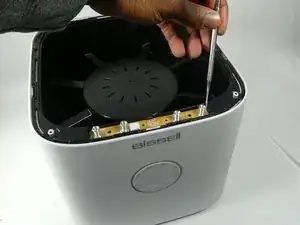
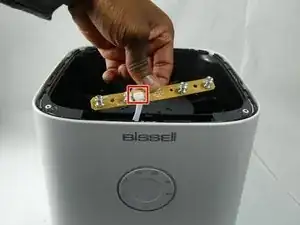
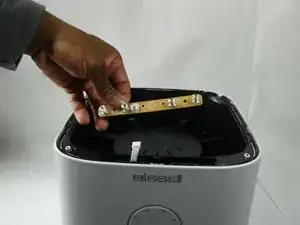
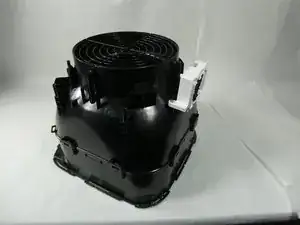
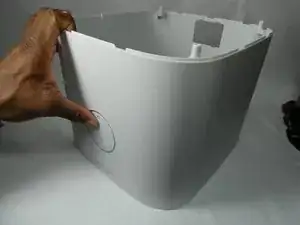
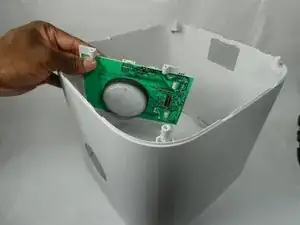
The motherboard on the Bissell Air180 is located inside the fan housing. It is the main circuit board for the air purifier which is responsible for allowing communications between the power supply, control buttons, and the fan speed and timer knob. If the air purifier is not working properly or is shutting off unexpectedly, then refer to our "Air purifier is non-responsive" troubleshooting guide or follow these steps to replace the motherboard.
Werkzeuge
-
-
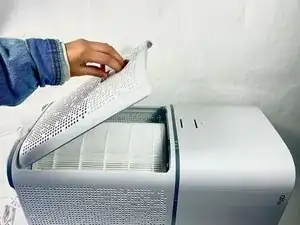
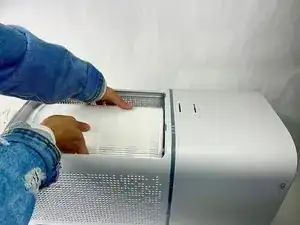
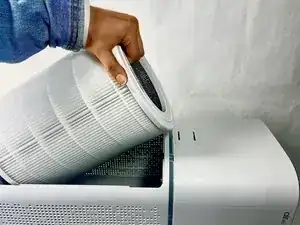
Squeeze the clip on the back panel of the bottom housing and pull the panel away from the housing, exposing the air filter.
-
-
-
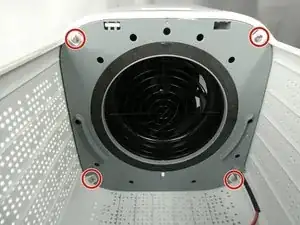
Remove the four 18mm Phillips #1 screws connecting the bottom housing to the rest of the device.
-
-
-
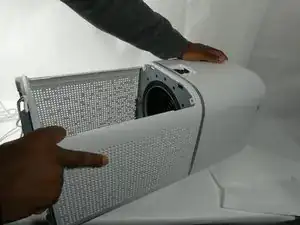
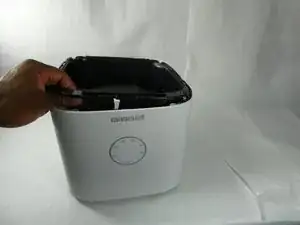
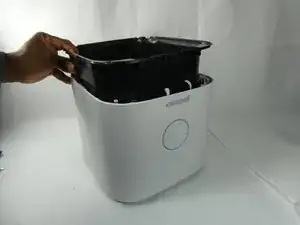
Pull the bottom housing away from the rest of the device separating the power supply.
-
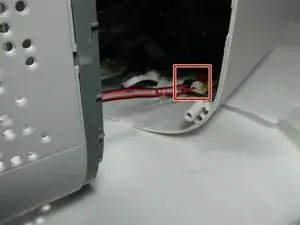
Unplug the red cord to fully disconnect the power supply from the fan and motherboard housing.
-
-
-
Pull the wire connecting the button controls to the fan housing to fully disconnect the button controls from the device.
-
-
-
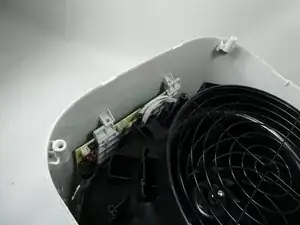
Flip the motherboard and fan housing upside down to find where to disconnect the fan from the rest of the device.
-
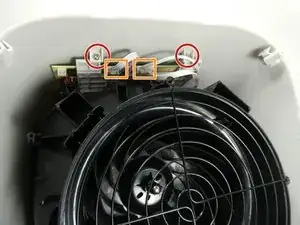
Remove the two 11 mm screws using a Phillips #1 screwdriver.
-
Detach the two wires connecting the fan to the motherboard so the fan is now loose inside the housing.
-
-
-
Flip the motherboard and fan housing back over and pull the fan up separating it from the rest of the device.
-
-
-
Apply pressure and push out the control knob to remove the motherboard from the rest of the device.
-
To reassemble your device, follow these instructions in reverse order.
