Einleitung
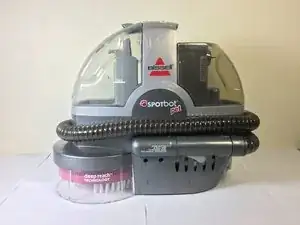
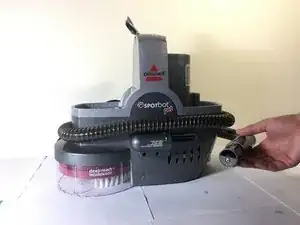
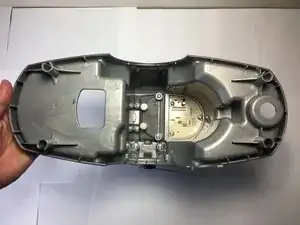
This guide displays a step-by-step process of how a broken or faulty brush motor on the Bissell SpotBot Pet Repair Brush can be replaced and returned it back to its normal function.
Werkzeuge
-
-
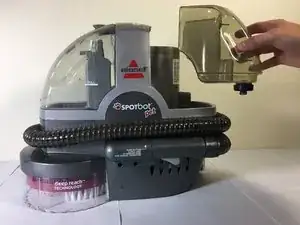
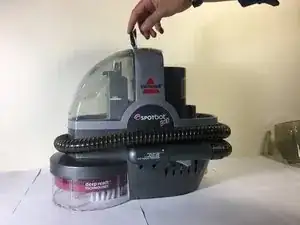
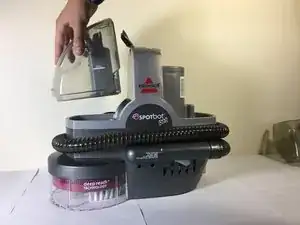
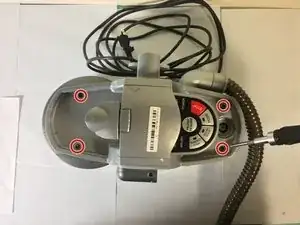
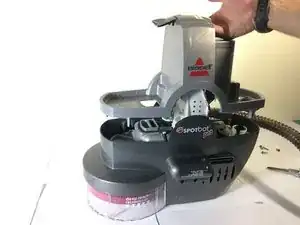
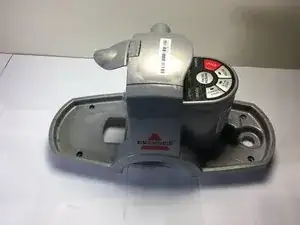
Gently lift up the tab on the top of the vacuum and then proceed to lift the left container straight up to release it.
-
-
-
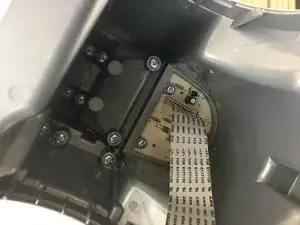
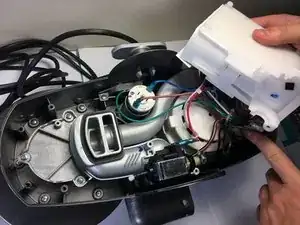
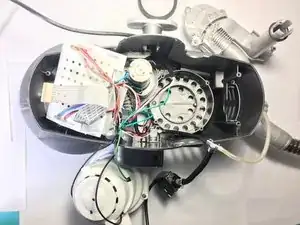
Unplug the ribbon cable that connects the bottom half to the control panel on the top half. Then, set the top half off to the side.
-
-
-
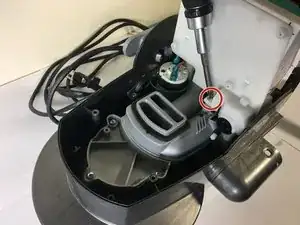
Unscrew the screw next to the white plastic wiring harness box. This will then allow you to set the white box off to the side.
-
-
-
Unscrew the screws on the plastic holder on the right side of the device. Once this is done, remove the plastic holder from the vacuum.
-
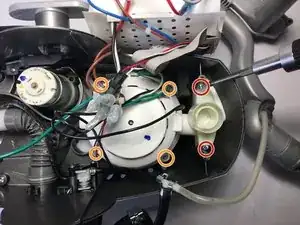
Unscrew the screws that mount the vacuum motor to the device as shown.
-
-
-
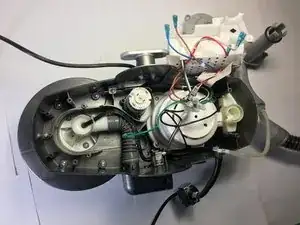
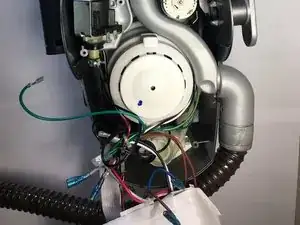
Unplug the wires by disconnecting the section that connects the motor to the wiring harness.
-
-
-
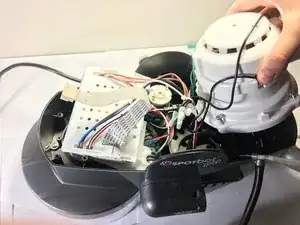
Lift the white suction motor from the right side of the device. Lift it straight up and set it off to the side of the vacuum.
-
-
-
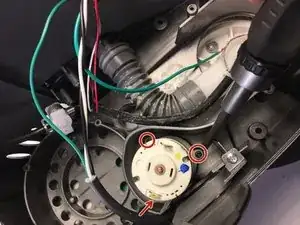
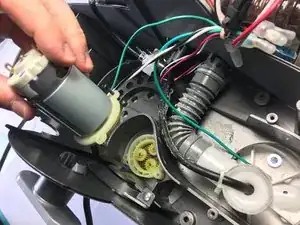
Unscrew the screws for the brush motor as shown, this motor controls the automatic scrubbing mechanism.
-
To reassemble your device, follow these instructions in reverse order.
Ein Kommentar
hi i think you did an amazing job of breaking down how to disasemble this spotbot. i have the exact same one and though it works great suction is amazing, the brushes dont spin and i took it apart completely except i didnt know where the motor was that controlled the brushes until reading this. thanks so much
art -
