Einleitung
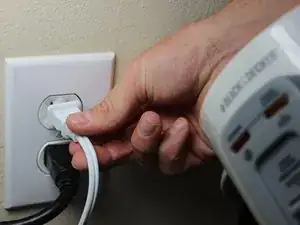
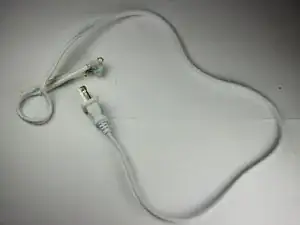
The device's power cord breaks easily, so it is important to be able to install a new one. In this guide we will learn how to replace the device's power cord.
Werkzeuge
Ersatzteile
-
-
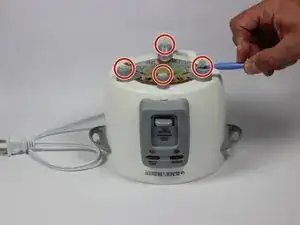
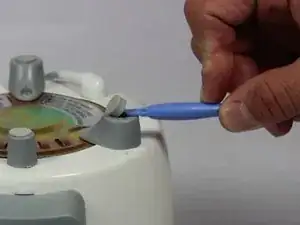
Each of the four legs has a rubber cushion on its bottom. For each cushion, insert a plastic opening tool between the plastic leg and rubber cushion, and pry off the rubber cushion.
-
-
-
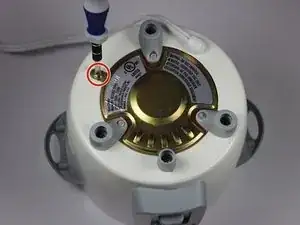
Using a spanner screwdriver, remove the one 10mm long 7mm diameter spanner screw from the side of the brass panel.
-
-
-
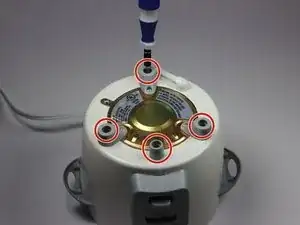
Using a Phillips screwdriver, remove the 10mm long 7mm diameter Phillips-head screws from the inside of all four legs.
-
-
-
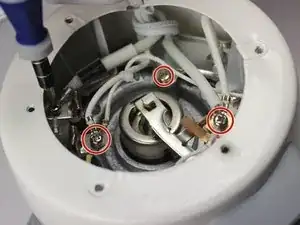
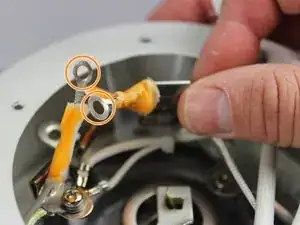
Unscrew the screw at the junction near the opposite side of the device from the front panel.
-
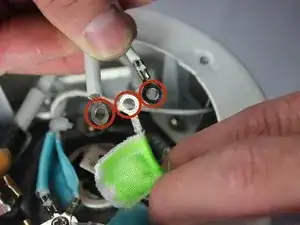
Label each of the two wires at this junction with a single color of tape.
-
-
-
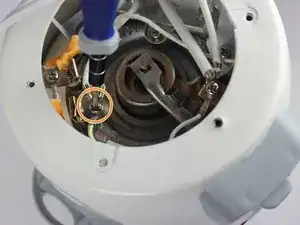
Unscrew the screw at the junction just clockwise from the button panel.
-
Label the three wires of this junction with tape of a second color.
-
-
-
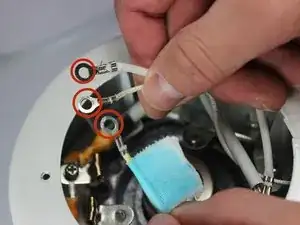
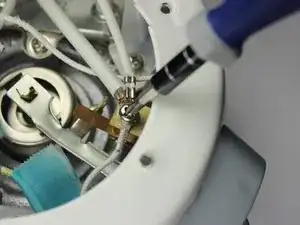
Unscrew the screw from the wire junction just behind the front panel.
-
Label the three wires at this junction with a third color of tape.
-
-
-
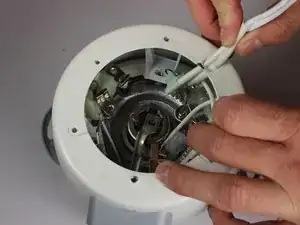
Locate the two wires which are connected directly to the power cord. Unlike the other wires, they are sheathed in a particularly thick, dot-textured plastic.
-
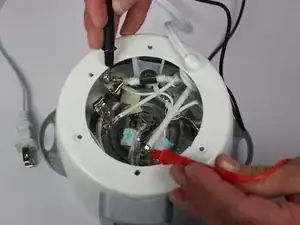
Make sure the voltmeter is on and set to a setting beween 120 and 500V. For most voltmeters the proper setting for this is the 200V setting.
-
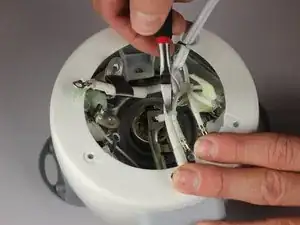
Attach one of the voltmeter's probes to the metal portions of each of the two wires connected to the power cord's end on the device
-
The voltmeter should read a number significantly above 20V. A reading between 100 and 150 V indicates that the device is getting enough power. A lower number indicates the power cord is broken.
-
-
-
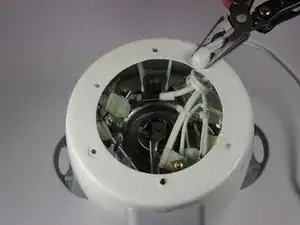
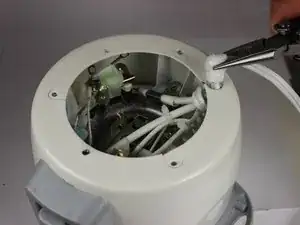
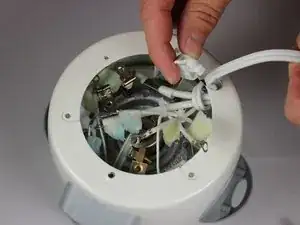
Using a pair of pliers, pull the white plastic knob on the edge of the device up, away from the device. The knob should come lose.
-
-
-
Locate the small white latch on the side of the knob and pull it away from the cord. This will unlock it and expose he cord underneath. Set the knob aside.
-
-
-
Using a pair of scissors , cut the zip tie that holds the thick power supply wire to a smaller wire.
-
To reassemble your device, follow these instructions in reverse order.
Ein Kommentar
Thank you for having this blog..It really helps me to change p the ower cord..The only thing is that I couldnt find same power cord so I bought a fuse, two connectors and used same cord by cutting some part which was short (faulty where current stopped)
RK P -
