Einleitung
This guide will explain step by step how to remove the directional switch within the device. The switch could become damaged because of its plastic design. There guide is not very challenging just be aware that everything must be placed in there original locations.
Werkzeuge
-
-
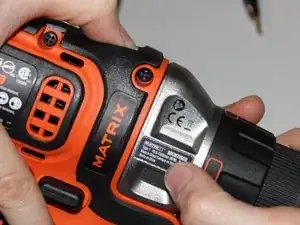
To detach the matrix attachment piece, press down on the attachment release button located at the top of the device.
-
Leaving your finger pressed down on the button, simply pull on the attachment to release it.
-
-
-
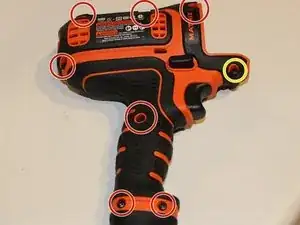
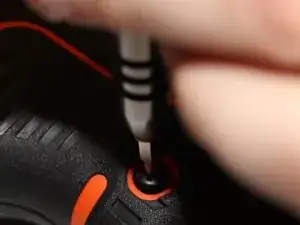
Using a JIS 1 screwdriver, unscrew seven 19mm outer screws located on the armature.
-
Using the same screwdriver, unscrew the 12mm outer screw located on the armature.
-
-
-
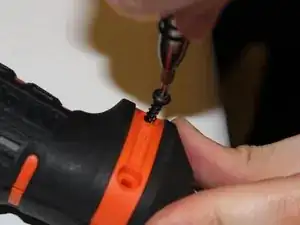
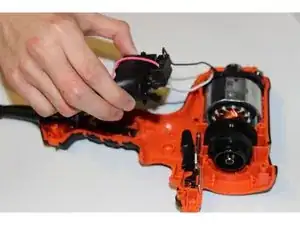
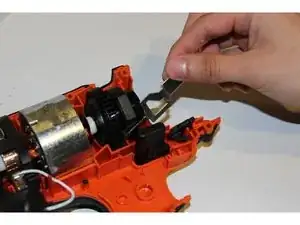
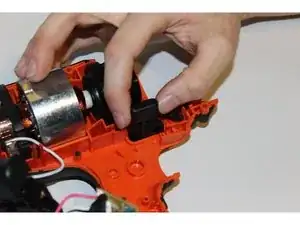
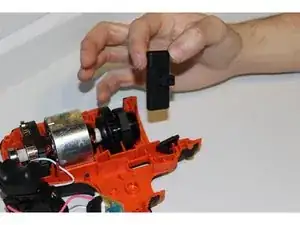
With the trigger module out of the way you will then remove the metal piece that is located behind the directional switch and has the spring attached to it.
-
Do this by simply pulling up on the metal with your fingers or your tweezers.
-

To reassemble your device, follow these instructions in reverse order.