Einleitung
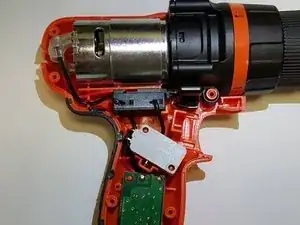
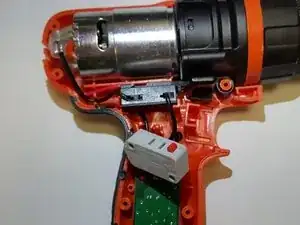
This guide will walk you through the steps to replace a faulty trigger switch in a Black and Decker LDX172C cordless drill. Steps one through three will walk you through the disassembly process and step four will walk you through the process of removing and replacing the trigger switch. Tools necessary for this operation include a Philips screw driver set and a soldering work station. Approximate repair time is 40 minutes.
Werkzeuge
-
-
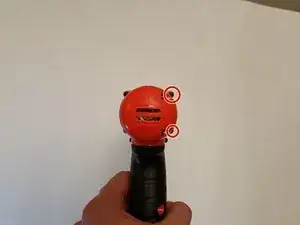
Place the drill on the work surface with the chuck facing downward. Locate and remove the two #2 X 10mm Phillips screws located right of the motor.
-
-
-
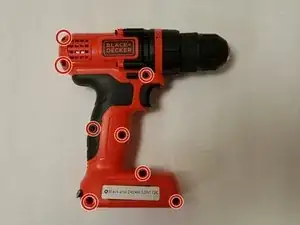
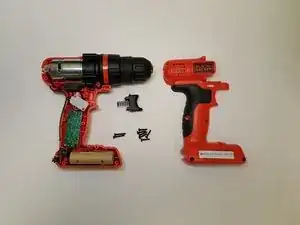
Rotate the drill to it's left side - the chuck should be facing to the right. Locate and remove the eight #2 X 5mm Phillips fasteners from the body of the drill.
-
-
-
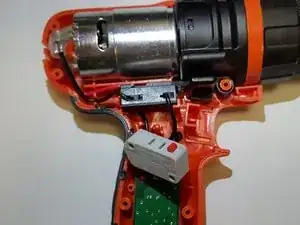
Remove trigger from drill by pulling the mechanism directly up off the holding pins.
-
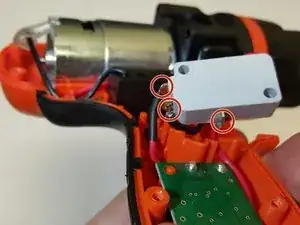
The leads from the switch are removed by using a heating the solder until they come free.
-
Re-solder the leads to the new switch.
-
Repeat directions in reverse to reassemble.
-
To reassemble your device, follow these instructions in reverse order.
