Einleitung
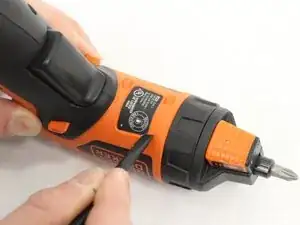
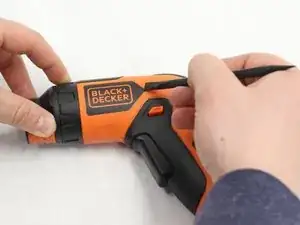
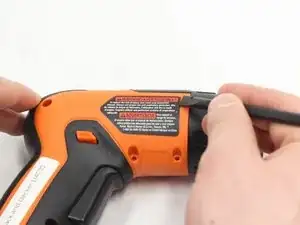
The basic steps of replacing the casing of the Black and Decker LI4000 rechargeable screwdriver can be achieved in three steps which will be explained in this guide. There are a few terms that will be used throughout this guide that should be understood beforehand. There are three decals, or stickers as they will be referred to in this guide, that need to be removed before taking out the casing screws. These stickers include the Black and Decker symbol found on one side of the screwdriver, the warning label found in the exact opposite side of the screwdriver as the Black and Decker symbol, and lastly a small sticker found on the bottom of the screwdriver that displays the UL certification. Each of these stickers must be removed as they each conceal a casing-removal screw or because they lie on the seam of the casing. Next, there are eight screws that will need to be removed in order to remove then entire casing. These are the main concepts that you should be familiar with before beginning disassembly.
Werkzeuge
-
-
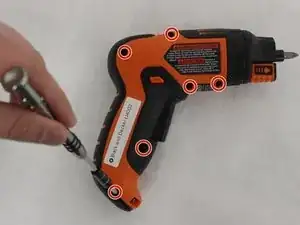
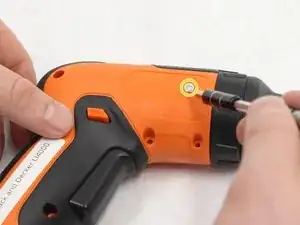
Remove all six of the 12-mm long case screws with a Philips #1 Screwdriver. These screws can be found on the side of the LI4000 with the "Warning" sticker.
-
-
-
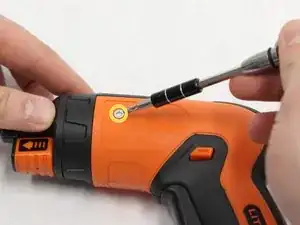
Remove the two screws that are 4-mm Hexagonal #2.5. These are very small case screws that can be found underneath the two stickers from Step 1.
-
-
-
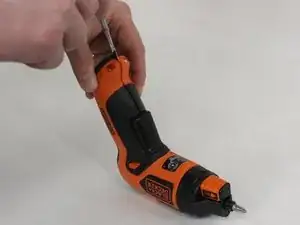
Pry on the seam as shown with a Spudger, in order to get the top casing loose.
-
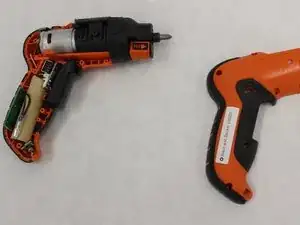
Pull the two sides apart while making sure the side that you are removing is the one with all of the case screw holes.
-
To reassemble your device, follow these instructions in reverse order.
