Einleitung
How to replace the LCD
Werkzeuge
-
-
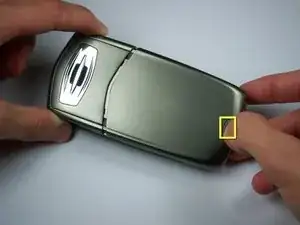
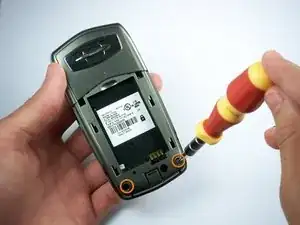
Press your thumb against the battery latch. While pressing on latch, slide off battery cover towards the bottom of the phone.
-
-
-
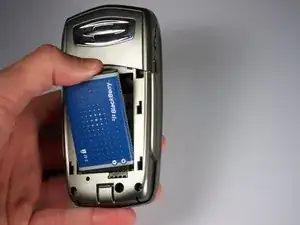
Remove the battery by pushing downward on the area where prongs connect to bottom inside of the phone while using a thumb, finger, or tool to pull on the top of the battery to lift it out.
-
-
-
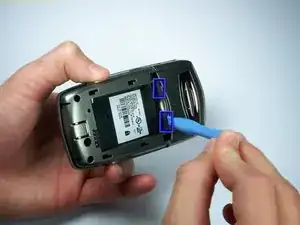
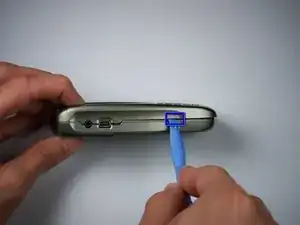
Remove speaker phone cover by unsecuring the two latches on the edge close to top of the phone with the plastic opening tool.
-
-
-
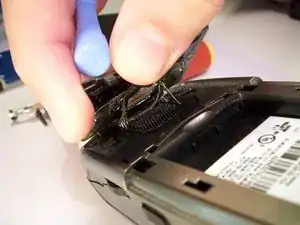
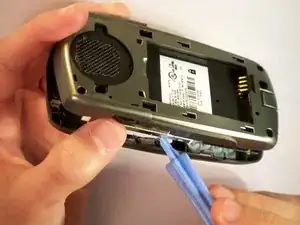
Turn the phone sideways and unlatch the hinge on one side of the phone by pushing inwards and twisting to the side with the plastic opening tool.
-
-
-
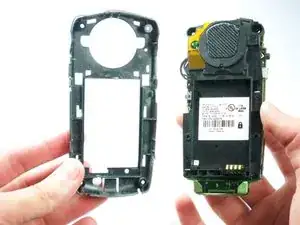
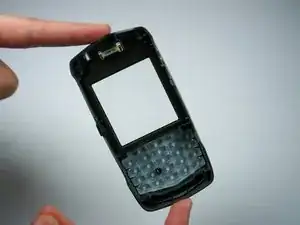
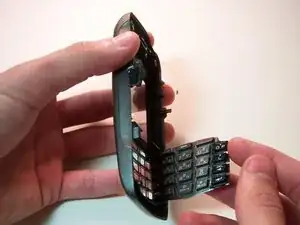
Once the phone comes apart into two pieces,the key buttons are on the inside of the front panel of the phone.
-
The buttons will fall out of the phone when you turn it over.
-
-
-
Simply insert a new set of buttons and reassemble the phone.
-
Continue on with the guide if you are replacing the key pad circuit board that is beneath the key pad.
-
-
-
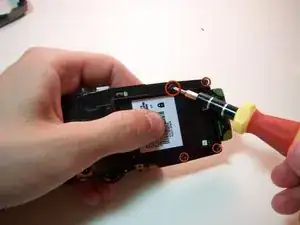
Turn the part of phone with circuit board for the keypad still attached upside down.
-
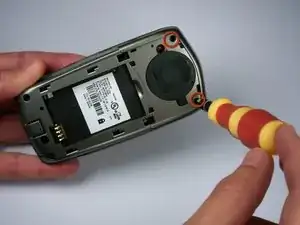
Remove the four screws outlining the keypad with the T6 Torx screw driver.
-
-
-
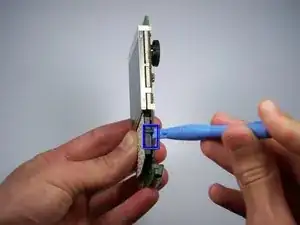
Wedge the plastic opening tool between the circuit board and the black hinge of the keypad.
-
Pry the black latch up and the keypad will come loose.
-
-
-
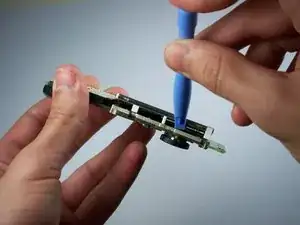
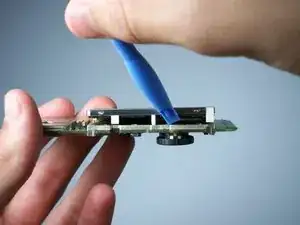
Wedge the BlackBerry opening tool between the adhesive and LCD, twist upward so the LCD becomes loose.
-
-
-
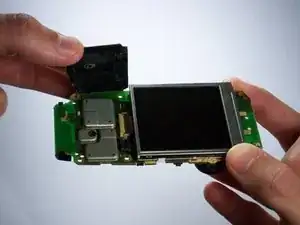
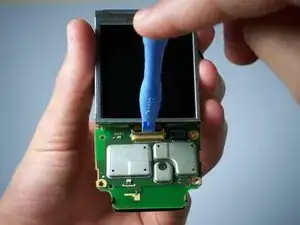
The LCD should now be loose and only attached to the phone by the data wire.
-
Flip up the bar attached to the data wire with the BlackBerry opening tool, then the LCD data wire will slide out of the connector.
-
-
-
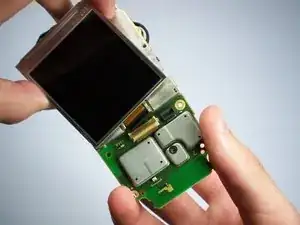
The LCD should easily separate from the phone at this point.
-
Put aside the old LCD and push the data wire of the new LCD into the area where the bar can secure it into place.
-
To reassemble your device, follow these instructions in reverse order.
