Einleitung
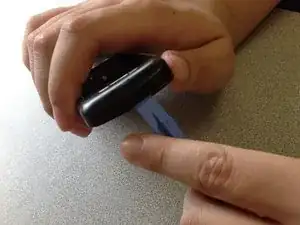
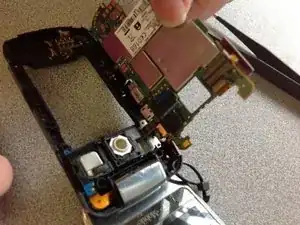
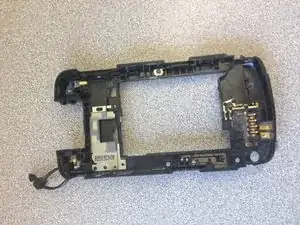
The purpose is to remove both the main circuit board and the roller ball unit from the main frame of the phone.
Werkzeuge
-
-
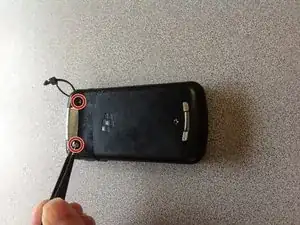
Remove four screws total on the back of the phone casing near edge of battery area.
-
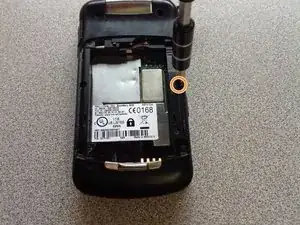
Two screws that are closer to the top of the phone are protected by plastic stoppers. Remove them then remove the screws.
-
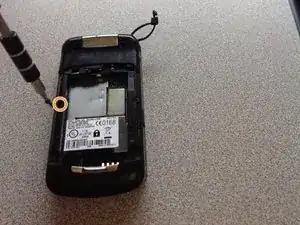
There are two more screws on either side of where the battery was located. remove them as well.
-
-
-
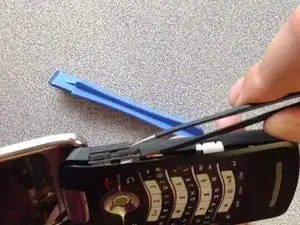
Once the keypad is removed, the buttons on the sides of the phone will fall out.
-
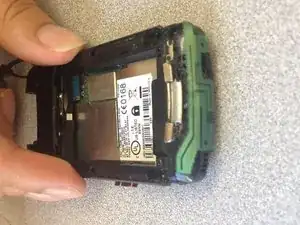
You will need to loosen the board from the right side opposite the charging ports.
-
Pull gently towards the right side so the ports clear the plastic casing.
-
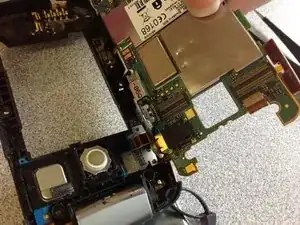
Gently flip the board over to the left.
-
-
-
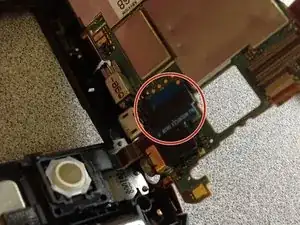
On the back of the circuit board you will find a small rectangular blue piece with a black 'L' shape in the middle.
-
Gently detach this from the back of the main board.
-
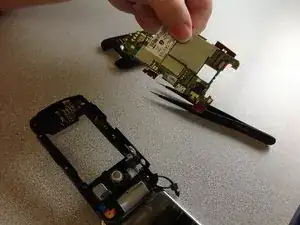
Now you may fully remove the main board.
-
-
-
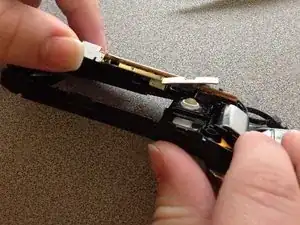
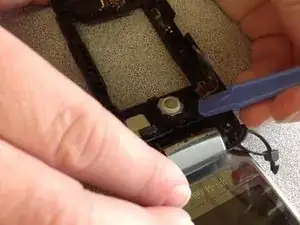
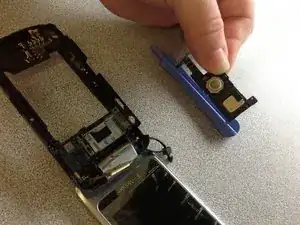
What is left inside the phone is the roller ball.
-
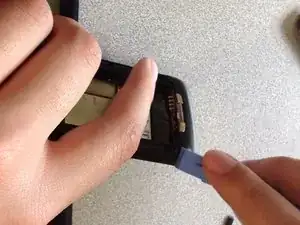
Gently use the plastic blue tool to detach it from the frame.
-
To reassemble your device, follow these instructions in reverse order.
