Einleitung

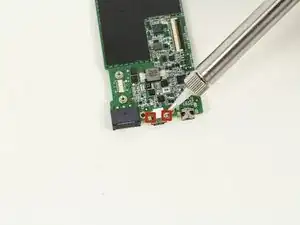
The USB port is a common issue with these devices. Our example device's USB port was completely broken off the device. The port is attached to the motherboard by two solder joints, making it easy to reattach or replace once the motherboard has been removed.

  1. mb4SlXf6oLBjnsfP
    mb4SlXf6oLBjnsfP
    OxUr2IQaGE1OjSSo
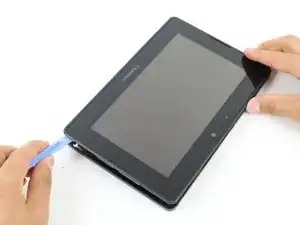
    • Use a plastic opening tool to pry the back panel off by inserting it in between the front and back panel.

    • There are clips that need to be released on all four sides of the device.

    • When replacing the back cover insert the bottom side first ( usb and hdmi ports stick out about 2mm ) inserting them into the covers openings will allow for easier reassembly

  2. 5wLehSIMYiWYnmlh
    5wLehSIMYiWYnmlh
    iWkFKSpuaDbVfEBN
    • Remove the battery connector using either your fingers or a pair of tweezers.

  3. lsMNPxvW6fDD2jPv
    lsMNPxvW6fDD2jPv
    HTaKJaYbTSC3O3nI
    • Unscrew two 1.17x2.9mm Phillips screws from the white connector port.

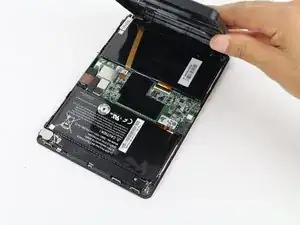
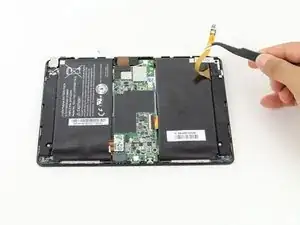
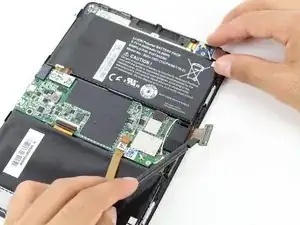
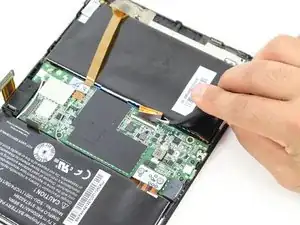
    • Lift the battery connector away from the motherboard using a spudger.

  4. PbVO1MTFuxQGkwN2
    PbVO1MTFuxQGkwN2
    oSQiNKJgRfyuGJwS
  5. falCJQXHucsXVXAD
    falCJQXHucsXVXAD
    UiGWBuYUIHHYA3au
  6. fWJNxLWp2aOAGqcs
    fWJNxLWp2aOAGqcs
    jmJv166pVxNsu3kW
    vEZWDTRMsHxnI662
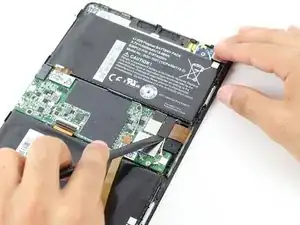
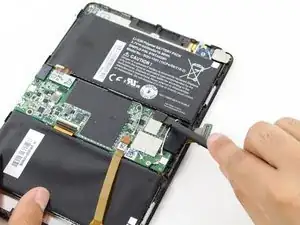
    • Remove the clipped ZIF data connector coming from underneath the motherboard.

    • Lift up the black plastic clip with a spudger.

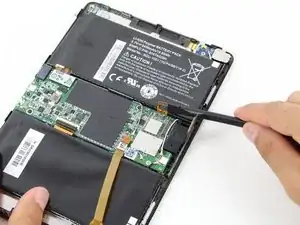
    • Pull the connector out gently using tweezers.

    • Be careful to ensure that the black plastic clip has been lifted away from the connector ribbon before pulling on the connector. The clip should be loose and easy to wiggle. Removing the connector before it is unclipped can cause damage.

  7. tfE2UAnO2QwALRsU
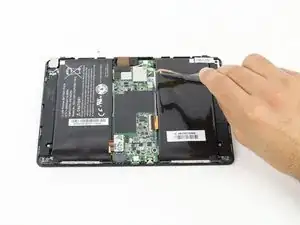
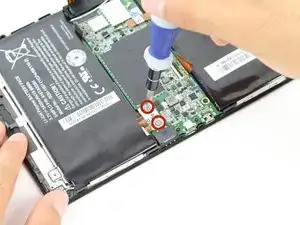
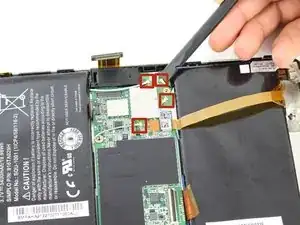
    • Remove the following five screws from the motherboard.

    • Three 1.5x2.5mm Phillips screws

    • Two 1.55x2.38mm Phillips screws

  8. UJgUkGWeelNR6Htm
  9. cJKgaCfEbJpTADGr
    cJKgaCfEbJpTADGr
    2yMPYg5yTPpJSljj
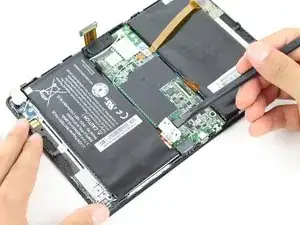
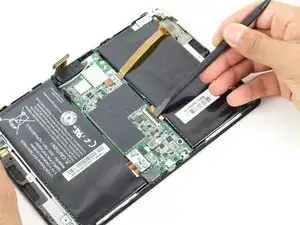
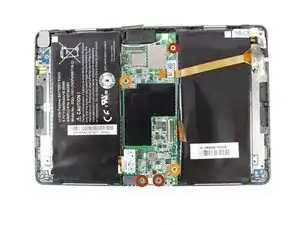
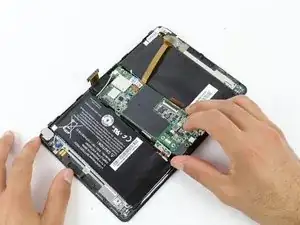
    • Gently lift the motherboard away from the device. If there is any resistance, check the previous steps to ensure that all connections have been removed.

  10. 62VUmaHDPQEKmouL
    • Use your soldering skills to detach the USB port from the motherboard at the following two solder joints.

Abschluss

To reassemble your device, follow these instructions in reverse order.

Nathan

Mitglied seit: 12/10/14

640 Reputation

6 Kommentare

excelent step by step guide not taking peoples knowledge for granted good stuff rgards pete smith.

callum Smith -

Fantastically easy to follow step by step instructions with diagrams that are superbly explained - afterall I am but a 'mere woman's!! Thankyou, I love this site. Definitely *****

Justine Franklin -

J'ai changer les batteries et j'ai une image plein de ligne,qu'est-ce qu'il se passe ?

Sylvain -

I was defeated but the USB port which has proof impossible to unsolder. I give up.. let’s just hold I have not damaged the board

Stephen Missah -

i had tge same issue, cant desolder? what to do now, its in my hand right now.

catmando1962 -

Not that difficult……… if you are having trouble, search youtube for basic solder / desolder videos.

Same principles apply to micro usb ports on many devices. It much easier to remove old port using hot air rather than a solder iron

asears -