Einleitung

  1. 4uYFORL3HiExqIif
    4uYFORL3HiExqIif
    ORpFoyds4ySFfOtw
    NLLOai3hhLAPVbQP
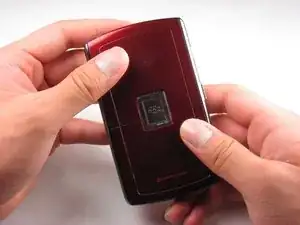
    • Before beginning this installation, make sure phone is powered off .

    • Turn phone over to the backside.

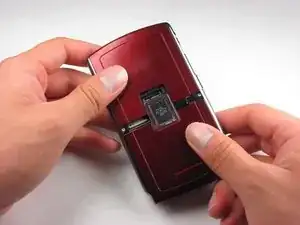
    • Press down on the lower portion of the back cover.

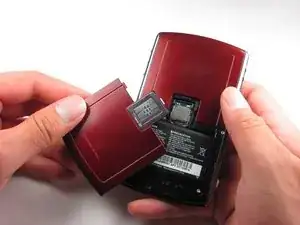
    • Slide the lower portion down to remove the cover and reveal the battery.

  2. uACwOSEG4beWixuI
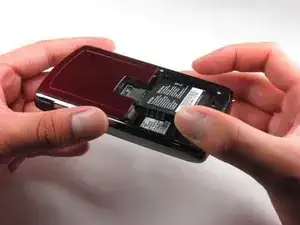
    • Remove the battery from the phone.

  3. VHlVMhuAhoCCg2iN
    VHlVMhuAhoCCg2iN
    XMP3MYCCQEqMjUXV
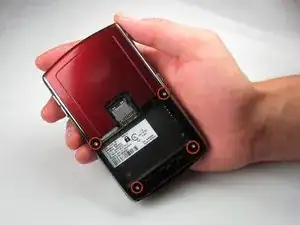
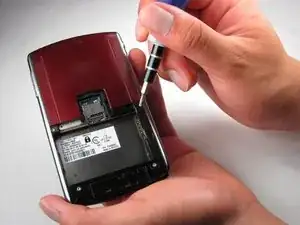
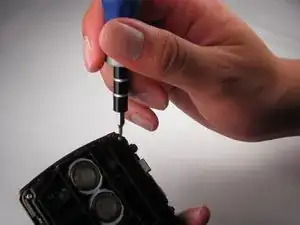
    • Once the battery is removed, remove the four 9.2 mm screws with the T4 Torx Screwdriver.

  4. AMXWTHceAF1enpFu
    AMXWTHceAF1enpFu
    NUXME2wwYYBJjIDJ
    pqufRc4qqA4REFSu
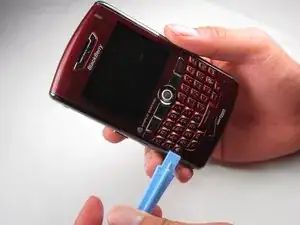
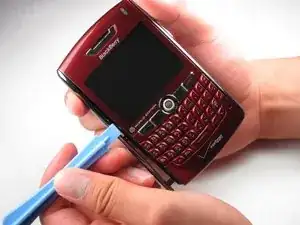
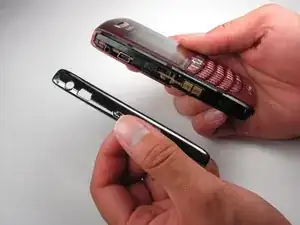
    • Remove side panels with the Plastic Opening Tool by sliding it along the edge of the panel until you can pry it off with the tool.

  5. qoDaeXhGFckLlHev
    qoDaeXhGFckLlHev
    roWhyfN2WrlSqoFu
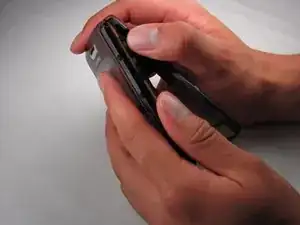
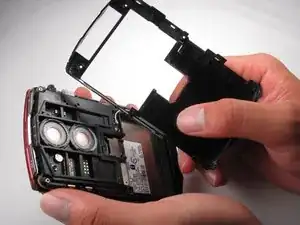
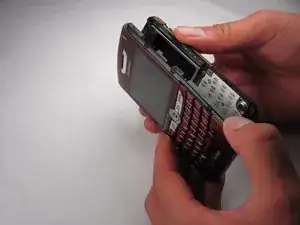
    • Remove the back casing using the Plastic Opening Tool

    • Once the back casing is removed the top two buttons are likely to pop out.

  6. HtobQrjHDwSdLaiP
    HtobQrjHDwSdLaiP
    EtAEMCJh2NUVykro
    FbL3tnDN4timmZHN
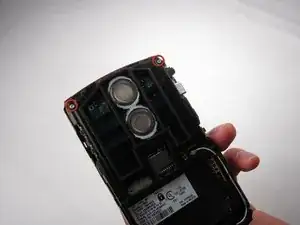
    • Locate the two 9.2mm screws on the upper inside casing

    • Remove them using the T4 Torx Screwdriver

    • Slide off the front casing once the screws are removed.

    • Trackball will fall out once the casing is removed.

  7. g6OwLSp2A1IA1Pfy
    g6OwLSp2A1IA1Pfy
    KU1qaZDSnepQ6QrO
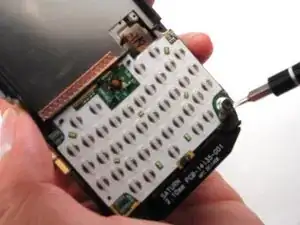
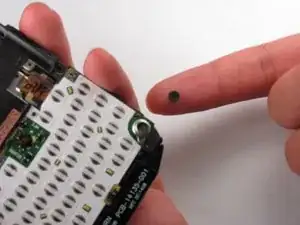
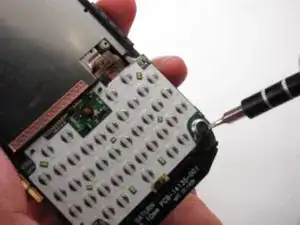
    • Once the microphone is revealed, use the flathead screwdriver, or the tip of a knife, to carefully pry the microphone out of the hole.

    • Be careful not to bend the ring around the microphone when prying it out. If the ring does get bent you may not be able to replace the microphone.

Abschluss

To reassemble your device, follow these instructions in reverse order.
tbace

Mitglied seit: 18/04/12

28 Reputation

0 Kommentare