Einleitung

  1. AMeCFfS3UOHM1BND
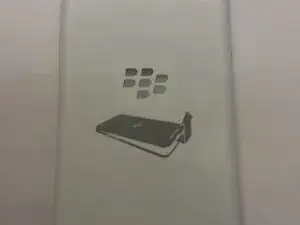
    • Remove the battery cover by grabbing the notch under the bottom speakers and lifting.

  2. AE4iNYLSjZMyolhT
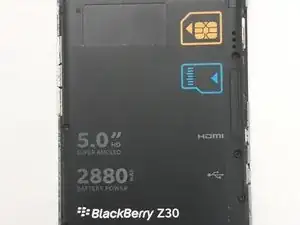
    • Remove the SIM card and the Media SD card by pushing on them.

  3. PQOdU1jAmqQuWIaM
    PQOdU1jAmqQuWIaM
    LIRSrNbDoFdms62X
    UqWGQNq24KLRnDWM
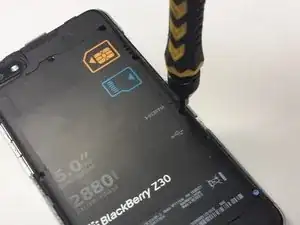
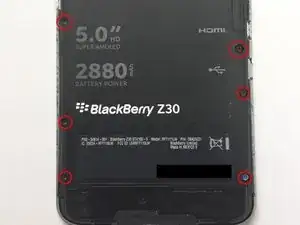
    • Locate and unscrew all 10 T5 screws around the back cover

  4. CQjVTQbppnQxbker
    CQjVTQbppnQxbker
    JFQfrXegtLkvrAe4
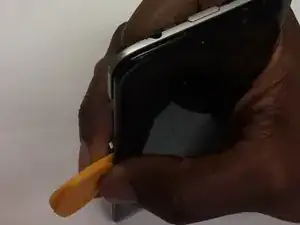
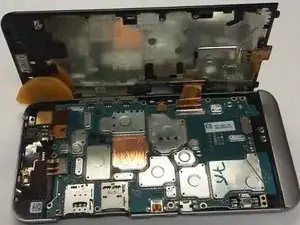
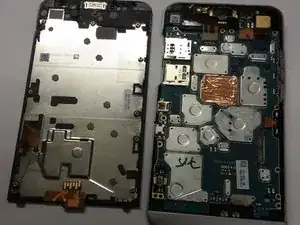
    • Use Plastic opening tools to separate the LCD from the Main body

    • Do NOT remove the screen yet, it is attached with a very fragile ribbon to the main board.

    • Start on the same side of the Audio Jack

  5. X3WplnY5GactpDDD
    X3WplnY5GactpDDD
    vLauLiiRR54SXpKC
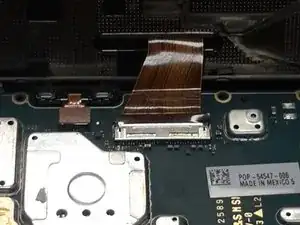
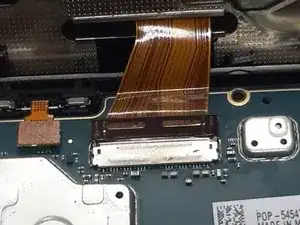
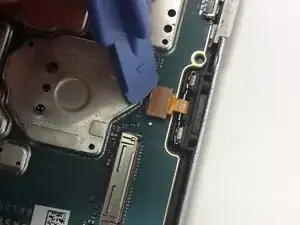
    • Use a plastic tool to carefully switch up the LCD ribbon holder

    • Detach the LCD from the main board

    • When installing the new LCD, make sure the ribbon is inserted to the white line.

  6. rLVuZ1UB43tNEaxm
    • You can now detach the LCD Panel from the main frame.

  7. NWMNSDOprXmULkOp
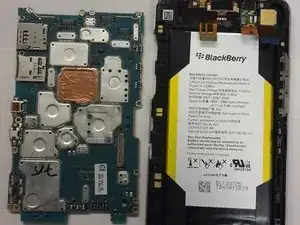
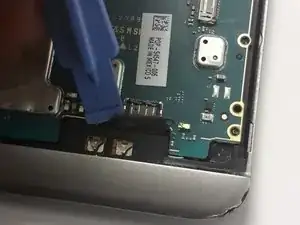
    • With a plastic tool, untie the system board by detaching the ribbons attached to it

    • The battery ribbon is on the bottom right

    • Be gentle when detaching these Ribbons as they are very easy to tear and damage.

  8. DJdEpvRlKwGFQAfu
    • Be gentle as any other system board ribbons, they are very easy to damage

  9. PydVAq2AkNQZi5m5
    • Power Button /Audio Jack

    • Flash

    • Rear Facing Camera

  10. LbNRTVItIkbFIVQu
    • Once all Ribbons untied, gently wiggle the system board out of the frame

    • Do not pull hard as there might be a ribbon on the way

Abschluss

To reassemble your device, follow these instructions in reverse order.
Hans

Mitglied seit: 20/10/14

1890 Reputation

0 Kommentare