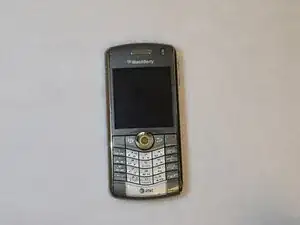
Einleitung
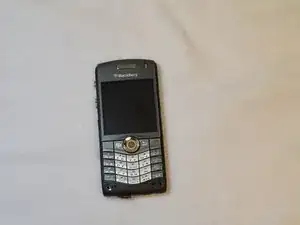
If your camera is taking poor quality pictures, and the lens is not an issue, then it is a camera problem. Symptoms of a faulty camera include tears or spots on an image, as well as distortion or loss of image/color. If this is the case and you believe your camera to be faulty or broken, then it will need to be replaced.
Werkzeuge
-
-
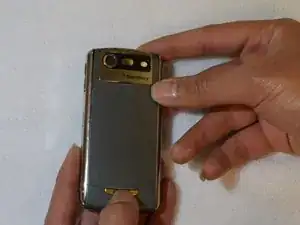
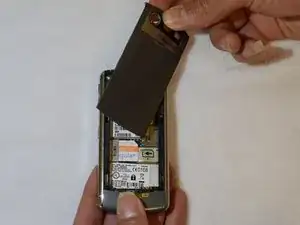
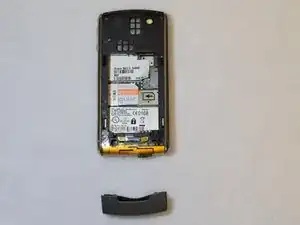
Turn the phone over so that the screen is facing the table. Locate the chrome release button and push it in to unclip the battery cover.
-
-
-
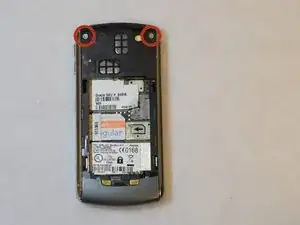
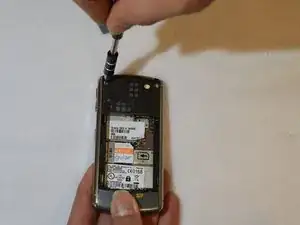
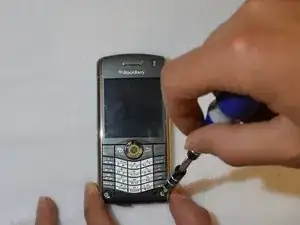
Now that the battery cover has been removed, locate the two 7.5mm Torx #T6 screws at the top of the phone. Remove these by turning counter-clockwise with your T6 screwdriver.
-
-
-
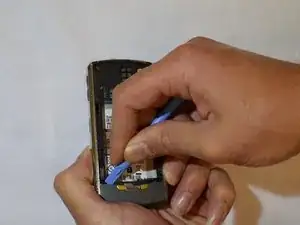
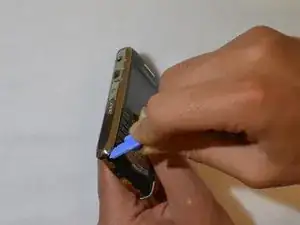
Now that the two screws at the top have been removed, take your spudger and locate the two gaps to the left and right of the button that releases the battery cover.
-
With your spudger, carefully wedge it into the gap and pry downwards to release the bottom cover.
-
-
-
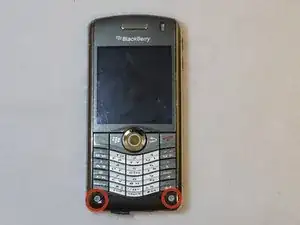
Turn the phone over so that the screen is facing up. With the bottom cover off, you will be able to locate two 7.5mm Torx #T6 screws in each corner below the keyboard. Carefully remove these.
-
-
-
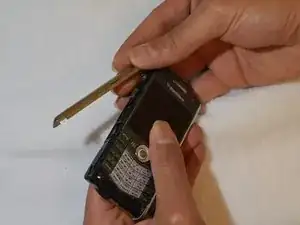
Now that the screws on the front have been removed, take your spudger and wedge it between the trim on the side of the phone, and the phone itself. Carefully pry the trim away from the phone.
-
-
-
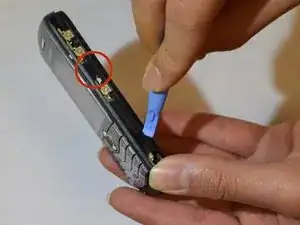
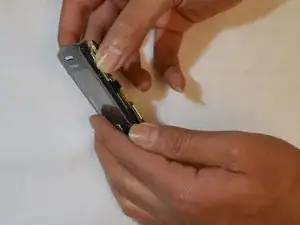
You are now ready to remove the back panel. In order to do this, locate the two clips on each side of the phone (underneath the trim that you just removed).
-
Once you locate these clips (four in total, two on each side), you should be able to unclip them with your fingers.
-
Be gentle as to not break the clips in doing so.
-
-
-
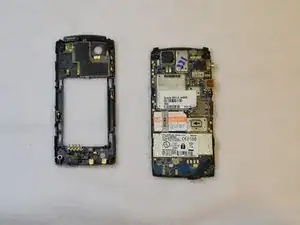
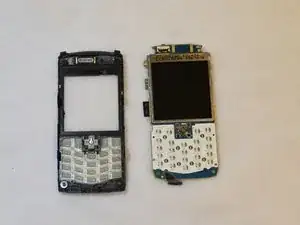
The front panel is now ready to be removed from the rest of the phone. To do this, just pry the front part (with the keyboard and screen) away from the logic board of the phone with your fingers.
-
-
-
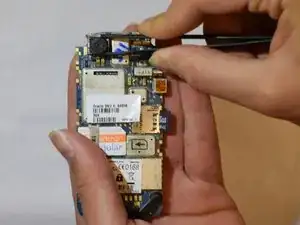
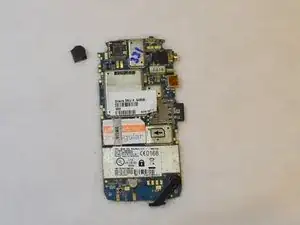
With the back of the logic board facing up (display side of logic board facing down) camera is located on the top-left side. The camera is held down by metal clips along the sides.
-
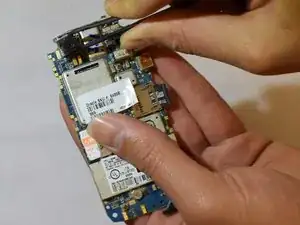
Use the tweezers to hold the housing of the camera piece and rock the camera forward (bending the metal clips outward).
-
While still holding the camera with the tweezers rock in the opposite direction to bend the metal clips outward on the opposite side and freeing the camera piece for replacement.
-
To reassemble your device, follow these instructions in reverse order.
