Einleitung
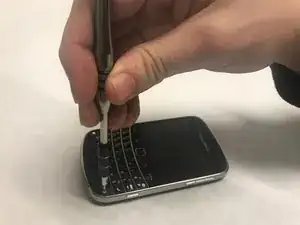
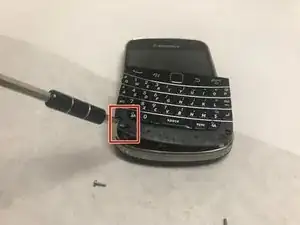
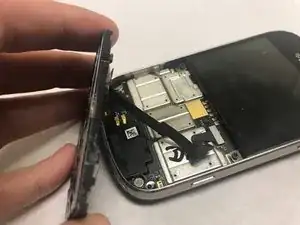
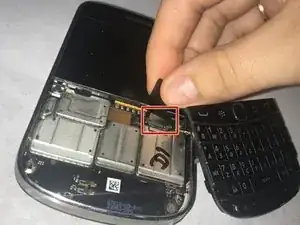
In order to replace your Blackberry Bold 9900 motherboard, you will need to follow several prerequisite guides and really take this phone apart. You will want to follow this guide if the Blackberry’s motherboard becomes damaged.
Werkzeuge
Ersatzteile
-
-
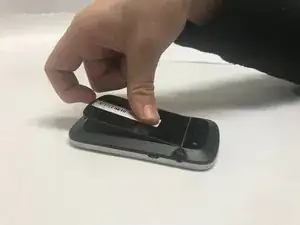
Place phone screen down.
-
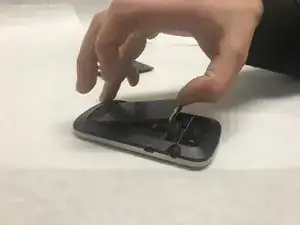
Use your finger to life upward on the battery case.
-
Pull the cover away from the battery.
-
-
-
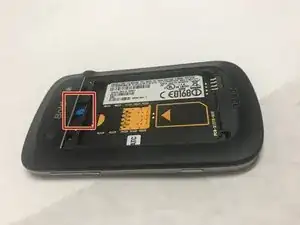
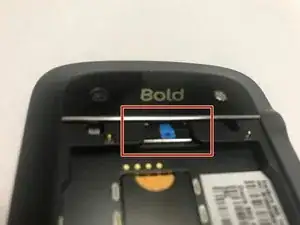
The MicroSD card is located where the red rectangle is shown.
-
To remove MicroSD card, push the card inward towards the top of the phone then release. The MicroSD card will be ejected.
-
-
-
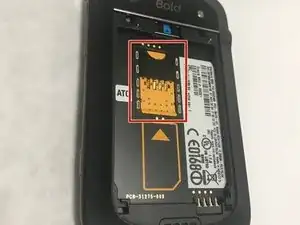
The Mini-SIM card is located inside the red rectangle.
-
To remove the Mini-SIM Card, push and slide the card inward towards the top of the phone. It will be ejected.
-
-
-
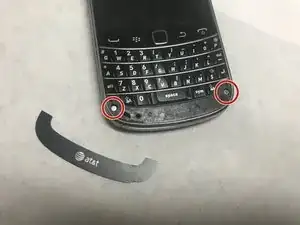
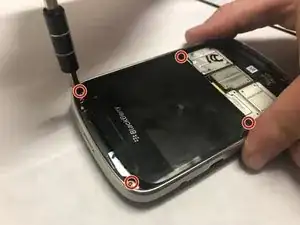
Using the T5 Torx Screwdriver, remove the four torx screws that are located on the bottom half of the device
-
-
-
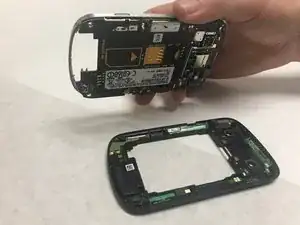
Now, carefully and gently using your fingers, lift and remove the assembly from the back case.
-
-
-
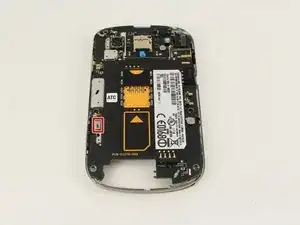
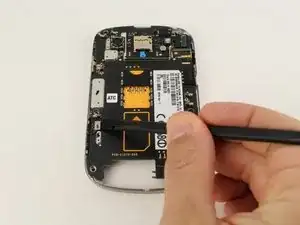
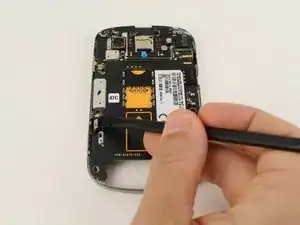
Use the black nylon spudger to pop the press fit connector up from the lower left corner of the motherboard.
-
-
-
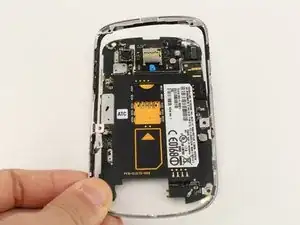
Lift the midframe, which contains the power/volume buttons, off of the motherboard and screen.
-
-
-
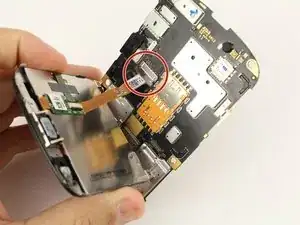
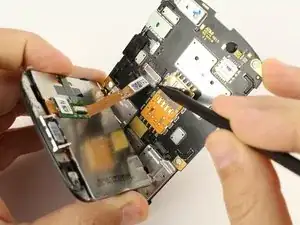
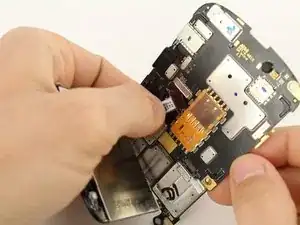
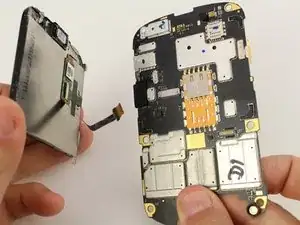
Using a spudger, gently walk the display cable out from the motherboard.
-
When it seems it has become loose enough, remove it by pinching the ribbon firmly with your fingers and gently sliding it the rest of the way out.
-
To reassemble your device, follow these instructions in reverse order.
