Einleitung

Be prepared with the tools that are listed and be cautious while going through the steps as some of the components maybe fragile.

  1. dyESrUPFgT1MyUFK
    dyESrUPFgT1MyUFK
    uLHAVOYBEQ6QWqNV
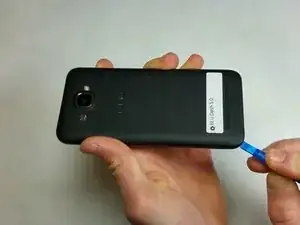
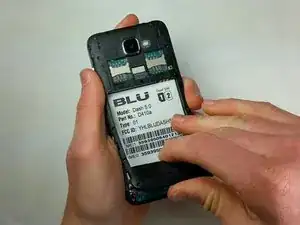
    • Make sure device is disconnected and turned off.

    • Locate the groove at the bottom left corner of the phone.

    • Insert the plastic opening tool in the groove and pry it open.

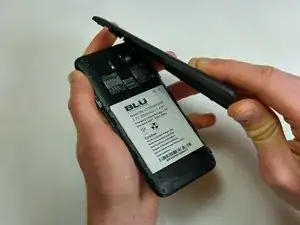
    • Lift the back cover of the phone using your hands.

  2. eMyr5u5mSn54hYWA
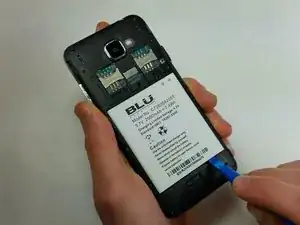
    • Pry the battery out from the back of the phone using the plastic opening tool.

  3. A5btE1I4Ov2EUooF
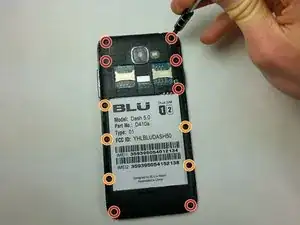
    • Remove the 12 screws located at the back panel of the phone using a J000 screwdriver.

    • The red circles are screw holes that hold the 3.5mm length Phillips screw.

    • The orange circles are screw holes that hold the 2.5mm length Phillips screw.

  4. cIMfRB1ZKGDHkxdR
    cIMfRB1ZKGDHkxdR
    UKbvNnBpmEVbPFdx
    6sYKYjGWO1vAROe5
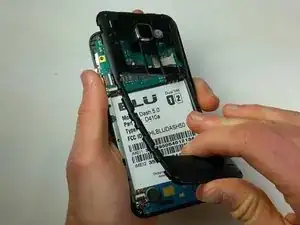
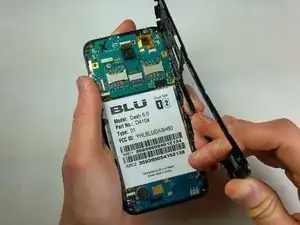
    • Remove the back panel of the phone with your hand.

    • Carefully remove the plastic back panel to avoid breaking it.

  5. 1gcTnR2etVFJvDH2
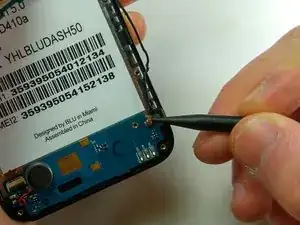
    • Remove the antenna cable connectors using a spudger.

  6. 6vPWpA2SM4WtjJsl
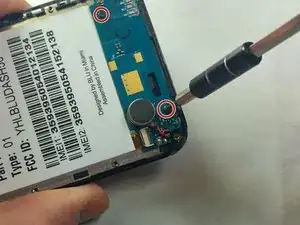
    • Unscrew the 2.5mm screws from the circuit board holding the speaker at the bottom of the phone.

  7. wAEFwkQqAJPoxQFK
    wAEFwkQqAJPoxQFK
    GVSHMbBRrpMSSjQ6
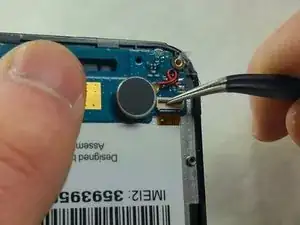
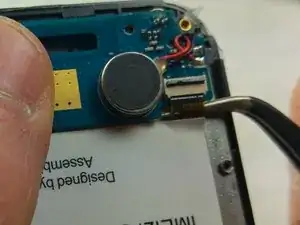
    • Flip the ZIF flap up with tweezers.

    • Remove the ribbon cable with tweezers.

    • The ribbon cable is sensitive and needs to be removed carefully to insure its integrity.

  8. qOUykJEaJCQCFpPO
    qOUykJEaJCQCFpPO
    tsQAsMgMvIs5AaWw
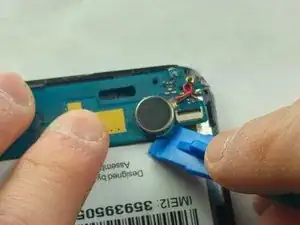
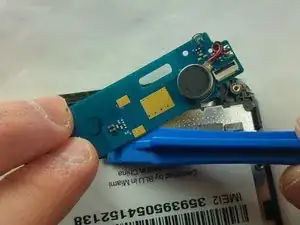
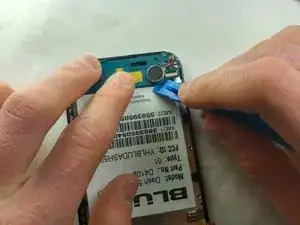
    • Remove the speaker panel with the plastic opening tool.

    • The panel is glued onto the device and will require extra force to remove.

Abschluss

To reassemble your device, follow these instructions in reverse order.
Mukish Kumar Munyady

Mitglied seit: 30/01/17

201 Reputation

0 Kommentare