Einleitung
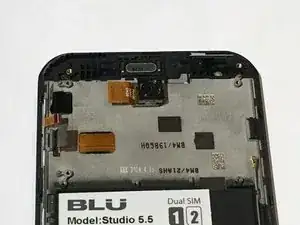
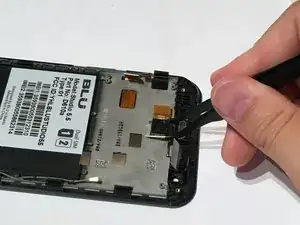
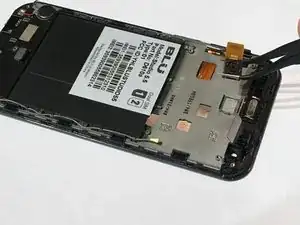
The back camera is an important tool for any mobile device as it is usually the camera with the highest quality for picture taking and this guide will show you how to properly find and replace it.
Werkzeuge
-
-
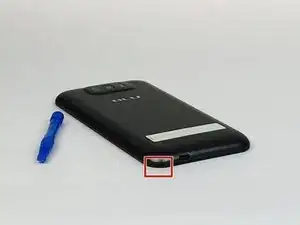
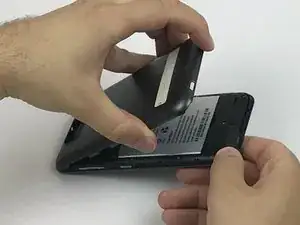
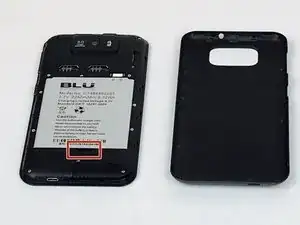
Locate the notch to remove the back panel at the lower left corner of the panel.
-
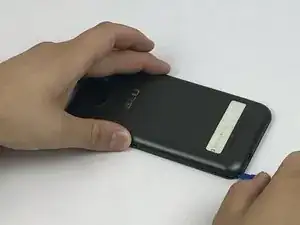
Insert the plastic opening tool or a fingernail into the notch.
-
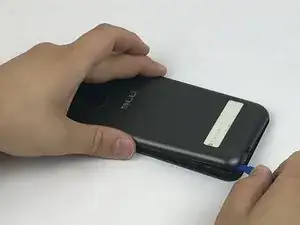
Apply force upwards until back panel becomes loosened.
-
-
-
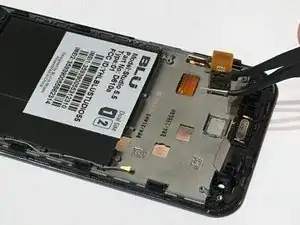
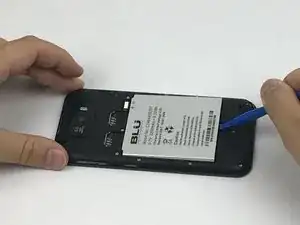
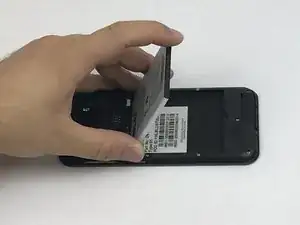
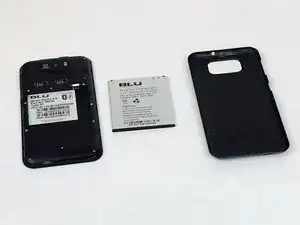
Insert a plastic opening tool or your fingernail into the notch and apply force upwards until the battery is loosened.
-
Remove the battery and set aside.
-
-
-
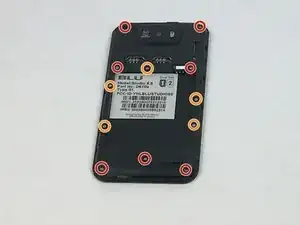
Locate all twelve screws along the back panel:
-
Seven 5mm screws.
-
Five 3.5mm screws.
-
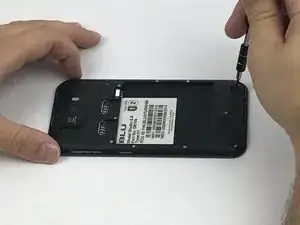
Using a Phillips #000 screwdriver, remove all twelve screws.
-
-
-
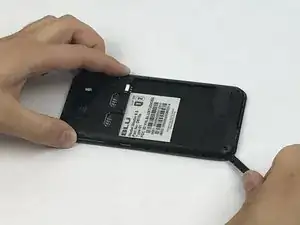
Now that all the screws have been removed, use a plastic opening tool to carefully pry at each of the corners until loosened.
-
Place the plastic opening tool inside the loosened panel and gently push upwards and move along the phone to remove the back panel.
-
Remove the panel as if you were turning the page of a book.
-
-
-
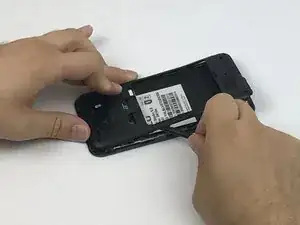
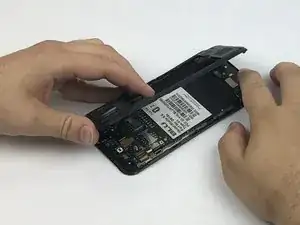
Locate the motherboard that is above where the battery was removed.
-
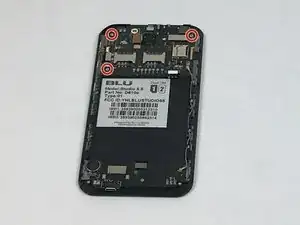
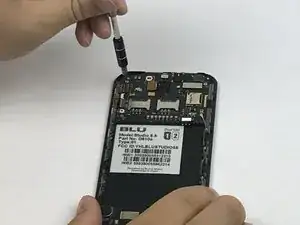
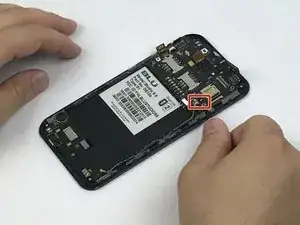
Remove the three screws holding down the motherboard to the phone.
-
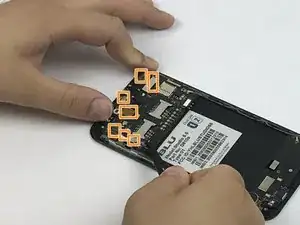
Locate all 7 flex cable connectors that are attached to the motherboard.
-
-
-
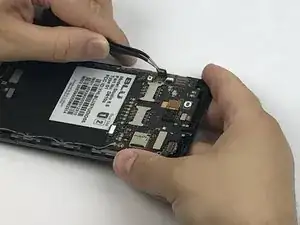
Use tweezers to carefully grasp and unhook all 7 flex cable connectors.
-
With the same tweezers, pry off the cable clasp that connects the motherboard to the sub PCBA.
-
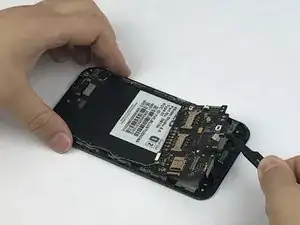
Once the motherboard is disconnected from all components, use the tweezers or your fingers to remove it from the phone assembly.
-
-
-
After the motherboard has been removed you will see the back camera, which is glued to the phone assembly.
-
Using a pair of tweezers grip onto the sides of the camera and gently pry it off the panel.
-
To reassemble your device, follow these instructions in reverse order.
