Einleitung
Werkzeuge
-
-
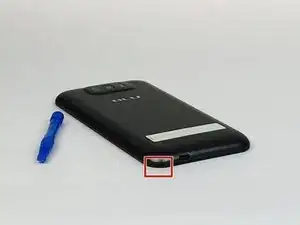
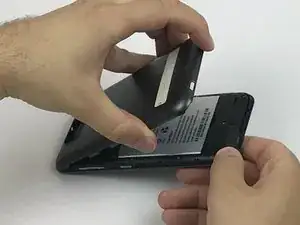
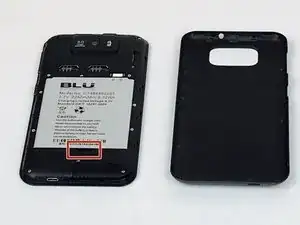
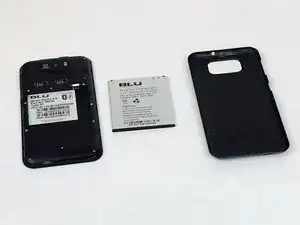
Locate the notch to remove the back panel at the lower left corner of the panel.
-
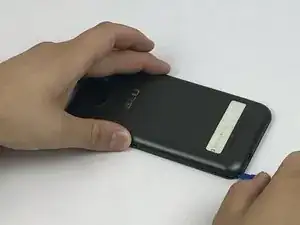
Insert the plastic opening tool or a fingernail into the notch.
-
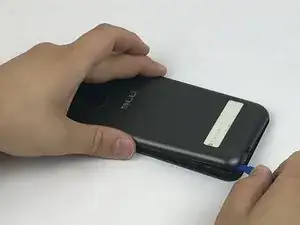
Apply force upwards until back panel becomes loosened.
-
-
-
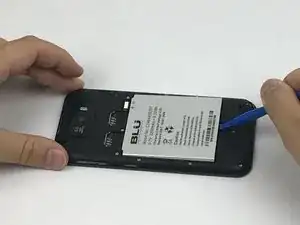
Insert a plastic opening tool or your fingernail into the notch and apply force upwards until the battery is loosened.
-
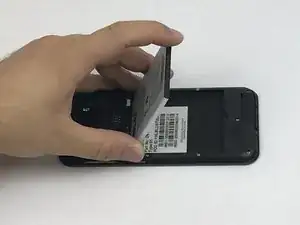
Remove the battery and set aside.
-
-
-
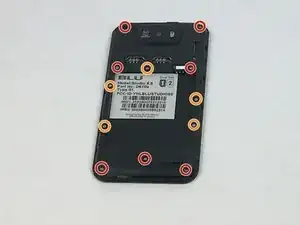
Locate all twelve screws along the back panel:
-
Seven 5mm screws.
-
Five 3.5mm screws.
-
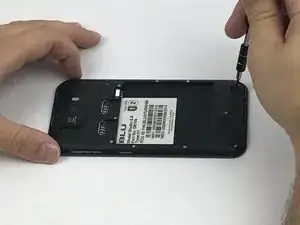
Using a Phillips #000 screwdriver, remove all twelve screws.
-
-
-
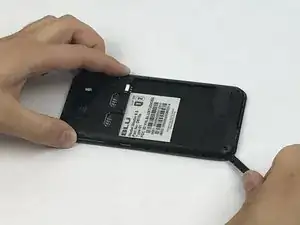
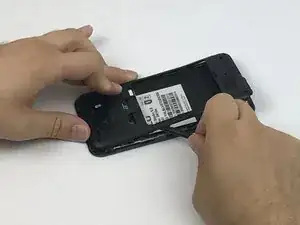
Now that all the screws have been removed, use a plastic opening tool to carefully pry at each of the corners until loosened.
-
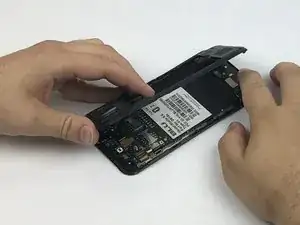
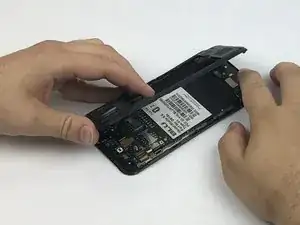
Place the plastic opening tool inside the loosened panel and gently push upwards and move along the phone to remove the back panel.
-
Remove the panel as if you were turning the page of a book.
-
To reassemble your device, follow these instructions in reverse order.
