Einleitung
This guide will be helpful if your camera has become cloudy and in need of cleaning, or even if it needs to be replaced outright.
Werkzeuge
-
-
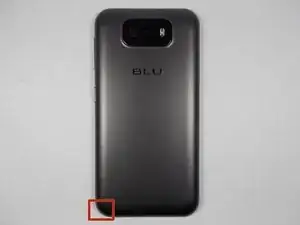
Flip over your Studio 5.5 so the back is facing you.
-
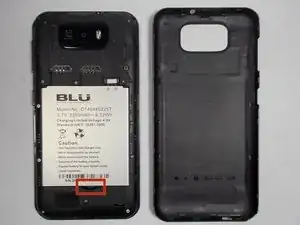
Use either the spudger or your fingernail to pull up on the slot in the lower left corner and remove the back cover.
-
-
-
Place your finger in the small groove beneath the battery.
-
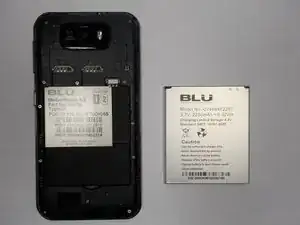
Push the battery toward the top of the phone and lift it out.
-
-
-
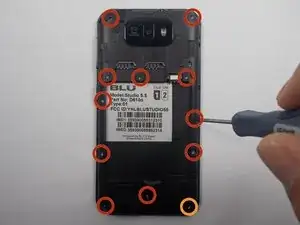
Begin by removing the 12 3.5mm screws along the back of the device.
-
1 of these screws will be underneath a white sticker. Just press the screwdriver through it and remove it normally.
-
-
-
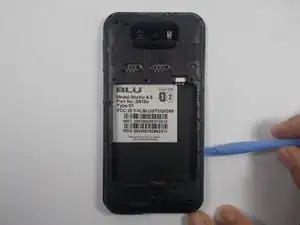
Using your plastic opening tool, begin carefully prying the plastic shell from the phone.
-
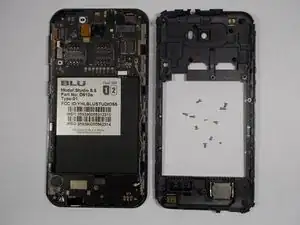
Make your way around the edge slowly and lift the shell off when you have made a full circuit.
-
-
-
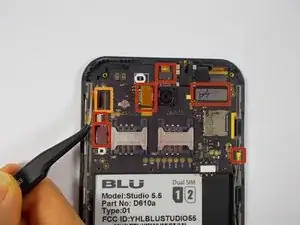
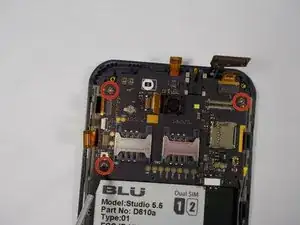
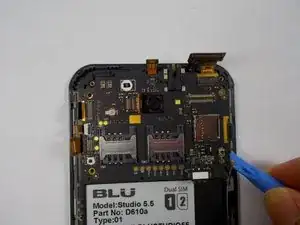
Locate and unplug seven connectors on the motherboard.
-
Those marked in red are pulled straight up, away from the phone.
-
The connector marked in orange is pulled out horizontally.
-
-
-
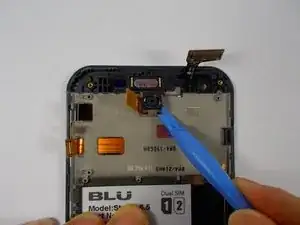
Carefully wedge the plastic remover tool underneath the corner of the camera module and slowly pry until it comes free.
-
-
-
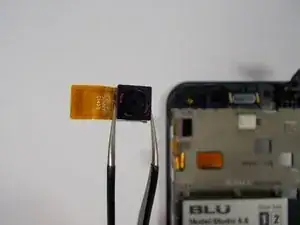
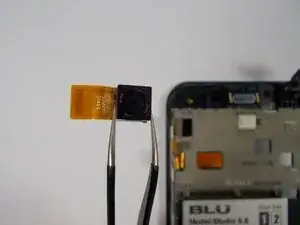
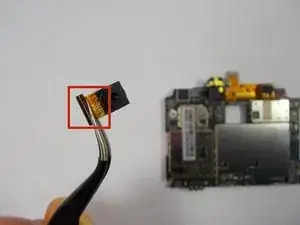
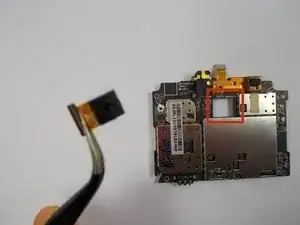
Use tweezers to lift the camera module out, taking care not to get any fingerprints on it.
-
To reassemble your device, follow these instructions in reverse order.
