Einleitung

Disclaimer: I have practically zero knowledge of sewing and textile working, so I might be using bad practises in this guide, and there could be more optimal or easy ways to do this.

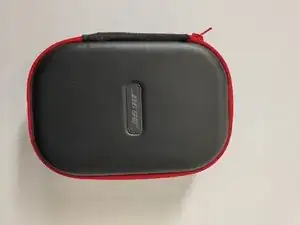
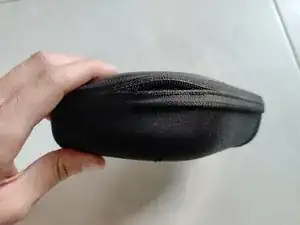
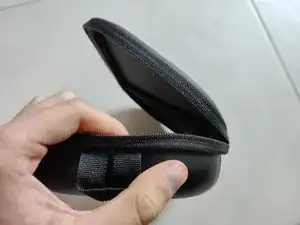
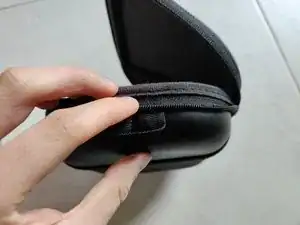
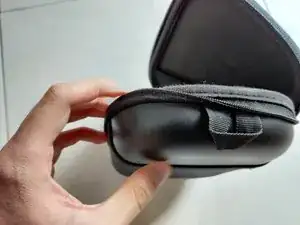
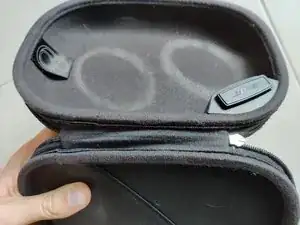
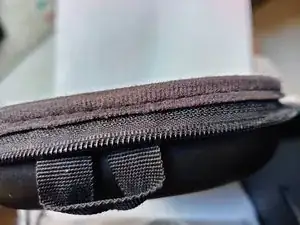
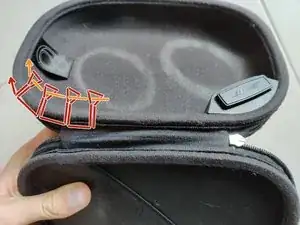
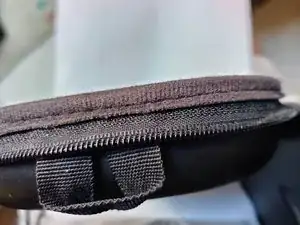
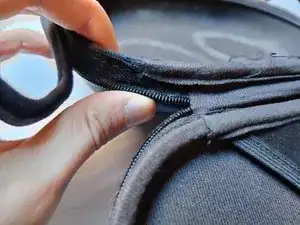
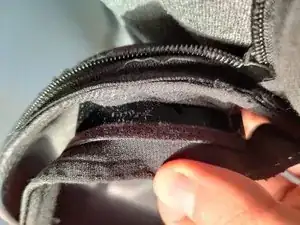
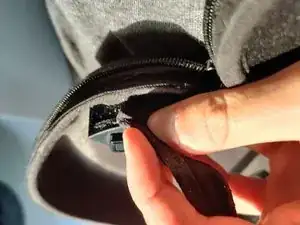
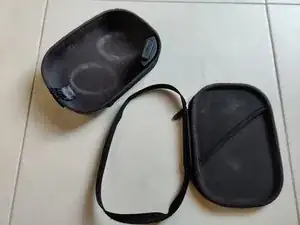
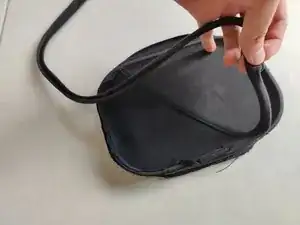
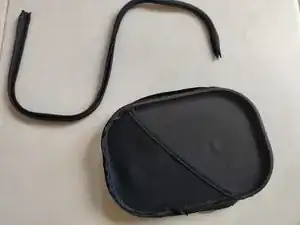
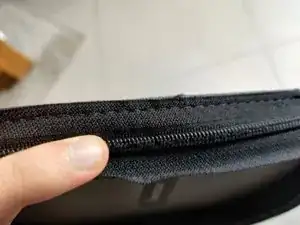
NB: The Q35 case has a non-standard zipper; the slider has the pull tab on the rear, so when the case is closed, the teeth are on the inside of the case (but the pull tab toward the exterior) to make the finish look nicer and also to prevent stuff getting caught in the teeth, when, for example, putting the case in a bag. This means if you want to have the same look, you either need to find the right sized tape and teeth for the Bose slider (I tried YKK brand size 3C which was too small, and size 5C, which was too big), or, buy the tape with a reversible slider. As I could not get my hands on either option easily, I just decided that I’d have the teeth on the outside, and used a regular YKK sized 5C tape and slider.

  1. poBtJOj2n5MhvUgD
    poBtJOj2n5MhvUgD
    HxcfovnmTW5NcLP2
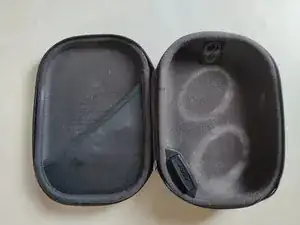
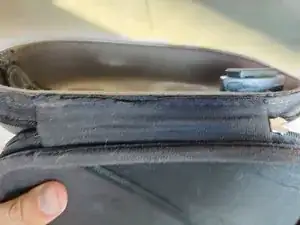
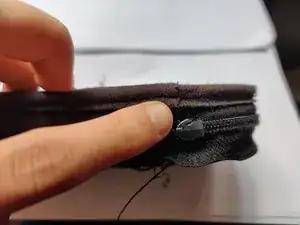
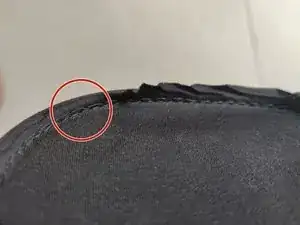
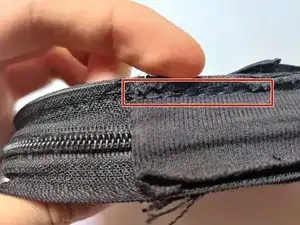
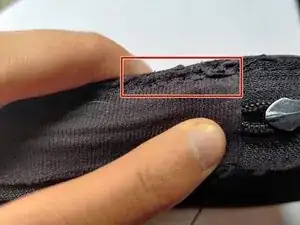
    • The zipper is damaged beyond repair, and needs to be completely replaced

  2. L2LkRTOrqNdNq4Sp
    L2LkRTOrqNdNq4Sp
    IrfbVHicAiJNMCgm
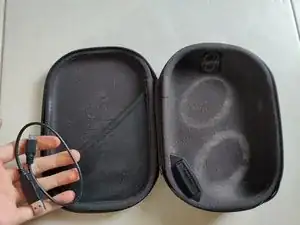
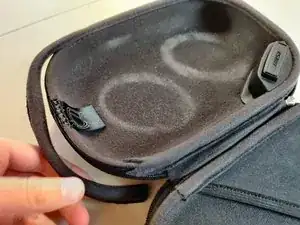
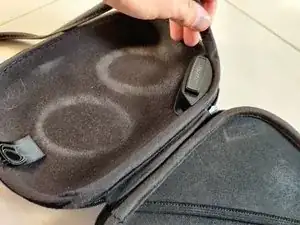
    • Open case

    • Remove accessories

  3. FrfUaft5XRAsL2KR
    FrfUaft5XRAsL2KR
    2OJwbMCroOCOInqu
    Cmy3XUP4eXEoPqOB
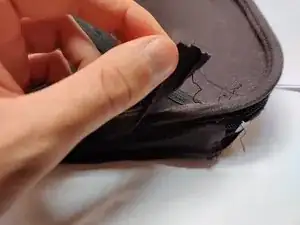
    • Take one side of the case and start close to the place where both sides of the case are joined

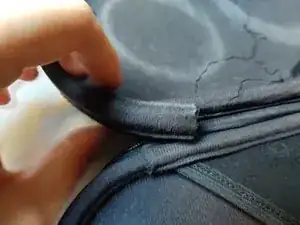
    • Push the fabric with the teeth out and down, exposing the seam

    • The fabric should sort of snap in place against the sides of the case

    • Work your way around this side of the case

  4. giu2fqErqNyZGPHF
    giu2fqErqNyZGPHF
    25CxvlkTRIjlPuCD
    • Repeat on the other half of the case

  5. Vbs1K6lVNqdcsSTt
    Vbs1K6lVNqdcsSTt
    soLZLMZEEct1JUDD
    hUA3bTVL6VlWXGf6
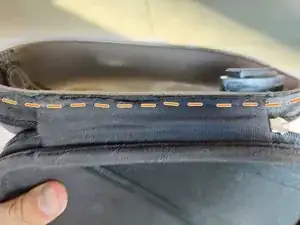
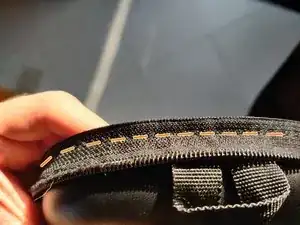
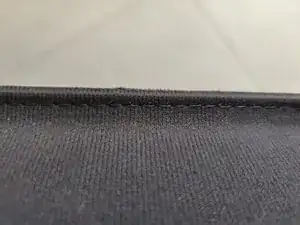
    • On each half, there is a soft piece of fabric that covers all the other seams and give the case a nice soft finish. The seam is visible on the outer part of the case, now that we pushed the teeth of the zipper down. It is held on by 2 threads

    • The first thread goes through the leather, makes a loop, and then goes back through the same hole. It then moves a few mm and repeats.

    • The second thread just goes through all the loops

    • Sew pattern schematic not to scale . It's just to get an idea of how the fabric is held on. The threads are pulled tight. They were most likely machine sewn

  6. ahIKRndWAXHggLZm
    ahIKRndWAXHggLZm
    UgDE1lcgAdnMMbAn
    J2uw4pFFZFEXCvIL
    • Start anywhere where you have a good visibility and access to the outer thread

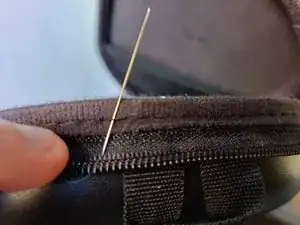
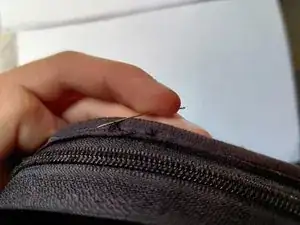
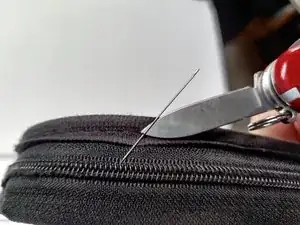
    • Take a needle and work it behind the thread, to create some space

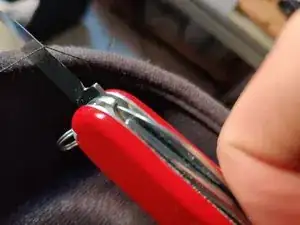
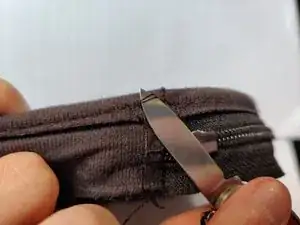
    • Insert the tip of a pair of scissors or the blade of a knife into the space and cut the thread

  7. xwPJvdOSTLRUsauU
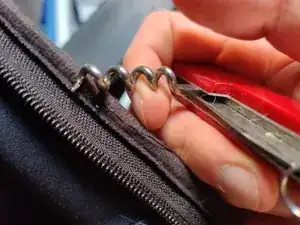
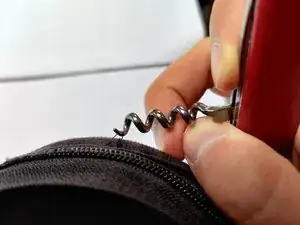
    • Moving to the next neighbouring stitch, use a pointy item to pull the thread out

    • I found that the cork screw tool of a swiss army knife worked well, as the point is a bit dull, thus not getting stuck if the fabric, but still pointy enough to work it behind the thread, allowing me to work faster. The shape of the cork screw opener also naturally helps to pull the thread out

  8. oHOuaYkPZMMnJn1B
    oHOuaYkPZMMnJn1B
    EH6vJjuBTVocJPYC
    • Work your way around the case, in both directions

    • The place where the halfs of the case connect, is a little messy, as that is where the sew starts and finishes, so there are extra stitches there for strength. Just cut threw them an pull them out

    • At some point you might want to cut the inner thread, so that is doesn't get in the way

  9. yjQqRE3SlkuAL2ZR
    yjQqRE3SlkuAL2ZR
    6DkFcMmAHGDDirGM
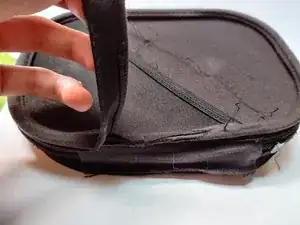
    • Once you get to one end, you can start lifting part of the fabric up, as you go along

  10. sY2WhLw4HtEk6lSM
    sY2WhLw4HtEk6lSM
    cKLfV4kLckVLRAtB
    ckBeQiMMyQfUvsvi
    • Once you get to the airplane adapter, you will encounter a problem

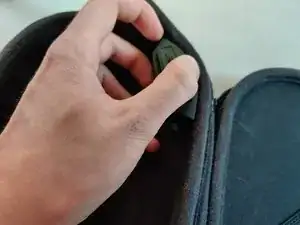
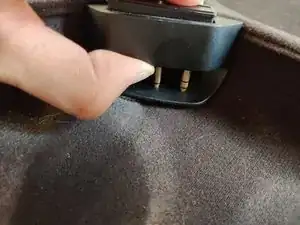
    • The airplane adapter socket is glued to the inner lining

    • You either remove it or you can just pull it away from the side of the case enough to work behind it. This requires a bit of force to remove the top layer of glue

    • If you remove the socket completely, be carful not to rip the lining. You made need some heat or chemical to dissolve the glue

  11. CWacvqK4CtqPoX6q
    CWacvqK4CtqPoX6q
    VGFIJqfbBdJGyA1p
    bNmJUWxBGKdmyWt2
    • Remove the remaining stitches and peel off the fabric from the back of the socket

  12. DpmJRgePnRf5iEl3
    DpmJRgePnRf5iEl3
    qf3FhStdBHrWcBLc
    aGAkgT6vJmZeBKXl
    • The zipper tape is still held to the case by one thread

    • Cut it and work your way around the case, the same way as for the first fabric, to undo the seam

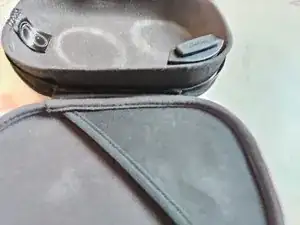
    • On the inside there are 2 seams: one that holds the tape to the leather, and one that holds the outer fabric (the sort of "back pocket" of the case) to the leather. To avoid mistakes, undo the seam from the exterior of the case (orange stitches)

  13. 4ZcmvJgWkaANWvCR
    4ZcmvJgWkaANWvCR
    QJOaP6qV1VIHbuSq
    • Once you have removed the seam all the way around, the zipper tap will slide off that half of the case

  14. f2sDnj63bDiBDAVR
    f2sDnj63bDiBDAVR
    2MpriHHyBIJXYrBd
    • We now repeat the process on the other half of the case

    • Chose a spot on the seam and insert a needle to make space between the fabric and the thread

    • Insert a knife or scissors in the space and cut the thread

  15. oEAPgmFtF3dLlWTY
    • Work your way around the case the same way as the other half, pulling the thread out, stitch by stitch

  16. eyLZb4CHJ1SDP1mS
    eyLZb4CHJ1SDP1mS
    cMa2oCNPNbSNxjcY
    vxTSTMuGFthNWUU4
    • When getting to the place where the soft fabric overlaps, there will be a complicated mess of threads, and it will be simpler to cut them, and pull them out, rather than try to pull on them in the correct order

  17. EBKcTpSt2jXn4YS3
    EBKcTpSt2jXn4YS3
    OjTbROGJuBITF1UN
    lIOliiPWvCXtQ15j
    • Once the thread has been removed all around, pull the soft concealer fabric off

  18. AWy1VOuONQf6gwdn
    AWy1VOuONQf6gwdn
    F65ZVwh3yNVpmq1m
    1udEnx2qaShLXapr
    • The tape is still held on, like for the other half, by a single thread.

    • On the inner bottom section of this half, there are 2 seams. One is to hold the inner pocket, which we don't need to remove. So as before, undo the seam from the outside.

  19. P11GMVGHKymVMaFq
    P11GMVGHKymVMaFq
    MnogayUWZfmvlJGF
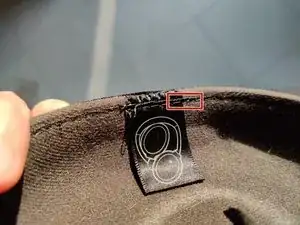
    • Another point of note, is where the two half of the case were joined: There are 2 seams here as well. One is holding the tape to the leather, and the other is holding the soft stopper fabric to the tape.

    • It's easier to remove the seam for the stopper fabric later, but if you cut it and pull on it, it's no big deal

Abschluss

Your case should now be fixed.
Sam

Mitglied seit: 13/09/14

890 Reputation

0 Kommentare