Einleitung
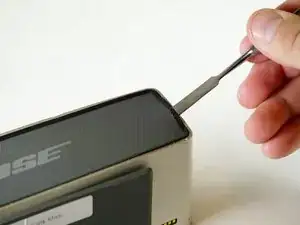
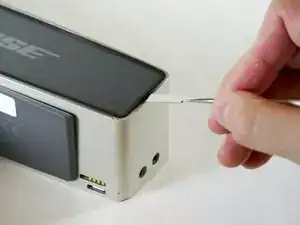
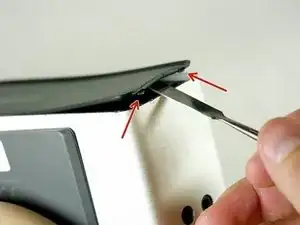
Die Akkuabdeckung ist eine Gummiklappe über dem Akku am Boden des Lautsprechers. Sie lässt sich erst mit den Fingern entfernen, wenn vorher ein paar andere Schritte durchgeführt worden sind. In dieser Anleitung siehst du, wie du die Akkuabdeckung in deinem Bose SoundLink Mini austauschen kannst.
Werkzeuge
-
-
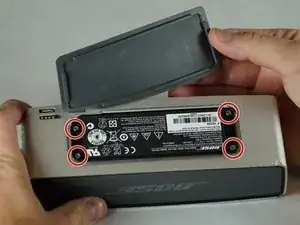
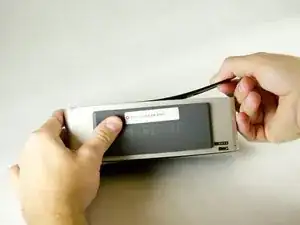
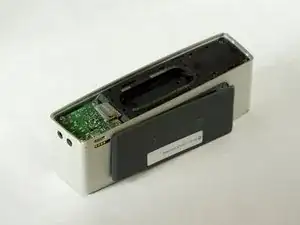
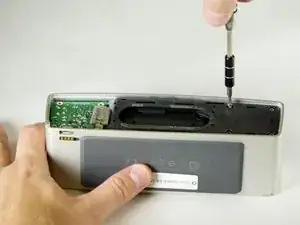
Löse die Batterieabdeckung aus Gummi ab und entferne die vier mit Kreisen bezeichneten 6 mm T8 Schrauben.
-
-
-
Das Gitter ist mit doppelseitigen Klebeband am Lautsprecher befestigt. Um es zu entfernen musst du es vorsichtig nach oben und gleichzeitig nach rechts ziehen.
-
-
-
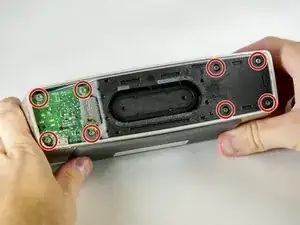
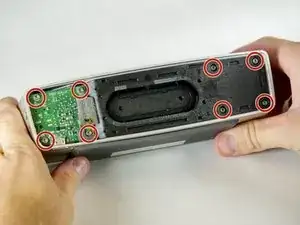
Entferne die vier 15 mm Torx T8-Schrauben auf der linken Seite und die vier 9,0 mm Torx T8-Schrauben auf der rechten Seite.
-
-
-
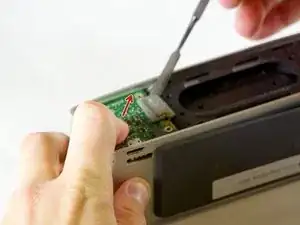
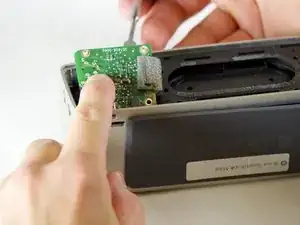
Schiebe die Platine mit dem Zeigefinger in die gezeigte Richtung und hebe sie gleichzeitig mit einem Nylon- oder Metallspudger zum Entfernen hoch.
-
-
-
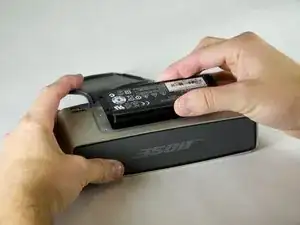
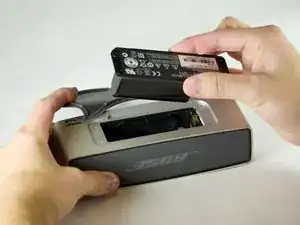
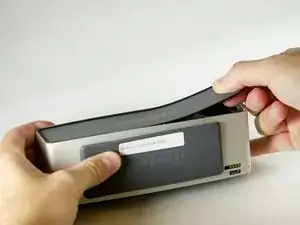
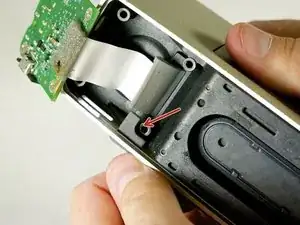
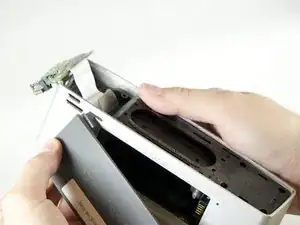
Ziehe vorsichtig an der Akkuabdeckung, bis die Gummilasche aus dem Aluminiumgehäuse herauskommt.
-
Um dein Gerät wieder zusammenbauen, folge den Schritten in umgekehrter Reihenfolge.
3 Kommentare
can someone tell me how do i reattach the rubber battery cover if i have removed it completely
rajpotus -
Cut the lip off. You will not be able to put it back. It’s Bose’s terrible design.
@rajpotus: I had the same problem. If the little rubber tab is not damaged (mine was fine), you should be able to follow these instructions to replace it. But I have these comments on the instructions:
1) You do NOT need to remove the front grill. I have no idea why they suggest you do that here.
2) I think the reason you remove the battery is to make sure the circuit board has zero power on it when you work on it — otherwise a touch of the screwdriver to an unlucky spot on the board might short/burn something out. But I don’t think there’s any mechanical reason to remove it.
3) Once you pop off the back grill cover, you should be able to slide the tab through the slot and coax it up (maybe with a tooth-pick and/or tweezers) on top of the circuit board, but it’s probably better to unscrew the circuit board (as directed here) which makes it easier to push the rubber tab through. Then slide the circuit board back under the tab and screw it back into place.

Help I removed the part which I'm not supposed to next to the battery charger how do I put it back?
Sooraj murali -
Where can I actually get a replacement battery????
appreciate any help bc I couldn’t find it anywhere.
Kamil M. -
Where can I get an actual replacement battery???
appreciate any help bc I couldn’t find it anywhere.
Kamil M. -
Hi Brent and thank you for this easy fix.
Still I have a problem I did not have while the original battery was in place: the sound is now buzzing even at a middle-of-the-range volume.
I used the original screws and everything seems in place and the screws are tightened “right” I would say. I am usually fine fixing things. And I do not see what I could have done wrong…
Any suggestion?
Thank you.
MBP -
Which battery is the correct one. Two model are shown to be purchase
Ruben Roman -
What is not discussed is the wires that connect the battery to the speaker. In mine, I think I destroyed the speaker, because I pulled out the battery and dislodged the wires from the electronic board. I think they must have been soldered on, and now am having trouble attaching the new wires to the board.
horseylawgal -
I have lost the 4 battery screws. What size are they? I think they are metric but what is the length? They were Philips head flat as I remember.
Wolfgang Mitchell -