Einleitung

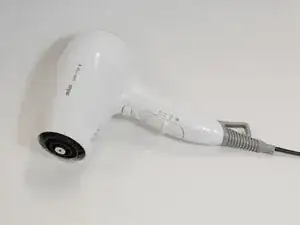
This Braun Satin Hair 3 hairdryer is disassembled to the point one can easily reach the electronic parts. No soldering is needed to reverse this guide. However, this also means this guide does not describe any repairing of the electronic parts.

  1. sRKMk2wkDd1eZ3QJ
    sRKMk2wkDd1eZ3QJ
    i6ZyCGcXTTU6aRjB
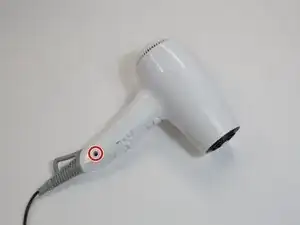
    • Before disassembly, unplug the device.

    • Make sure the device was not on for the last 10 minutes, because it might still be hot.

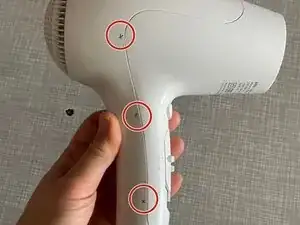
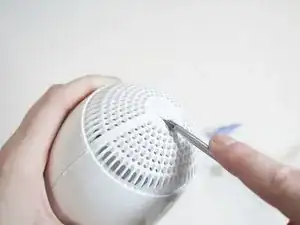
    • Using a Spanner 4.0 screwdriver, unscrew the 1.5mm screw from the exterior of the hairdryer.

  2. ejre2XDmuNcWvU15
    ejre2XDmuNcWvU15
    eLuDCNXOHXtoWe3F
    FGmemIJWFgGUBxw3
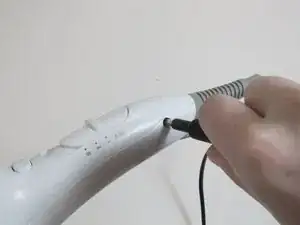
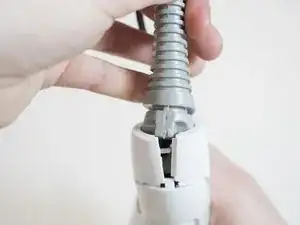
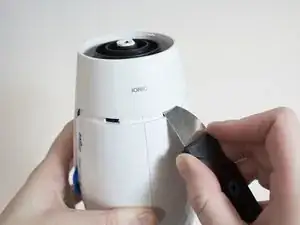
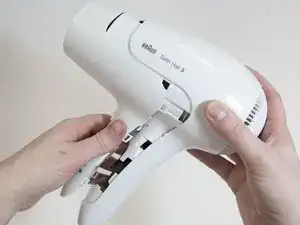
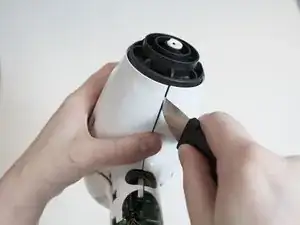
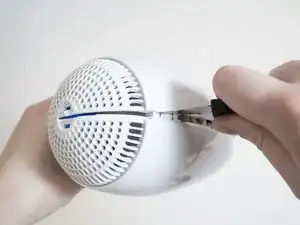
    • Begin at the cord end of the product. Gently pry the two halves of the external casing open with the help of a Jimmy and push the front cap up and away from the external casing. The snap-fit should come loose.

    • After opening the first snap-fit, remove the gray cord protector by slightly pulling it backwards while keeping the gap open with your other hand.

    • Slide the cord protector down the electrical cord and out of the way.

  3. iKotPPFvgOBxCP2h
    iKotPPFvgOBxCP2h
    1pjTAacBCFIthaoI
    VYexecwqTEiWJtLG
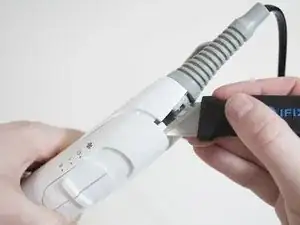
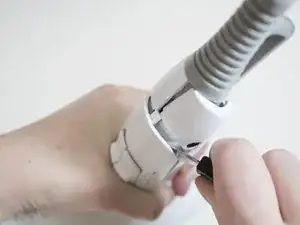
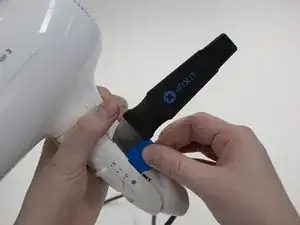
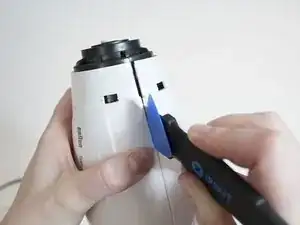
    • Continue loosening the front cap from the external casing using the Jimmy. The snap-fits tend to snap back in place, so to prevent that use opening picks to keep the separated halves from snapping back closed.

    • Work your way around the product, opening one snap-fit at a time.

    • Take care while opening the snap-fits. If done gently, damaging the product can be prevented. It might take some time and patience, but prevents breaking the casing as a whole.

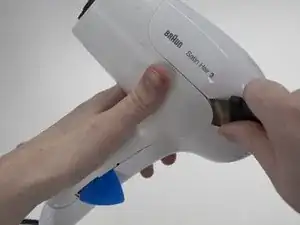
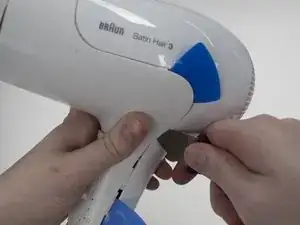
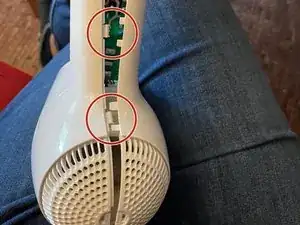
    • It is advised to open the snap-fits that are easier to access, and finish with the snapfits in the harder-to-reach spots, namely those in the area where the handle meets the head of the hairdryer (shown in the third picture).

  4. CnPHbQeQYqfCgvVB
    CnPHbQeQYqfCgvVB
    UM3rVfVhOr6aevuB
    l2SNqfgx6DM1QoCP
    • Places where the snap-fits are located. Those are the most important points for opening it.

  5. rrxefr1vOdfnZ3e2
    rrxefr1vOdfnZ3e2
    KhWZ2GRslXUiJGWg
    • After opening the last snap-fit of the front cap, it comes loose from the external case halves. Slide the front cap off the external casing and put it aside.

  6. mGbd2tHGQwoCDYKH
    mGbd2tHGQwoCDYKH
    rEaPR2xIgVYRjADN
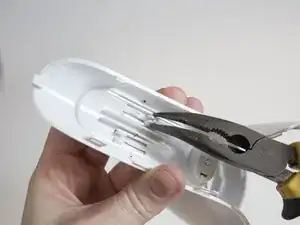
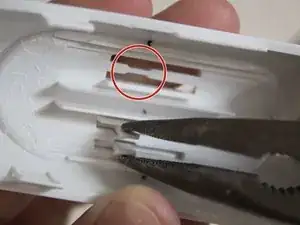
    • Using either tweezers or pliers, pinch and remove the sliders and button from the front cap.

    • The sliders can only be removed at the specific place, marked in the second picture. Here the slit is a bit wider, making it possible to push the sliders through.

  7. XUQaSwMSQP2vOQ5v
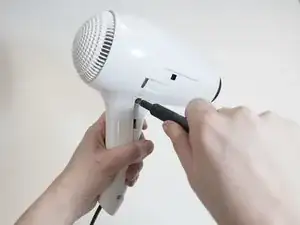
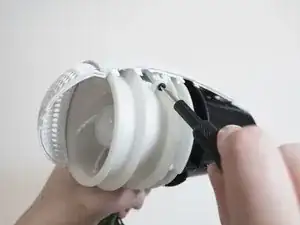
    • Using the same driver as before, remove the 1.5mm Spanner 4.0 screw that becomes accessible after removal of the front cap.

  8. Mqu5gKnBdpL5WBpj
    Mqu5gKnBdpL5WBpj
    feSUC1DekTLmSIFs
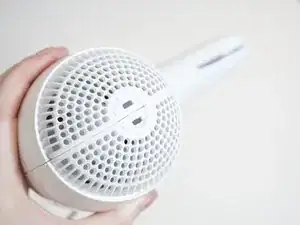
    • At the back of the product, the two halves of the case are connected with a snap-fit cap. Loosen this cap by putting a screwdriver or other opening tool under the cap using it as a lever.

    • Unfortunately, to further access the insides of the product, it is necessary to break the snap-fit cap. There is no way to reach this part from the back.

  9. PRVPtsITkCoMoHwt
    PRVPtsITkCoMoHwt
    E31mKbYnFPRCA5wE
    TmBPkykyxIfRNaPn
    • Using the same tools and methods as before, pry the two external halves open the rest of the way.

    • The snap-fits joining these two halves are tougher than those of the front cap. You might need to use more force to release them.

  10. EOQ331ZQMA2CJhKV
    EOQ331ZQMA2CJhKV
    Es4GvKUE4vcaoWHp
    2EVp6T6iR2rh4ZFu
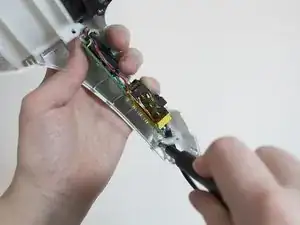
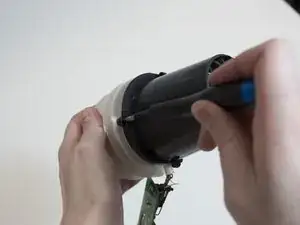
    • Unscrew the third and last 1.5mm spanner 4.0 screw keeping the fan down, using the same spanner driver again.

    • Unscrew the 1.3mm Phillips #2 screw holding the circuit board down, using a Phillips #2 screwdriver or bit.

    • Slide out the inner components as a whole.

  11. ujaXiym1kuqWgn4C
    ujaXiym1kuqWgn4C
    RqOfvfMvnPAHUU5q
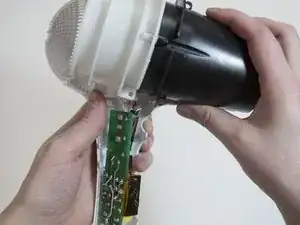
    • Separate the black inner casing from the other parts by removing the three 1.4mm Phillips #1 screws with a Phillips #1 screwdriver or bit and sliding it off.

  12. dGPUGahL3VaoAUJI
    dGPUGahL3VaoAUJI
    YCClRb3yfwTOFiOv
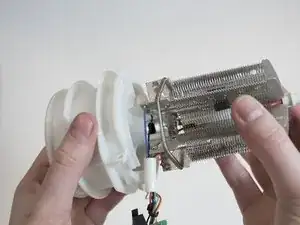
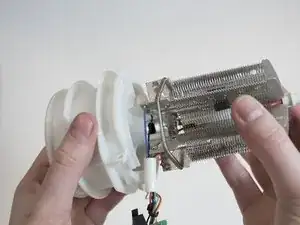
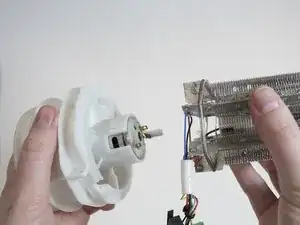
    • Pull apart the fan from the heating element and the circuit board.

    • This is the furthest this tear down can go without needing to solder it back together during reassembly.

Abschluss

To reassemble your device, follow these instructions in reverse order.

Pim van der Werff

Mitglied seit: 07/03/18

322 Reputation

7 Kommentare

Do never open it…

It’s a disaster!

ZK A -

Thanks a lot. It’s hard to disassemble without cosmetic damage(

Lessandro Kalmykoff -

Thanks a lot. It worked for me. It's a shame they don't make it with a removable rear guard to remove hair build up on the fan. A bit of cosmetic damage but cleaned up with a sharp knife

cwhetter -
Good job, exactly the info I needed. I would say difficulty is higher as it is almost impossible to execute this without damaging the edges.

Andras -

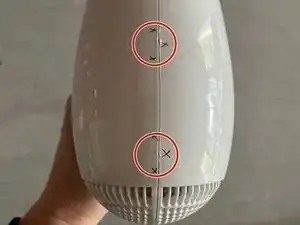
Thanks a lot for the great description. I succeeded in repairing my hairdryer. The fan stopped spinning at the highest speed due to hairs caught in it. I removed them. Btw. I used tools for reparing a mobile phone which were very useful. I will add some pictures where I put crosses on the casing just to get an idea where the snap-fit caps are located. It helps to concentrate on these areas. I also succeeded in not breaking the snap-fit cap : )

K Mueller -

Thanks! Now "successful"...

Step 5 was essential to me (did it too late), the last snap-fit of the front cap, it removes the whole case...

I repaired a satin hair 5. Afterwards I "flattened" and fitted the edges and grooves with a knife ("round" handle and blade)

Grandmastachief -

Thanks for informing but did not inoformed the the manufacturer put something like glue to seal it bcz they want it not repairable just use it and throw it but I fix it very hardly.only the problem comes some hair caught in the blower I request to the manufacturer please put some type of net on the air intake side.

Thanks

Sarwar Fazal -