Einleitung
This guide will show you how to disassemble the shaver, replace the batteries and reassemble.
The batteries are soldered directly to a PCB so you will need to be confident with a soldering iron.
Place your new batteries onto charge before you start so they have the same charge level when installed.
Werkzeuge
Ersatzteile
-
-
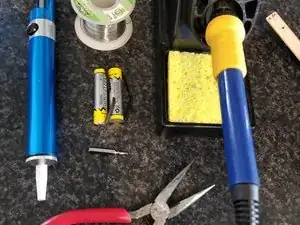
Soldering Iron
-
Solder sucker
-
T6 Torx bit
-
Pliers
-
Two new batteries. AAA size Ni-Mh with tabs. Originals were suppo 700mAh, I replaced with 900mAh.
-
-
-
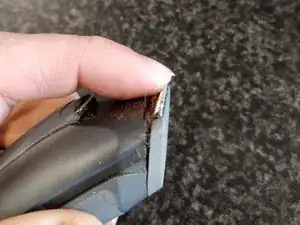
First remove the shaver head by pushing up on the cutting head. It will hinge up
-
With the head rotated up you will be able to remove it by pushing it sideways. The isn't strictly necessary if it doesn't make sense.
-
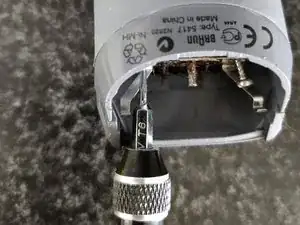
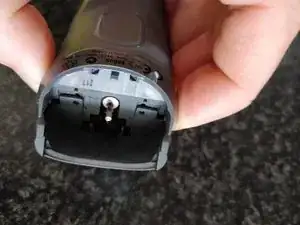
This will reveal two screws, mine were Torx T6. Remove these.
-
-
-
Just push the two halves apart from the top end.
-
Have a look at the picture to see where the clips are. Note the tab on the bottom end.
-
-
-
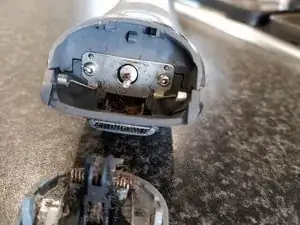
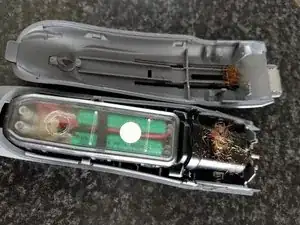
The black module simply lifts clear of the housing.
-
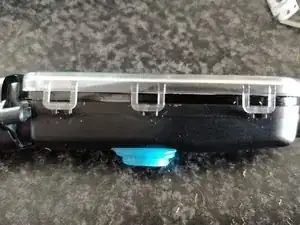
The clear lid has three clips on each side. Ease these up and lift the clear lid.
-
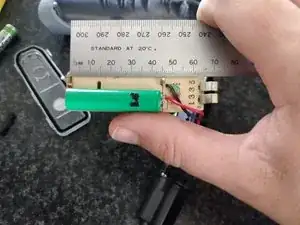
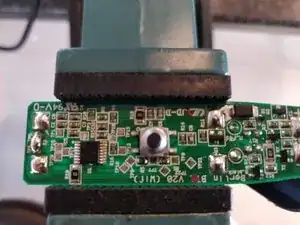
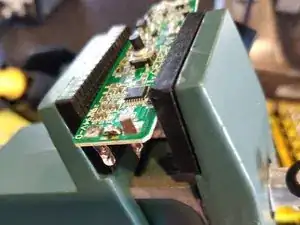
The PCB lifts clear of the black housing. It is a little reluctant but there are no hidden fasteners. I found it best to slid a flat blade screwdriver down the side of a battery and lever out.
-
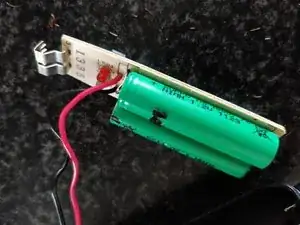
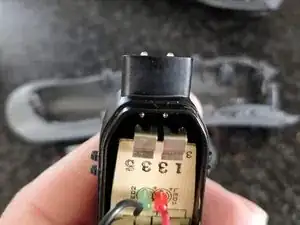
Be careful not to apply pressure to the AC tabs, shown in the second picture on the right. They lift clear of the charger connection without assistance.
-
-
-
De-solder the old batteries from the PCB using your preferred method.
-
I cut the batteries free from the tabs. Then used a solder sucker to get rid of the bulk of the solder. Finally I heated up the joint and used pliers to push the remaining tab clear.
-
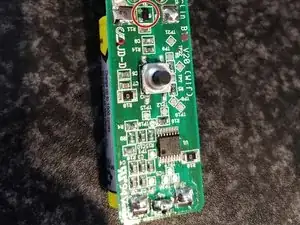
Note the polarity marked on the PCB and install the replacement batteries. Make sure you cut the tabs down before folding them over to prevent any shorts.
-
-
-
Everything is just the reverse. There are no hidden tricks and you can see everything.
-
There should be a seal under the clear lid, make sure it remains.
-
Check the AC connectors are not bent and touching when the PCB is reinstalled in the black housing. If you get this wrong you may turn the shaver into a smoke generator.
-
To reassemble your device, follow these instructions in reverse order.
17 Kommentare
Cool, helpful to me thanks!
Have a Braun HC3050 and had no idea how to open it ;)
Hi,
I follow all the steps but now both LEDs are blinking (shaver is still disasembled so it mught be orange when closed)
The shaver seems not to charge. :-(
I used higher mAh batteries: AAA 1,2V 1000mAh 1Ah
https://www.amazon.it/gp/product/B074YLK...
Are they maybe too much?
I’m not and expert in soldering and I don’t own a desoldering pump… But I think though I did everything right.
I hope I did not overheat something.. or damaged the motherboard..
What can I do?
Mirko -
Those batteries should be fine. Whilst I don’t know what the blinking LED means (it may be in the manual) I would check the following;
The batteries are around the correct way.
There isn’t any excessive solder creating a short circuit .
If you have a multimeter, check the voltage of the batteries with the unit unplugged. You may have got a dud battery. Ideally you should have charged them both before installing, this would have ensured they were both at the same charge level.
The metal tabs pictured at the top of step 6 aren’t bent etc.
Be careful with it apart, you may be familiar with electricity but please keep in mind there will be voltage exposed on the board which is capable of killing.
I’m not sure that helped much to be honest, feel free to post some close ups of your soldering and we can see if there is any issues with it. I doubt you have done any permanent damage.
Darryl -
Thank you very much Darryl!
You have some good points!
Especially the one about getting killed! I may have been not to cautious when I tryed to charge while still disasembled.. [sweating now]
I will be careful!!!
Battery polarity is same as before. Metal tabs are ok.
The manual does not mention that color.. Just red or green, steady or blinking.
I will check for shorts. That may be the problem.
Removing some exessive lead I may have scratches a pathway on the motherboard… shame on me! Rookie!
I’m really totaly new to soldering electronics… also sorry for wrong terminology!
Planned obsolency in products realy bothers me so I thought: “how hard can it be to change a battery?”
I now see it’s not that easy, but I gave it a shot!
Funny thing: My OralB toothbrush is also dying , and reading the fix… and I see it’s even more difficult!!
Anyway, I will let you know if I solved the problem!
Thanks a lot!
Mirko -
If you don't have (or don't want to buy) a solder sucker, try a solder “wick” instead. You can even make your own :https://www.youtube.com/redirect?q=http%...
mws.michaelwilliamscott -