Einleitung

The heat sink is essential in keeping your device internal temperatures low. This guide will show you how to remove and replace the heat sink.

  1. 4SZQTWsTcayweqT1
    4SZQTWsTcayweqT1
    WKwBCiRXJQQVBeDr
    KIKoVlhATDHauopq
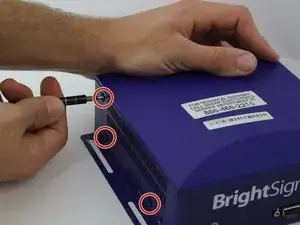
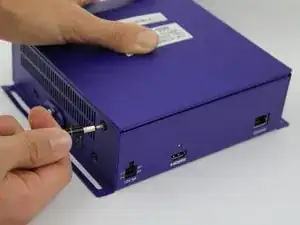
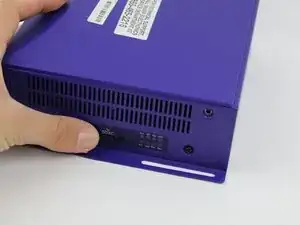
    • Remove three 8mm screws from the left side of the device.

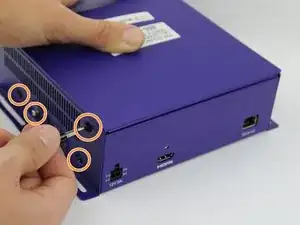
    • Remove four 8mm screws from the right side of the device.

  2. HSaWJa3WvsMZmMDo
    HSaWJa3WvsMZmMDo
    HqPrx2Quc1mpAKrU
    USpqfOnnTun3O6EP
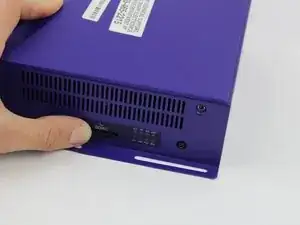
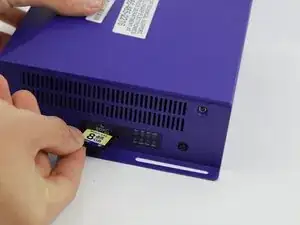
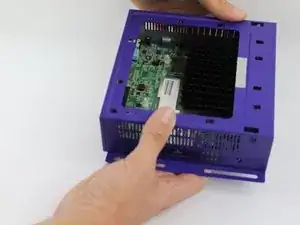
    • Apply pressure on the SD card to pop it out of the port.

    • Remove the card by pulling it out.

  3. lmkflwcOkKeIOG11
    lmkflwcOkKeIOG11
    jKAV3E4qlD6F5lTg
    cjQQGoKh5sfGGFeU
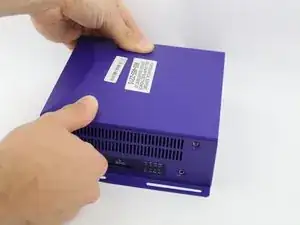
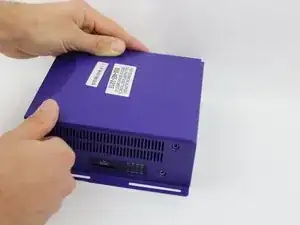
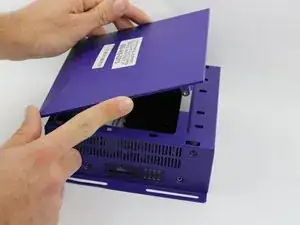
    • Press down on the top cover of the device and slid it towards you until you see a slight gap created.

    • Lift the top cover off.

  4. MHyRqrJDu2BFu2nT
    MHyRqrJDu2BFu2nT
    HPHSbcWV5jHsqDCs
    BuueABv5T4cS2HgY
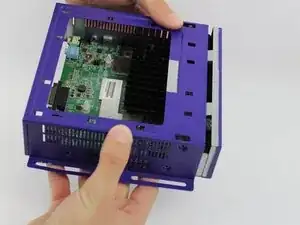
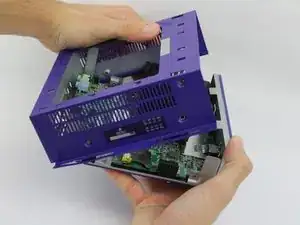
    • Slide the body case back away from the bottom.

    • Pull up the body case to remove it from the bottom.

  5. KSQYrpAagjjI41EU
    KSQYrpAagjjI41EU
    nuRBsnKyuTDPYSkV
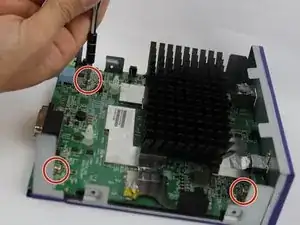
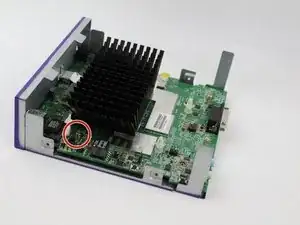
    • Remove the four 8mm screws at each corner of the motherboard with a JIS #0 screwdriver.

  6. vQBISLIZaoAHf1DZ
    vQBISLIZaoAHf1DZ
    rqsNoRqdc4WeWEVJ
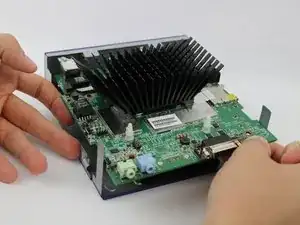
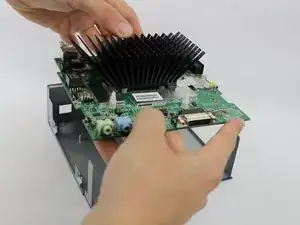
    • Lift the motherboard out of the casing.

  7. Xe3crPMvU6oHwWL3
    Xe3crPMvU6oHwWL3
    AcNSMrIhKQlbQ2fV
    • Flip the motherboard upside down.

  8. g4lwOJgliUZfSTUH
    g4lwOJgliUZfSTUH
    1PsIhHMGJ2ZpRRLW
    gATKPFFKZbU55YTW
    • Remove the black adhesive that covers the four screws.

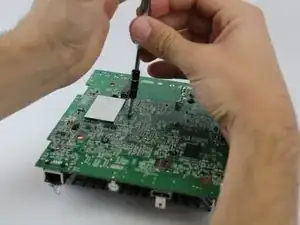
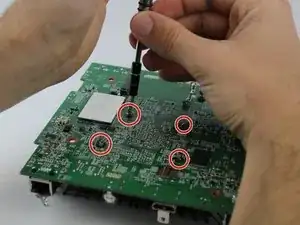
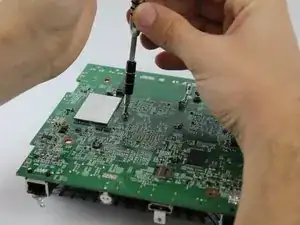
    • Remove the four screws.

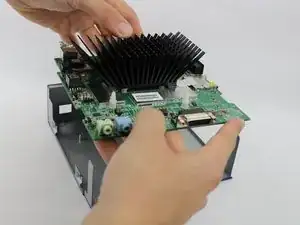
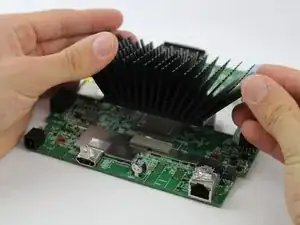
    • Flip the motherboard over and remove the heat sink by pulling up.

Abschluss

To reassemble your device, follow these instructions in reverse order.
Mattison Collins

Mitglied seit: 15/02/18

85 Reputation

0 Kommentare