Einleitung
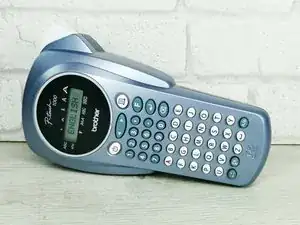
This label maker was working but the second row (1,2,3 etc) on the keypad were dead, making it pretty useless.
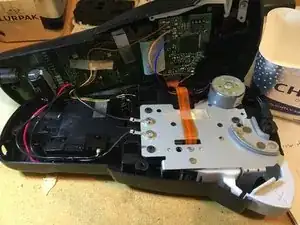
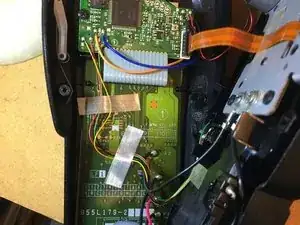
Disassemble enough to gain access to the largest board. On the side where the keypad conductors touch the board, examine for (normally black )corrosion on the copper traces (the fine conducting lines of copper on the circuit board).
Use a multimeter to confirm that electrical continuity has been lost across the corrosion (you don't want to repair something that isn't broken). Remove corrosion with fine (eg 1200 grit) abrasive paper. Also carefully remove the non conductive coating over the trace either side of the corrosion. If the corrosion is tiny, you may be able to bridge the corrosion with a blob of solder. Normally though the solder won't go where you want it to, so it best to lay a fine copper wire (or twisted fine wires) over the gap and solder it in (you can use a trace repair kit if you have one). You can get fine copper wires from some scrap flexible cable.
If electrical continuity has been restored, the key pad should now be fully working.
I think the corrosion was caused by the label maker being stored on a boat and there was probably some corrosive flux left over from manufacture. There was other localised corrosion on the board, but not enough to cause problems.
Photos were taken during actual repair to aid re-assembly, not as a guide to do the repair. Hopefully they may be of use.
Werkzeuge
Repairing corrosion damage on the keyboard PCB got the label maker fully functional again.


