Einleitung
Symptoms:
- Won’t turn on
- Display shows error
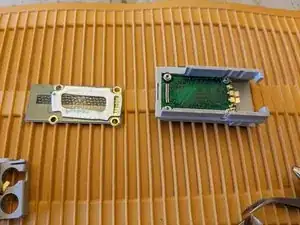
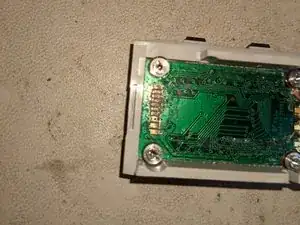
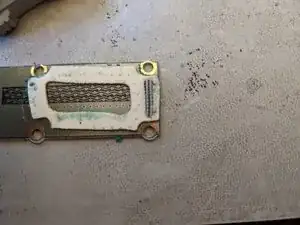
These are actually two separate problems but both can be caused by corrosion. It is cleaning up the corrosion that this iFixit addresses.
Corrosion is often caused by storing a device in a humid environment (and it doesn’t take much humidity) with the batteries left in the device. This is particularly true of devices with an electronic ON/off switch (no click). Also, pretty much all brands of batteries leak, though some brands not as much. Therefore, if one is not going to use a device for an extended period of time, remove the batteries.
Werkzeuge
Ersatzteile
-
-
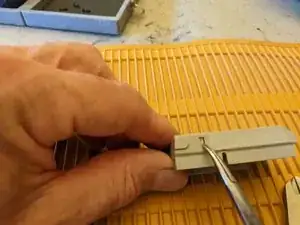
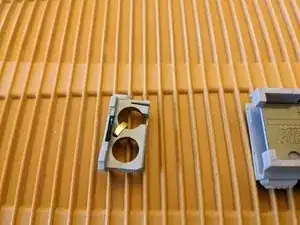
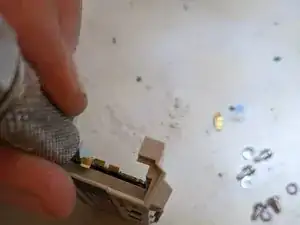
On the top side, press in the clip and slide the battery carrier out of the device. (I found corrosion on the (-) contact and the battery. The contact broke off. )
-
-
-
4. Remove the daughterboard. This is a bit tricky because the daughtboard is held by double stick tape. You don’t want to snap the board
-
a. Gently and slowly pry the daughterboard away on the battery compartment end with your thumb using just enough force to perform the separation. (I told you it was tricky)
-
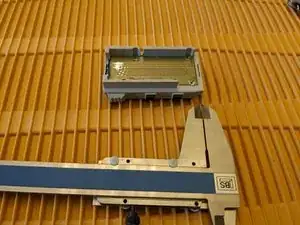
b. Image showing back of daughterboard with double stick tape, mother board still in case with pink zebra connector
-
-
-
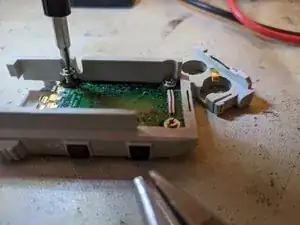
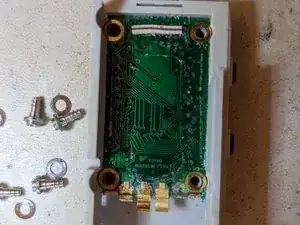
These screws are also nuts for the first four screws removed. They require a flat screwdriver that has a thin blade and is wide to remove them. Don’t lose the washers
-
When they are replaced, it is very important to have them go straight in!
-
-
-
Repair the negative contact
-
Slide the exacto knife (spudger) between the motherboard and the case.
-
Similarly to the daughterboard removal , pry up the motherboard
-
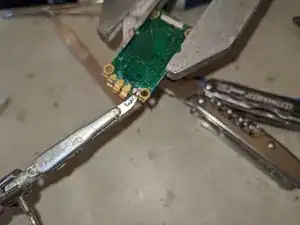
Desolder and remove the vestiges of the negative contact. (In my case it was a cold solder joint and it popped right off.)
-
-
-
Place the small piece of copper wire on the very hard flat surface.
-
Pound it flat. Very flat and very thin.
-
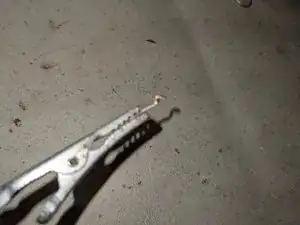
Use the tin snips to cut the flat piece of copper to shape. Note that the end that will be soldered is narrower to one side. This is to accommodate the washer and head of the screw that will be replaced later.
-
Fashion a bump on the battery contact end
-
-
-
Tin (melt solder onto) both the new contact and the connection point
-
Jig the new contact in place (hold, but not with your hand, the new contact where it will end up. Briefly press the hot soldering iron on the new contact so that it will melt the solder of the new contact and connection point to solder the new contact to the motherboard.
-
-
-
(sorry, I didn’t get pictures of the back of the LCD and the mating side of the motherboard.)
-
There are zebra connectors on the LCD. I didn’t do this, but the zebra connectors probably should be removed and cleaned with 95% isopropyl along with the surfaces to which they mate. Be sure to get them on the mating surfaces with the rubberized flank on the side
-
Press the motherboard evenly back into place.
-
Replace the four washers and screws taking extreme care to ensure they go straight back in.
-
-
-
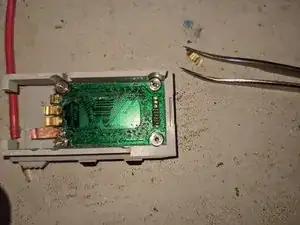
Use the tweezers to remove the zebra connector that is between the daughterboard and the motherboard.
-
Carefully clean it with 95% isopropyl.
-
In my picture, you see the black contacts on the motherboard. These have to be very carefully cleaned. Electronics cleaner did not work. Note that the contacts are plated with gold. Unfortunately, this corrosion got between the gold and the copper and now the gold is gone.
-
I cleaned the contacts by rubbing the flat side of the tips on the contacts until they were, not shiny, but clean. This is bare copper and now is even more susceptible to corrosion. :(
-
Do not store your device with batteries in it. You run the risk of pulling the copper pad off the pc board. If this happens, you’re screwed. It is still possible to fix your device, but the process is beyond the scope of this document, requires more tools and a very steady hand. I hope you had the good fortune I had
-
-
-
Place the daughterboard-to-motherboard zebra connector in place on the daughterboard. If double stick tape is FUBAR, you’ll have to fashion new tape. The thickness is very important!
-
Like was done with the motherboard, put the daughterboard back in place
-
-
-
I’d recommend putting in new batteries at this point.
-
If they don't look like you've put them in right, you didn't.
-
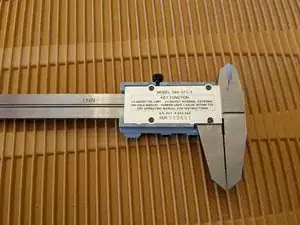
If all went well, the calipers should be working.
There are so many things that could have gone wrong here. The corrosion could have been more extensive, one of the pc boards got cracked. electrostatic discharge could have fried the chip. At least you tried and for that I am proud of you.
