Einleitung
Werkzeuge
-
-
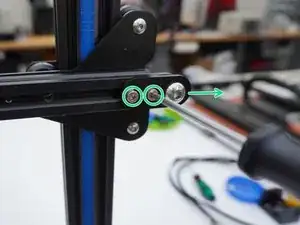
Loosen Idler pulley bracket screws and remove the idler pulley bracket
-
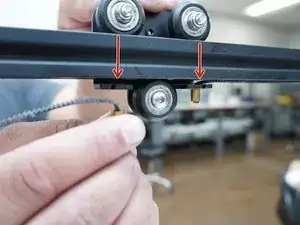
Remove the belt
-
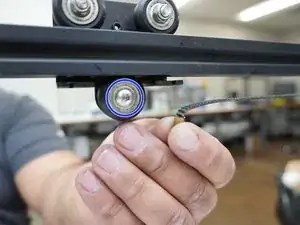
Remove the lower V-slot wheel bolt from X-carriage
-
-
-
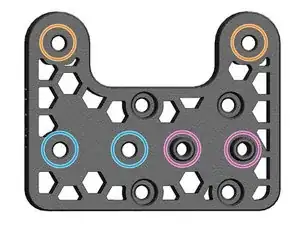
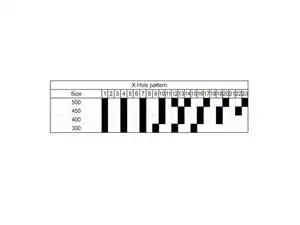
Follow the table for the recommended mounting locations
-
For rails with an odd number of mounting holes, the pattern will overlap in the middle
-
For rails with an even number of mounting holes, the pattern will be continued across the rail
-
Pre-install all the M3x8 SHCS screw and Sliding T-nuts
-
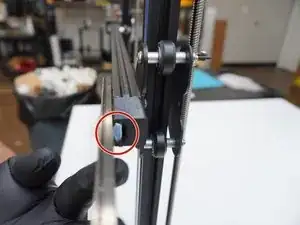
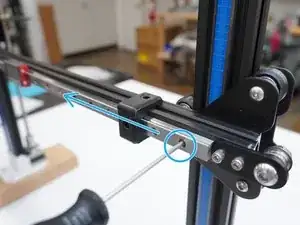
Install the Printed T-nut guide on the end of the X axis extrusion, and slide the rail on to the X-axis from Right to left
-
The guide helps to slide the T-nuts into the extrusion
-
-
-
Slide the rail until you have about 2-3 mm between the rail and the end of the X axis extrusion.
-
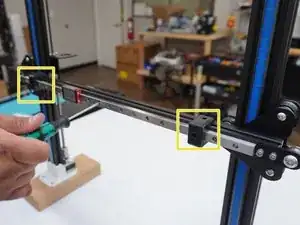
Use both Linear rail Guide to center the rail to the Aluminum extrusion
-
Tighten the mounting screws as you go down. Making sure to slide down, slide the linear rail guide down as each screw is tightened.
-
-
-
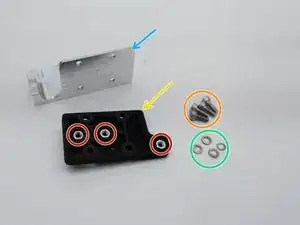
Belt adaptor
-
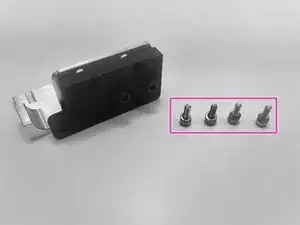
4x M3x8 SHCS
-
3x M3 split washers
-
M3 Hex nuts
-
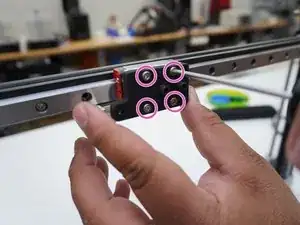
Install the M3x8 SHCS screw with M3 Split washer in to the X carriage adaptor plate and mount to the Rail block.
-
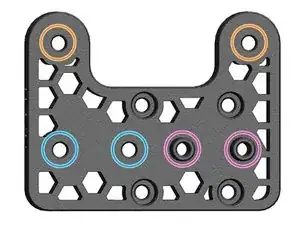
Note, reference Hotend Mounting Instructions section before mounting the MGN 12 Adaptor Plates to the linear rail block. For installing Hex Nuts to the back of the Adaptors.
-
-
-
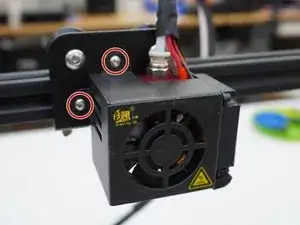
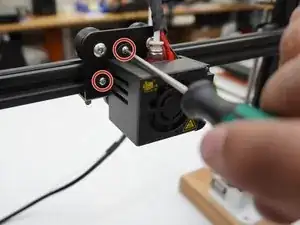
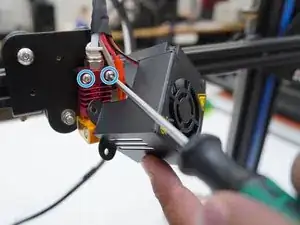
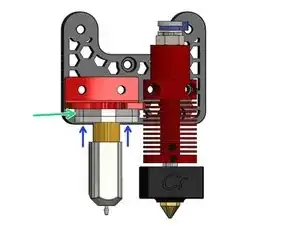
Hotend mounting screws
-
Stock Hotend M3x20 SHCS(5mm longer than stock) with split lock washer
-
MicroSwiss Hotend M3x20 SHCS(+6mm longer than stock)
-
BL Touch Mount
-
M3x8 BHCS (+4mm longer than stock)
-
Stock Fan cover screws Note-start both screw before fully tightening the screw
-
M3X6 BHCS (+2mm longer than stock)
-
