Einleitung
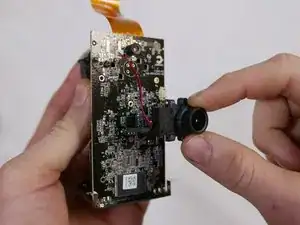
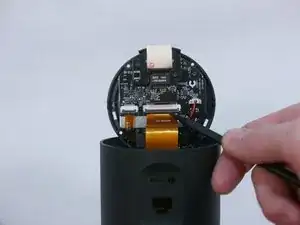
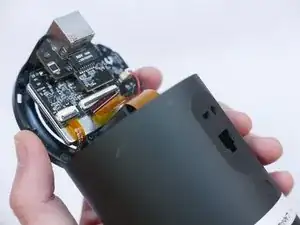
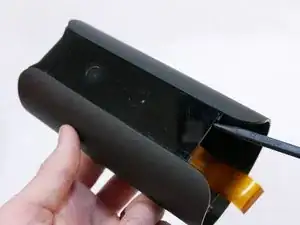
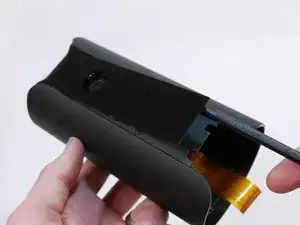
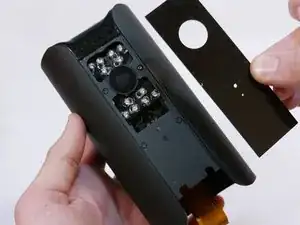
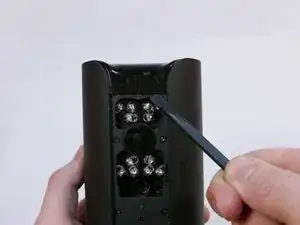
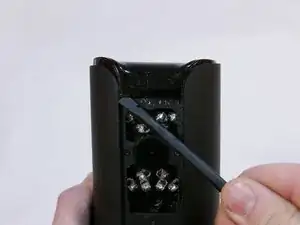
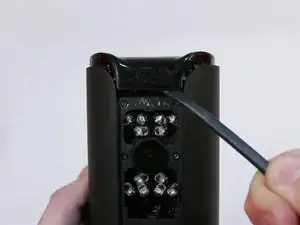
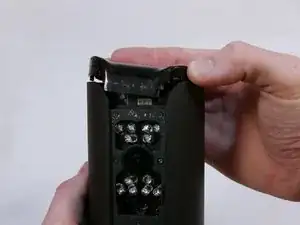
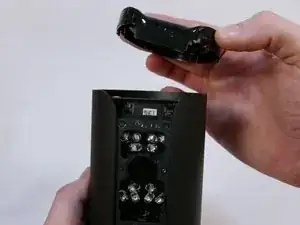
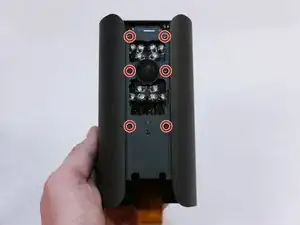
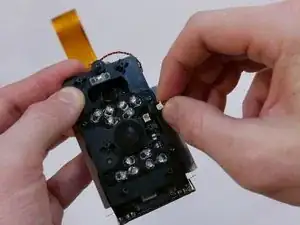
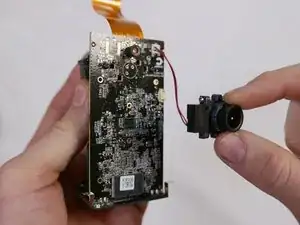
If your camera is malfunctioning, this guide will show you how to replace the camera lens.
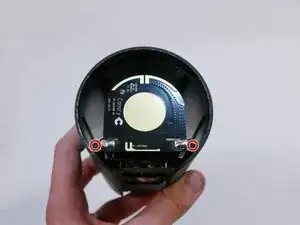
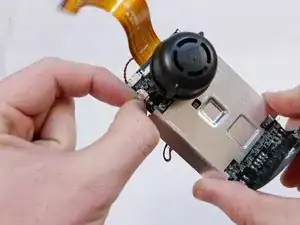
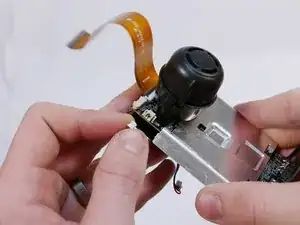
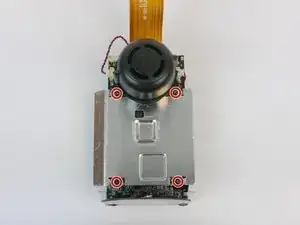
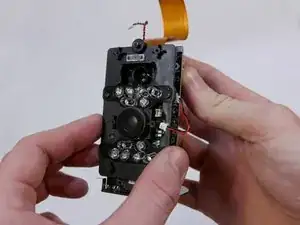
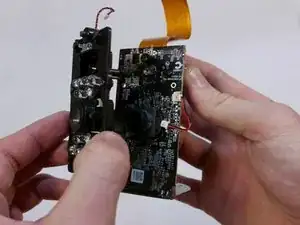
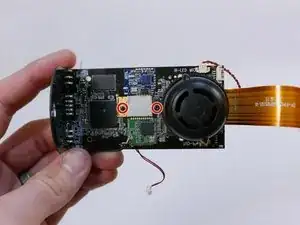
After you have removed the infrared LED board, the only thing keeping the camera lens in is two screws on the opposite side of the motherboard. Remember not to let the lens drop as you remove the two screws.
A Phillips #0 screwdriver can be used for these two screws.
Werkzeuge
-
-
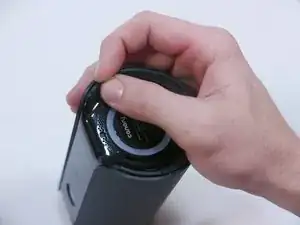
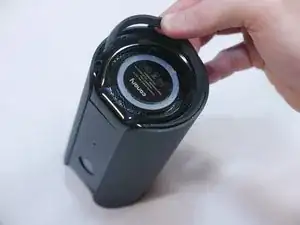
Grip the rubber ring with your fingers and pull up.
-
Rotate the Canary as you pull out one tab at a time.
-
-
-
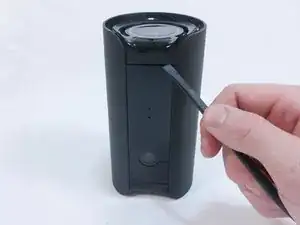
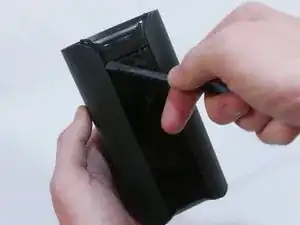
Use the flat end of the spudger to carefully pry off the bottom casing.
-
Alternate pushing up on the left and right sides until the clips holding the case in are visible.
-
-
-
Use the pointed end of the spudger to flip up the small retaining flap on the ZIF (zero insertion force) connector.
-
Pull the ribbon cable out towards the device.
-
-
-
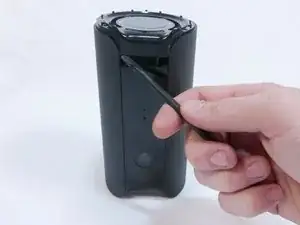
There are two empty nooks underneath the bottom of the panel close to each side of the case.
-
Place the pointed edge of the spudger in one of the nooks under the panel and pry upwards.
-
-
-
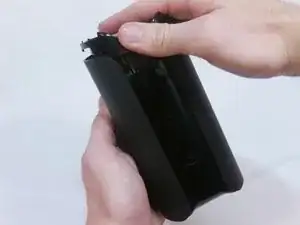
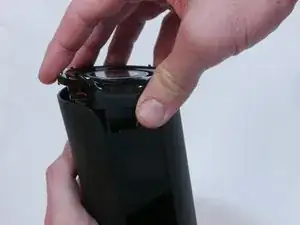
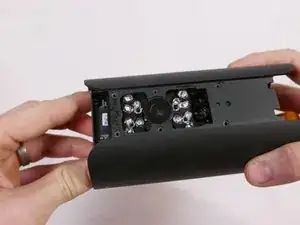
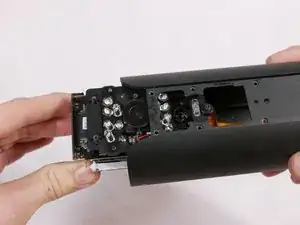
Use the flat end of the spudger to carefully pry off the top casing.
-
Alternate pushing up on the left and right sides until the inner clips are released.
-
-
-
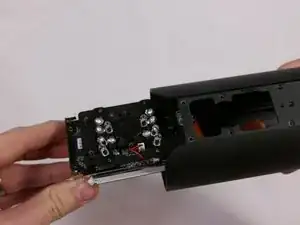
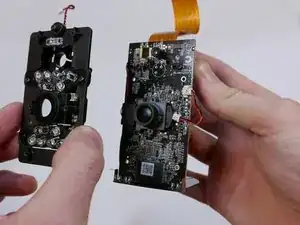
Locate the power connector next to the lens protector on the infrared LED board. Using your fingers, wiggle the power connector back and forth until it is loose.
-
-
-
Find the power connector next to the buzzer that is labelled "MIC IR-LED". Use your fingers to wiggle it back and forth until it becomes loose.
-
-
-
Remove the four Phillips #0 6mm screws.
-
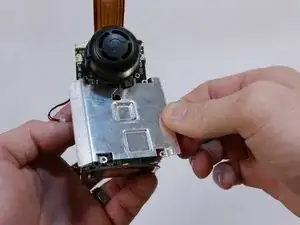
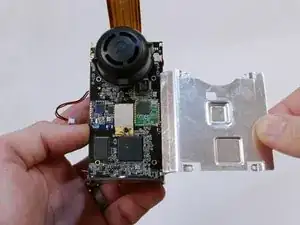
Lift the heatsink up and pull it away from the motherboard.
-
-
-
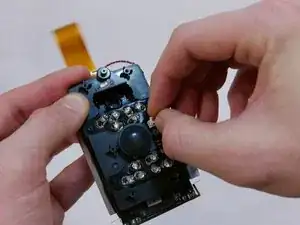
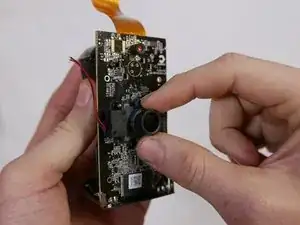
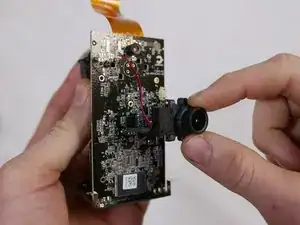
Using your forefinger and thumb, grip the top and bottom of the lens assembly and pull away from the motherboard.
-
To reassemble your device, follow these instructions in reverse order.
