Einleitung
This repair is useful to know how to execute if your projector has overheating issues. Often, a simple fix is just to replace a malfunctioning fan, which is a relatively cheap part. This is much more cost-effective than replacing the entire projector.
Werkzeuge
-
-
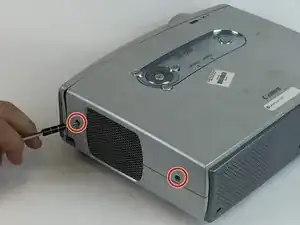
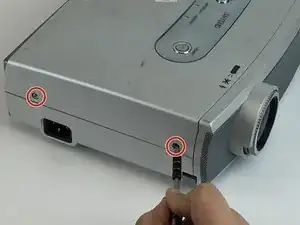
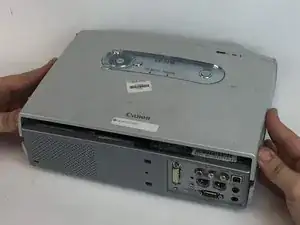
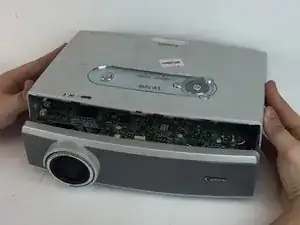
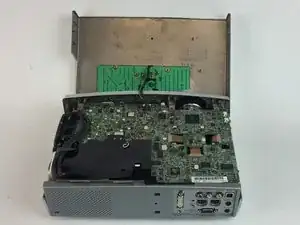
Remove the 4 exterior 9mm Phillips #0 screws. They are located on the sides of the projector.
-
-
-
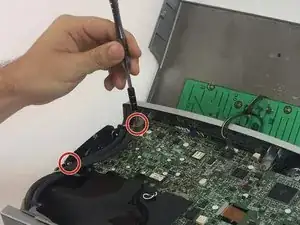
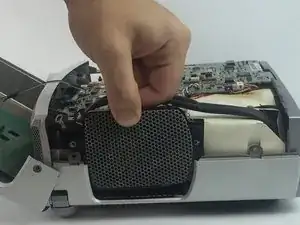
Remove the two 7mm Phillips #0 screws that attach the fan to the motherboard of the projector.
-
-
-
Remove the 7mm Phillips #0 screw that fastens the black ground wire connected to the fan and the projector.
-
-
-
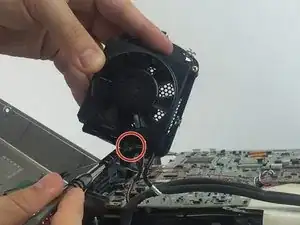
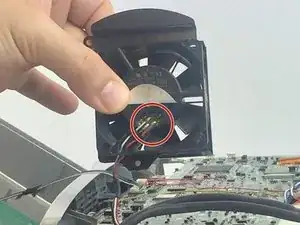
Peel the sticker up on the back of the fan to expose the port where the red, white, and black wires are attached.
-
The wires will need to be cut with small wire cutters in order to completely remove the fan.
-
To reassemble your device, follow these instructions in reverse order.
