Einleitung
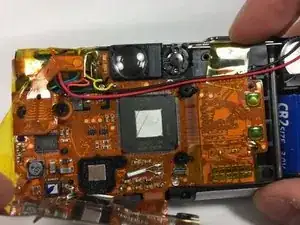
An image sensor is a key component in a camera's function. The imaging sensor senses and converys information that creates an image. It converts the variable flux of light waves into the signals that carry this information. The main issue that can occur with an imaging sensor is dust build up. This guide provides step by step instructions to replace your imaging sensor in your Canon ELPH Z3.
Werkzeuge
-
-
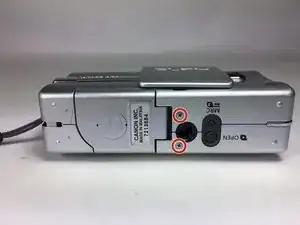
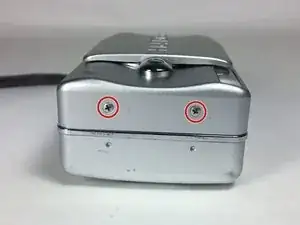
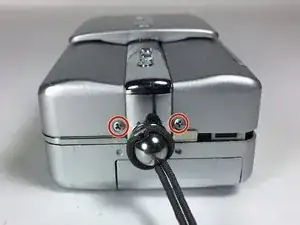
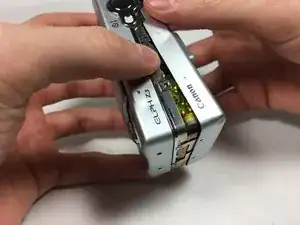
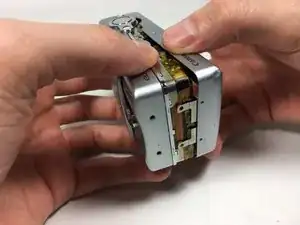
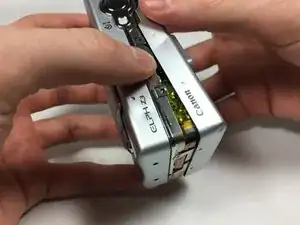
Split the front and back coverings of the camera.
-
Remove the back covering completely.
-
This allows for easier access to the shutter button carrier.
-
-
-
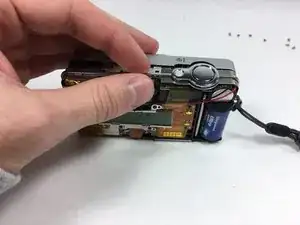
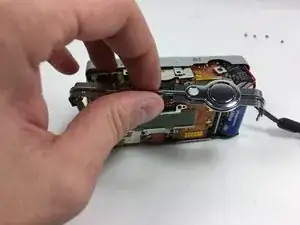
Slide the shutter button carrier off of the camera.
-
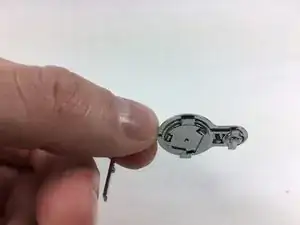
Notice shutter button is on the right hand side of the carrier.
-
-
-
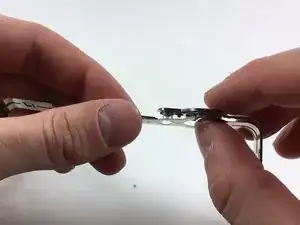
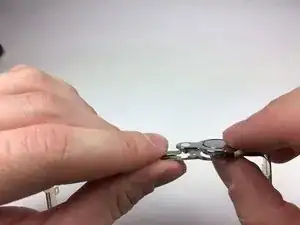
Press upward on the shutter button from the underside of the carrier by using your thumb.
-
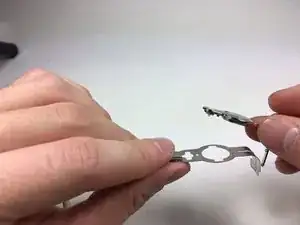
Separate the shutter button from the carrier.
-
-
-
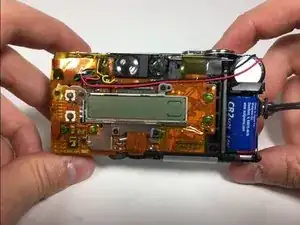
Pull apart the front and back coverings of the camera.
-
Remove the back covering completely to gain access of the rear screen.
-
-
-
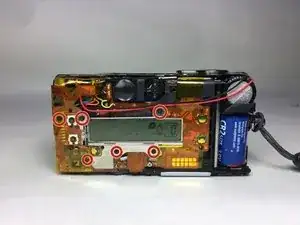
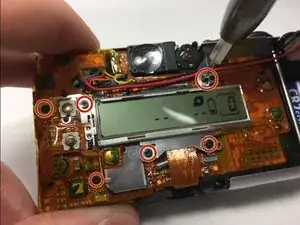
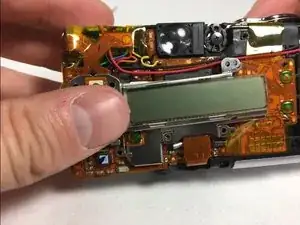
Unscrew the 6 4.1mm screws that are holding the back screen in place by using the PH000 screwdriver.
-
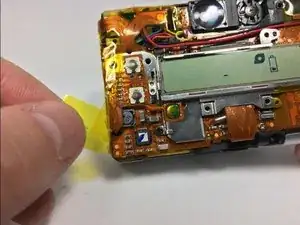
This step may require for you to pull back tape to gain access to some screws.
-
-
-
Pull the yellow tape away from the side that is attached to the back screen.
-
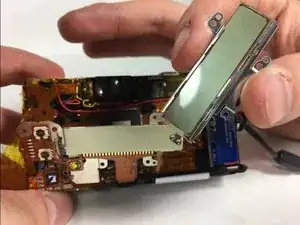
Remove the back screen.
-
-
-
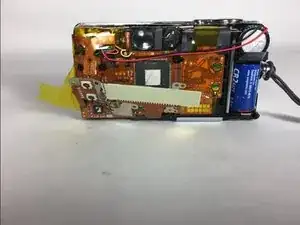
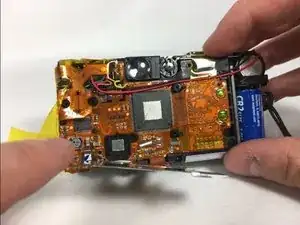
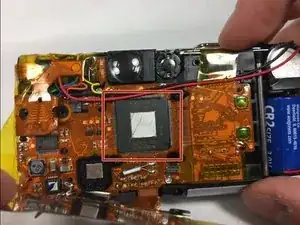
Pull away back screen base to reveal the image sensor.
-
Remove image sensor using a set of pliers.
-
To reassemble your device, follow these instructions in reverse order.
