Einleitung
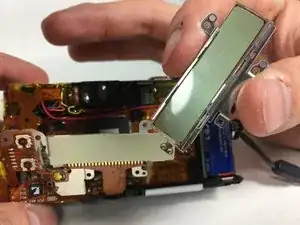
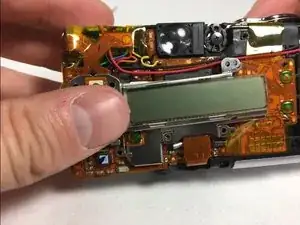
The rear screen of the Canon ELPH Z3 is a very important component of the camera. The screen allows for users to view the settings whether they can change if necessary. Users are also able to see the battery life on the rear screen among many other features. An issue dealing with the rear screen is not very common however, accidents do happen. The guide we have provided for you entails easy to follow instructions on how to replace a rear screen for the Canon ELPH Z3.
Werkzeuge
-
-
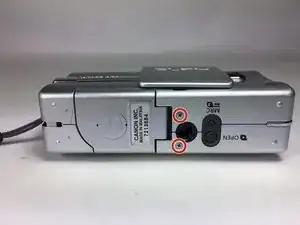
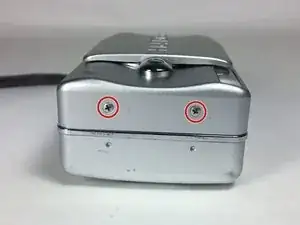
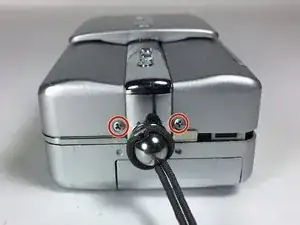
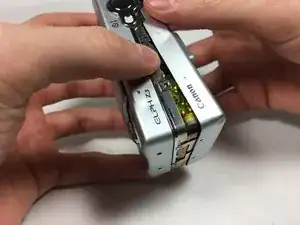
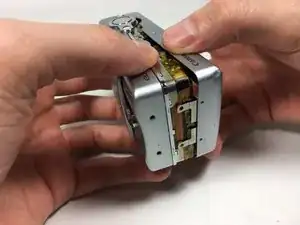
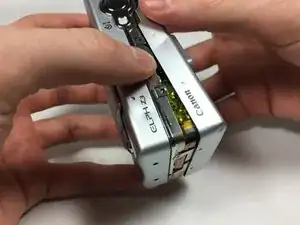
Split the front and back coverings of the camera.
-
Remove the back covering completely.
-
This allows for easier access to the shutter button carrier.
-
-
-
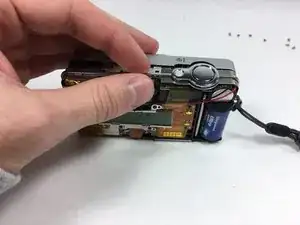
Slide the shutter button carrier off of the camera.
-
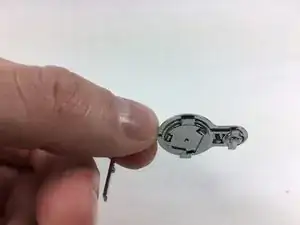
Notice shutter button is on the right hand side of the carrier.
-
-
-
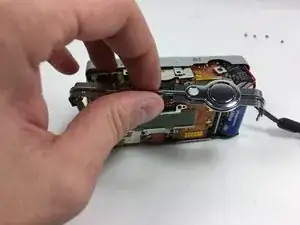
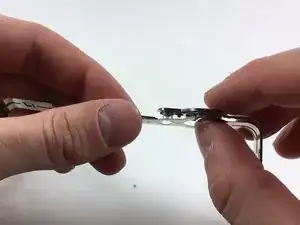
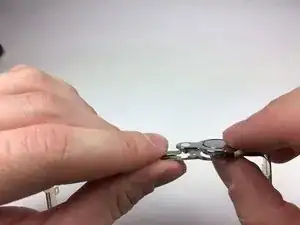
Press upward on the shutter button from the underside of the carrier by using your thumb.
-
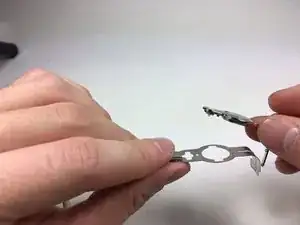
Separate the shutter button from the carrier.
-
-
-
Pull apart the front and back coverings of the camera.
-
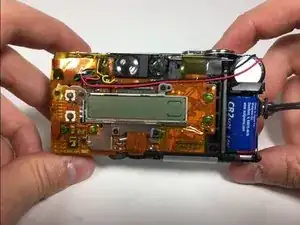
Remove the back covering completely to gain access of the rear screen.
-
-
-
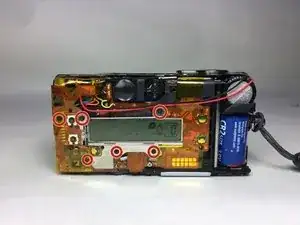
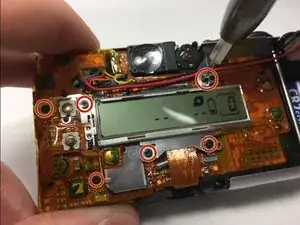
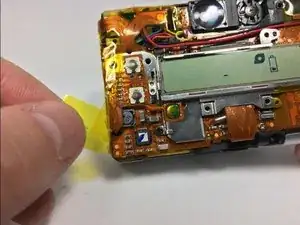
Unscrew the 6 4.1mm screws that are holding the back screen in place by using the PH000 screwdriver.
-
This step may require for you to pull back tape to gain access to some screws.
-
-
-
Pull the yellow tape away from the side that is attached to the back screen.
-
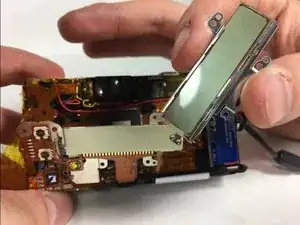
Remove the back screen.
-
To reassemble your device, follow these instructions in reverse order.
