
Einleitung
Follow this guide if your LCD monitor is cracked, shattered, or does not display any images. Please purchase a 3.0 inch LCD monitor for the Canon EOS 40D before you continue to the first step.
Ersatzteile
-
-
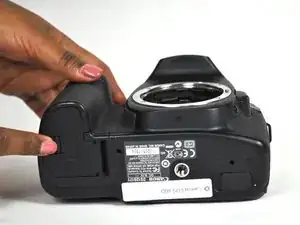
Locate the battery compartment cover on the bottom of the camera below the shutter button.
-
-
-
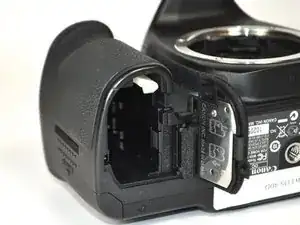
Find the marked arrow on the battery compartment cover labeled "BATT. OPEN". Slide the lever following the arrow's direction and lift at the same time to release the latch.
-
-
-
Release the lever and allow the battery compartment cover to completely open.
-
Remove the battery.
-
-
-
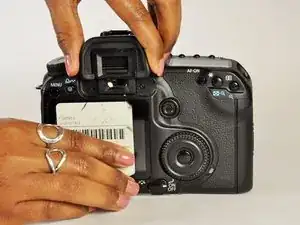
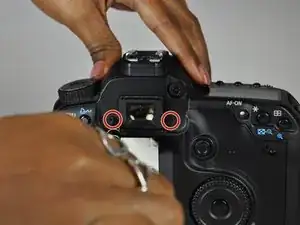
Remove the three 5.0 mm Phillips #000 screws.
-
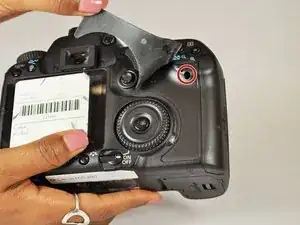
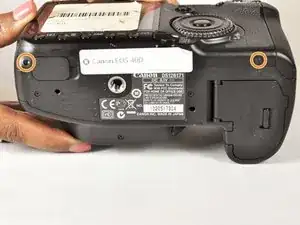
Remove the two 3.0 mm Phillips #000 screws on the bottom of the camera.
-
-
-
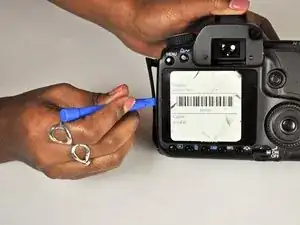
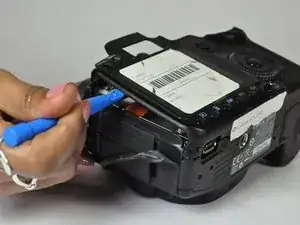
Remove the side cover using a plastic opening tool or your hands.
-
Use a plastic opening tool to gently start prying the rear case up from the rest of the camera.
-
Use the tip of a spudger to disconnect the ZIF connector on the left side of the camera. The ribbon cable on this device was torn in the process of removing the back case, so there are no photos showing this step.
-
Disconnect the ribbon cable securing the rear case to the motherboard.
-
Separate the rear case from the camera.
-
-
-
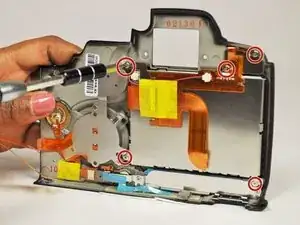
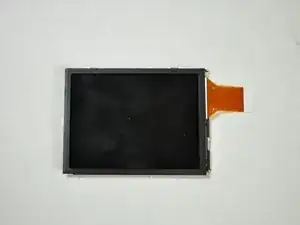
Remove the five 5.0 mm Phillips #000 screws securing the LCD to the rear case.
-
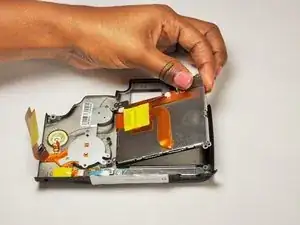
Lift the LCD free of the rear case.
-
-
-
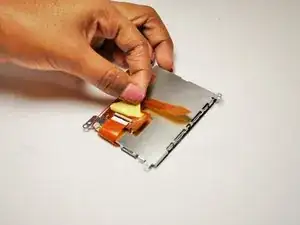
Remove the yellow tape covering the LCD ZIF connector.
-
Use a plastic opening tool to lift up the black retaining flap.
-
Pull the LCD ribbon cable out of the connector.
-
-
-
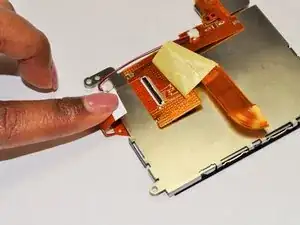
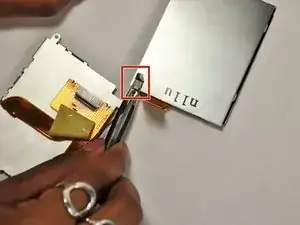
Use a pair of tweezers to disconnect the cable connector.
-
The LCD frame should now come free of the LCD panel.
-


To reassemble your device, follow these instructions in reverse order.
Ein Kommentar
For the life of me, I cannot remove the two screws on either side of the view-finder!
tomaska -