Einleitung

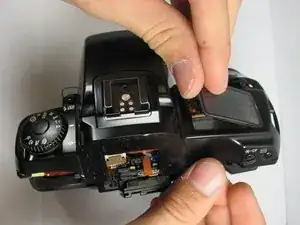
Many times when it seems as if your LCD screen is cracked, it is just the plastic protector, not the actual screen. It is a simple and cheap piece to replace.

  1. 3ITI6j2YgEayFaWB
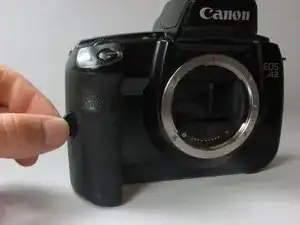
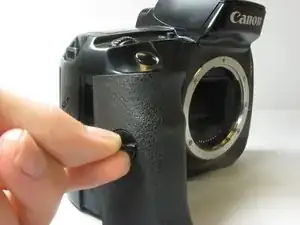
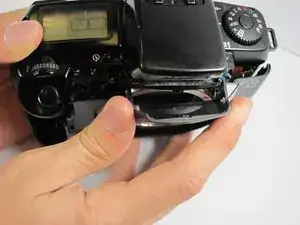
    • Locate the battery door/camera grip on the left side of the camera and lift the rotating removal tab.

  2. g2DKqqHRFmOtQg1Y
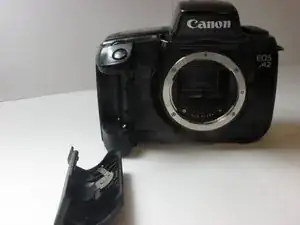
    • Twist the tab clockwise to unlock the door, then pull outward from the camera to remove it.

  3. grhDFRSHY2iVVsbY
    • Remove the battery from inside the battery housing and set the cover aside.

  4. mnrwfhOGvFjTNDZU
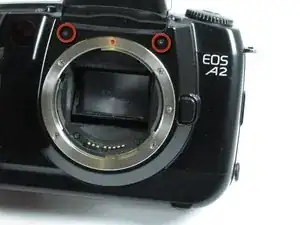
    • Remove the two 6.4mm screws above the lens aperture using a phillips #00 screw driver.

  5. I2WKBTpYSkLOOlDL
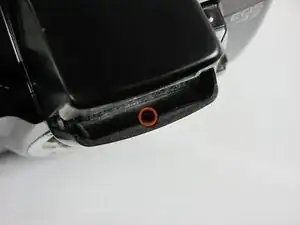
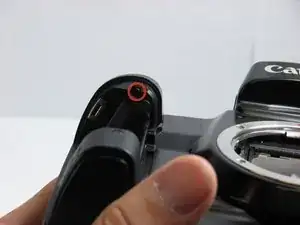
    • Remove the 6.4mm screw from the inside of the flash bezel.

    • If the flash is locked down, insert the battery, then with the help of a pencil turn the rotary (CW or CCW) switch until the "125" is displayed in the LCD. Press the Flash symbol button. You should hear the latch from the flash, then you can manually lift the flash. If OK, then remove the battery from the camera

    I have the problem that I cannot turn the camera on because the rotary switch turns freely, therefor I cannot open the flash to get to the screw that needs to be removed in order to fix the rotary switch. In the rotary switch photo you suggest using a pencil to turn it but in the photo the cap of the switch is removed. How do you remove this cap? I have tried prying it off but no success.

    Lucas -

    Tu peux tourner le commutateur rotatif même sans enlever la vis du flash. Il m’est arrivé le même problème, pour cela j’ai dévissé tout ce que je pouvais. Ensuite, en soulevant au maximum le couvercle supérieur, tu peux voir cette partie métallique par en dessous et la faire tourner avec une objet très fin jusqu’a atteindre un point de buté, ce sera 125. Ensuite tu mets la batterie, appuie sur le bouton flash et c’est ok normalement. Le fait que la molette tourne dans le vide est du a un tout petit ressort cassé.

    Fr c -

  6. IQ1vVri2SYLETprn
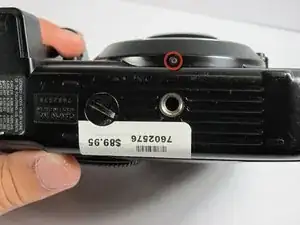
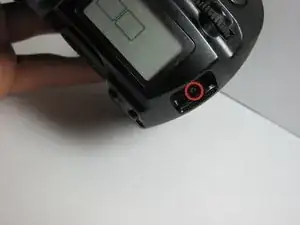
    • Flip the camera upside down and remove the 5.4mm screw below the lens bezel on the front of the camera.

  7. aCGjgKKqJooKOFGq
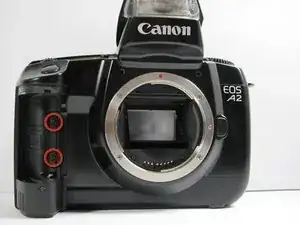
    • Remove the 5.6mm screws behind the battery cover.

  8. vRRRlfTrvi2UaE1r
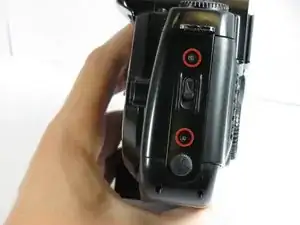
    • Remove two 6.4mm screws on the latch mechanism on the right side of the camera.

  9. 5IHAmcRyaHHJuwZH
    • Remove the 6.4mm screw on the top of the inside edge of the battery hole.

  10. Plg5c2NQ1WfaBNdf
    Plg5c2NQ1WfaBNdf
    kctX4rGJERlaDxpE
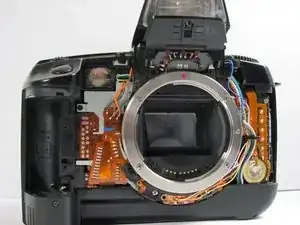
    • Starting at the flash, carefully pull the front cover away from the camera.

  11. OCQNRbvgHWx4BK3A
    • Remove the 4.3mm screw below the camera strap ring.

  12. mxtjO3VOyWNj52ns
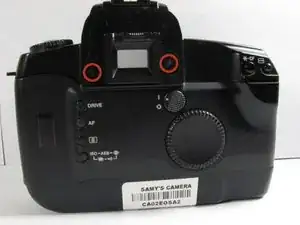
    • Remove two 4.8mm screws located on both sides of the eyepiece.

  13. hbDYhRkqASC1XyJ3
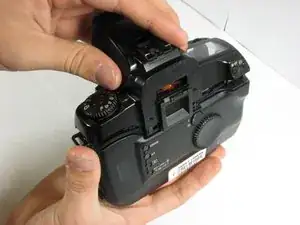
    • Pull the top cover up slowly.

    • A ribbon cable is attached to the bottom of the top cover and the camera. Pull up very carefully to avoid damaging this.

  14. CQqCWeGKwS13kCYG
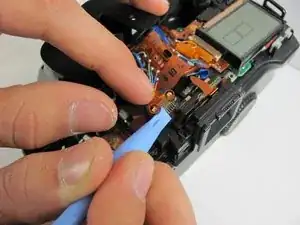
    • Once you have revealed the ribbon cable, gently let the top cover hang off the front of the camera. Use the plastic opening tool to gently pull the white tabs on the ribbon cable, releasing the ribbon cable.

    • If you pull the white tabs all the way out, just insert them back in to avoid losing them.

  15. 2qOmZXq4YcBfcpl4
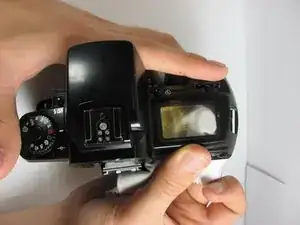
    • Use a soft cloth to push up on the LCD plastic protector from underneath the top of the camera.

  16. Vw3w1CA6oVGZOYfx
    • Once the LCD protector has been broken free, lift up on the side adjacent to the flash and pull out the plastic protector. You may now install the new plastic cover.

Abschluss

To reassemble your device, follow these instructions in reverse order.
Mark

Mitglied seit: 20/04/11

157 Reputation

0 Kommentare