Einleitung
Prior to removing the back casing, it is advisable that you remove the battery and CF card from the camera.
Werkzeuge
-
-
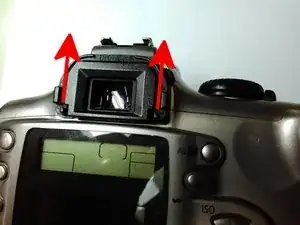
Remove the eyecup by gently pushing it upwards, so it doesn't block us in the final step of pulling the back casing from the camera's body.
-
-
-
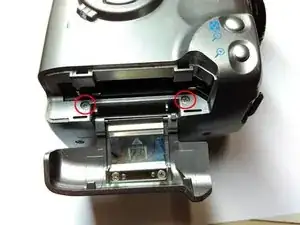
Open the CF card compartment by moving it upwards and tilting it away from the camera body.
-
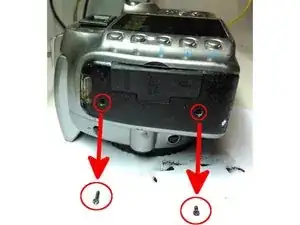
Remove the two 3/16" philips screws besides the CF card slot opening.
-
-
-
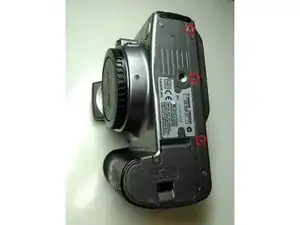
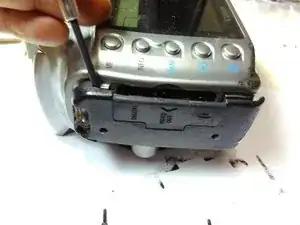
Remove the black screws from the camera's left rubber covering - note it is a 5/16" screw at the top and a 3/16" screw at the bottom.
-
-
-
Aided by a screwdriver or plastic opening tool, remove the rubber coating from the left side of the camera.
-
-
-
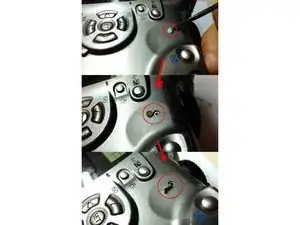
With a pointy tool, remove the soft cap covering the screw.
-
Remove the 3/16" philips screw.
-
-
-
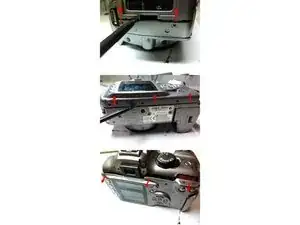
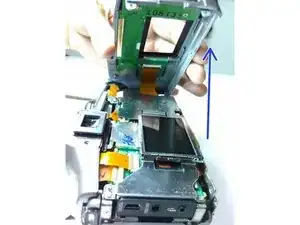
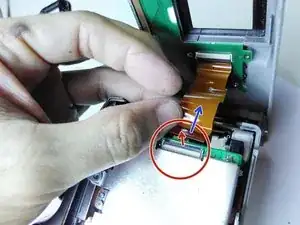
Locate the connector which holds the flat cable to the main circuit board. Unlock the connector by gently pulling up its black piece from the side the flat cable comes into it.
-
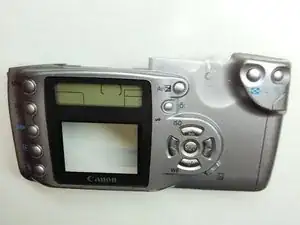
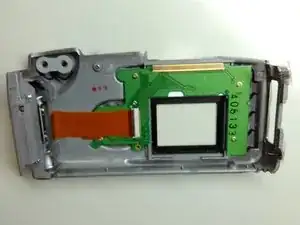
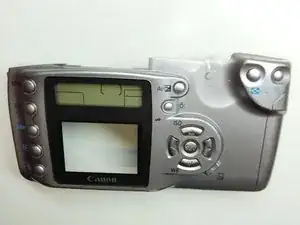
Pull the flat cable from the connector and you'll have completely removed the back casing from the camera.
-
To reassemble your device, follow these instructions in reverse order.
