Einleitung
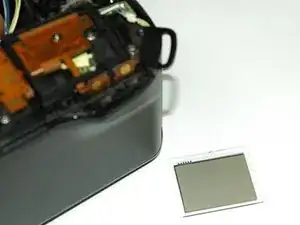
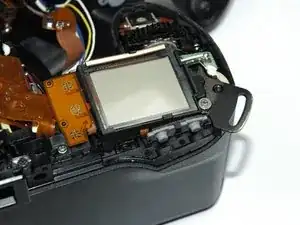
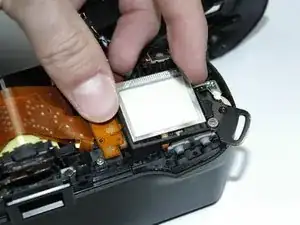
This guide shows you how to install a new LCD screen.
Werkzeuge
-
-
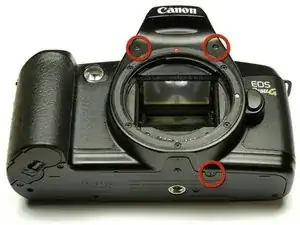
Using a #00 Phillips screw driver, remove three 4.4 mm Phillips screws as indicated by the red circles.
-
-
-
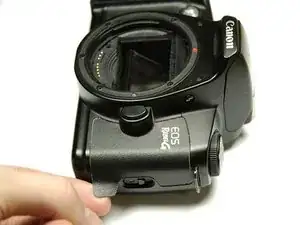
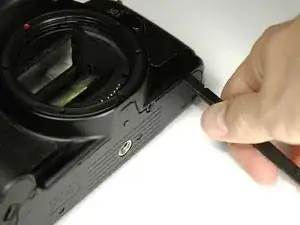
Using the flat end of a spudger, loosen the connection between the front panel and the device.
-
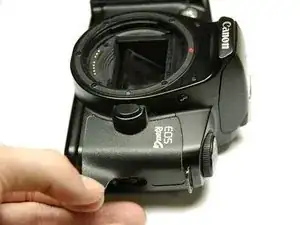
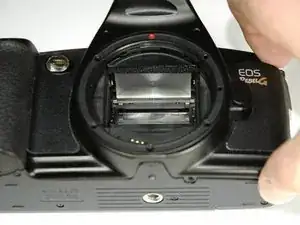
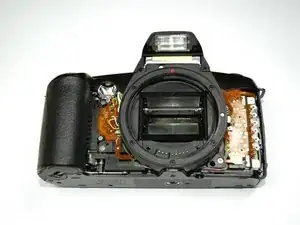
Remove the front panel using your hands.
-
-
-
Turn Camera over.
-
Using a #00 Phillips screw driver, unscrew the two 4.9 mm Phillips screws located on either side of the viewfinder.
-
-
-
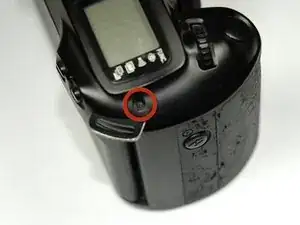
Using a #00 Phillips screw driver, unscrew the one 5.7 mm Phillips screw located next to the LCD screen.
-
-
-
Lay the camera on its back.
-
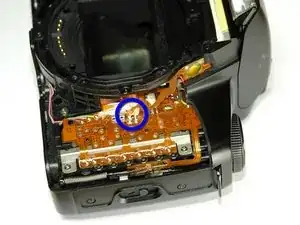
Unsolder the flash connection from the motherboard as noted by the blue circle.
-
-
-
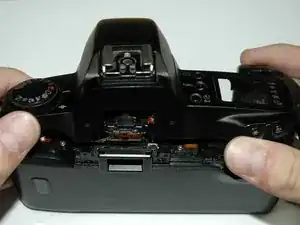
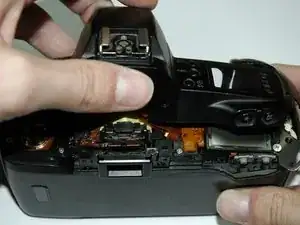
Remove the top panel by lifting it from the back, pushing it forward over the camera and letting it rotate down in front of the camera.
-
-
-
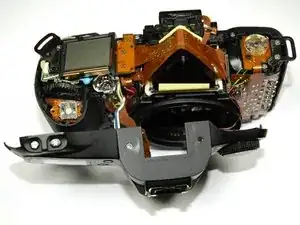
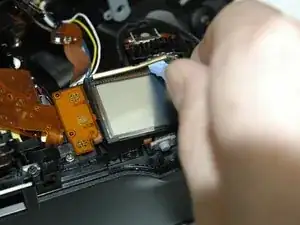
Pry off the small metal brace holding the LCD screen. (Push forward and slide toward the center)
-
To reassemble your device, follow these instructions in reverse order.
