Einleitung

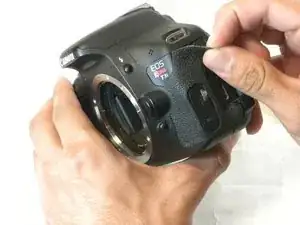
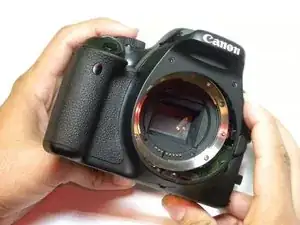
Use this guide to replace the front casing on your Canon EOS Rebel T3i.

  1. bAm42cfRNog1r5Tr
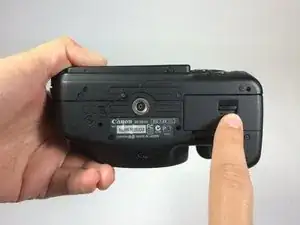
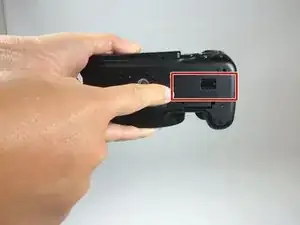
    • Locate the battery compartment on the bottom of the camera.

  2. 5chA6egdVXQVinPU
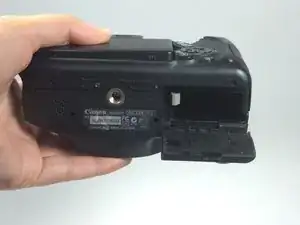
    • Hook your finger onto the compartment door latch.

    • Open the battery compartment door.

  3. wpYnkD2unGaDqVKU
    • Remove the battery from the compartment.

  4. 4sTqkPidvIg2GBnL
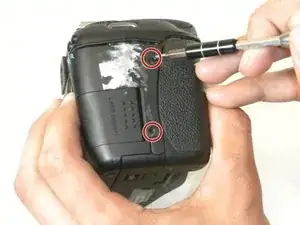
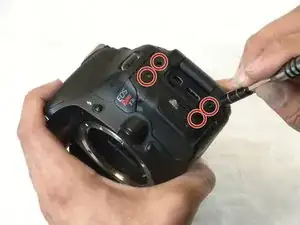
    • Remove the two 3 mm Phillips #000 screws.

    • Some variations of this camera may have one 3mm and one 6mm screws.

    • If the rubber eyepiece mount is still on the camera, remove it before attempting to separate the case halves.

  5. weM3kDdvsXRlECB1
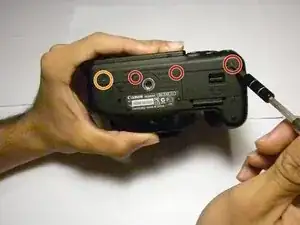
    • Remove the three 3 mm Phillips #000 screws.

    • Remove the single 6 mm Phillips #000 screw.

    • Some variation of this camera have two 3mm and two 6mm screws

  6. TFNZcYlMIZT41QXm
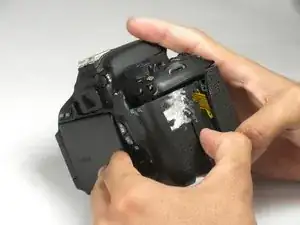
    • Peel back the grip tape with your fingernail.

    • Depending on the age of the camera, the grip tape will stick back in place with no need for extra glue.

  7. 5PXd6okOqdnWOQVI
    • Remove the four 5 mm Phillips #000 screws.

    • Some variation of this model may have three 5mm screws and one 6mm

    The 6mm screw would sit in the bottom right hole, if it has this one longer screw.

    Arjan Rooyens -

  8. KgPsDxMQDIid1Fyy
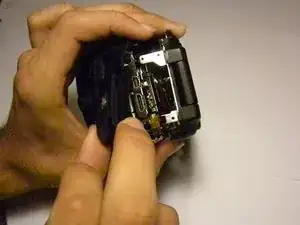
    • Slide off the right side of the camera.

    • Do not completely separate the body yet. There are still wires that must be disconnected. If the body is pulled apart too quickly, it may cause damage.

    9단계와 8단계를 바꿔야합니다.

    nanna1 -

  9. 6uu2Ds4yxjFJbB5C
    • Lift off the USB cover.

    • Do not completely remove the back of the camera. There are still wires that must be disconnected. Removing the back too quickly may cause damage to wires.

    • When lifting the cover, the only thing resisting your tug is the plug cover stopper. Just pull, you'll be fine.

    • When replacing it, having the covers snug on the plate will make it easier to push the whole cover on

    Make sure the viewfinder eyepiece is removed, otherwise it will hold the top left corner of the back part in place.

    Jonáš Jančařík -

  10. Tk1ukf1qVn4WgFyu
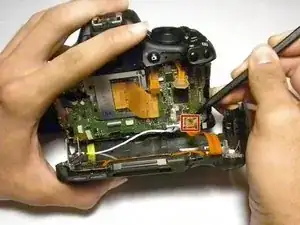
    • After separating the back, gently lift off one side of the light blue wire with the spudger until the connector is totally removed.

    • You may feel a slight resistance as you pull the top of the back cover off, it will click but that is fine.

  11. tmuFGpLsJyRYcvA4
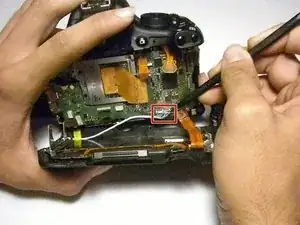
    • With the spudger, remove the orange ribbon cable leading to the circuit board from the back of the camera.

  12. qJBZchjwwAK2E2Qc
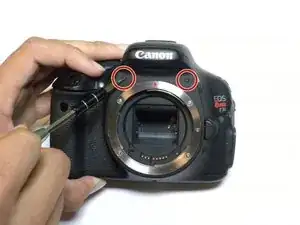
    • Remove the two 6 mm Phillips #000 screws.

  13. QCKxhgqCVyY3RwYQ
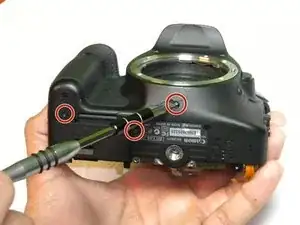
    • Remove the single 6 mm and two 3 mm Phillips #000 screws.

    oh man, stripped the long screwtop on the left side. Any ideas how to remove it? thanks for the guide!

    Giorgi -

  14. CXVeTXShYsXxQXth
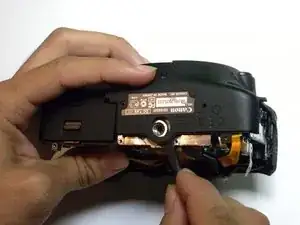
    • Use the spudger to lift the plastic under the tripod mount.

  15. W1egCREKWYuNbCil
    • Lift the front cover off.

Abschluss

To reassemble your device, follow these instructions in reverse order.

Natalie Crock

Mitglied seit: 27/08/15

752 Reputation

Ein Kommentar

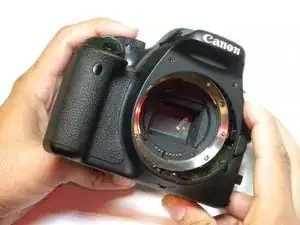
when I connect and lens the camera replies that the lens is properly connected. One of the copper lens connectors on the camera’s body is kinda greenish rather than gold, so I wanna clean it, how to do that?
Tensor Elmikawy -